If so, it’s a clear sign that they have no more room to grow in their current planter, and need a larger one, ASAP.
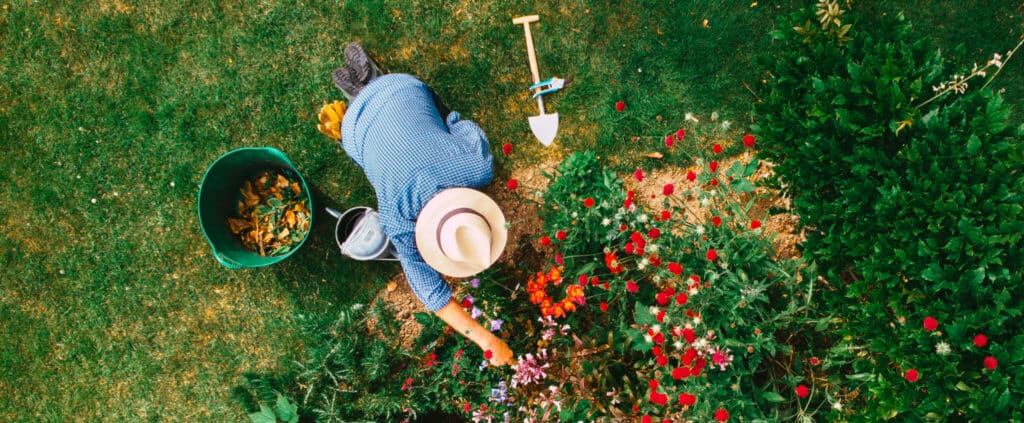
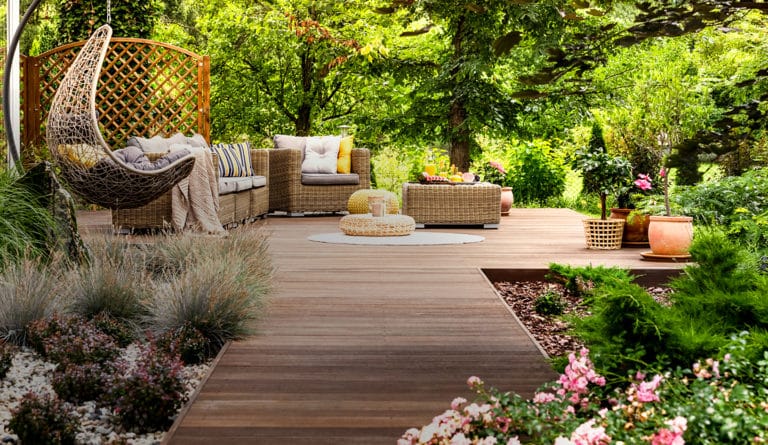
Gardening is therapeutic.
Working with your hands, creating and sustaining life, watching plants thrive, each of these key parts of being a gardener have exponential benefits on our mental wellbeing.
But while tending to a garden might usually feel like therapy, it can also be equally as stressful if done without the proper knowledge. There are so many gardening rules to keep up with, many of which novice gardeners learn through trial and error. But don’t stress! To help you put your best green thumb forward, we gathered these simple, straightforward gardening “do’s and don’ts” you need to know.
DO
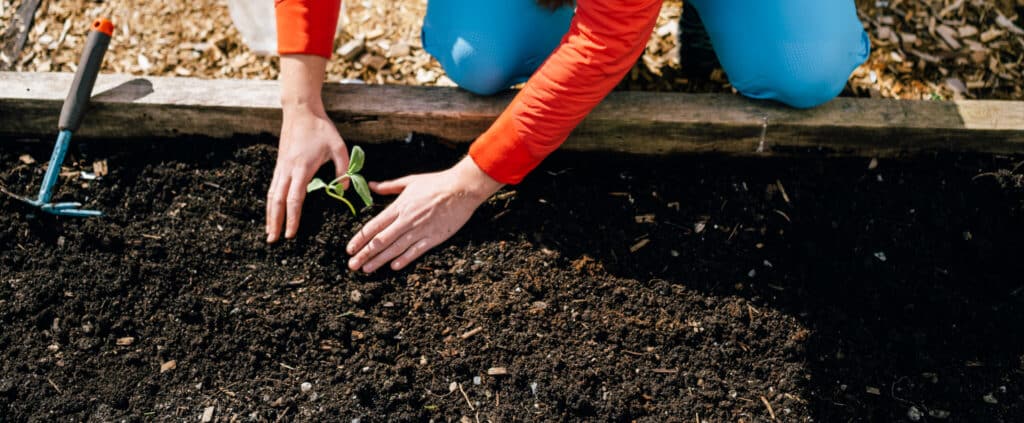
Read your seed packets: They typically have all the information you need to make sure you’re planting your seeds deep or shallow enough, using the right amount of light, and watering the ideal amount and frequency.
DO
Give your plants space: Overcrowding can cause real conflict! Plants that grow too close together will compete for sunlight and nutrients, which will negatively impact their growth and chances of survival.
DO
Time your watering: The best time to water your plants is in the AM. During the day, water will evaporate from their surface, protecting them from fungal diseases that happen when plants stay wet for too long. Can’t commit to an AM watering routine? The second best time is in the early evening.
DO
Remember to include flowers: They do more than just add colour and beauty. They also attract bees, which help keep your garden thriving by pollinating your other plants.
DON’T
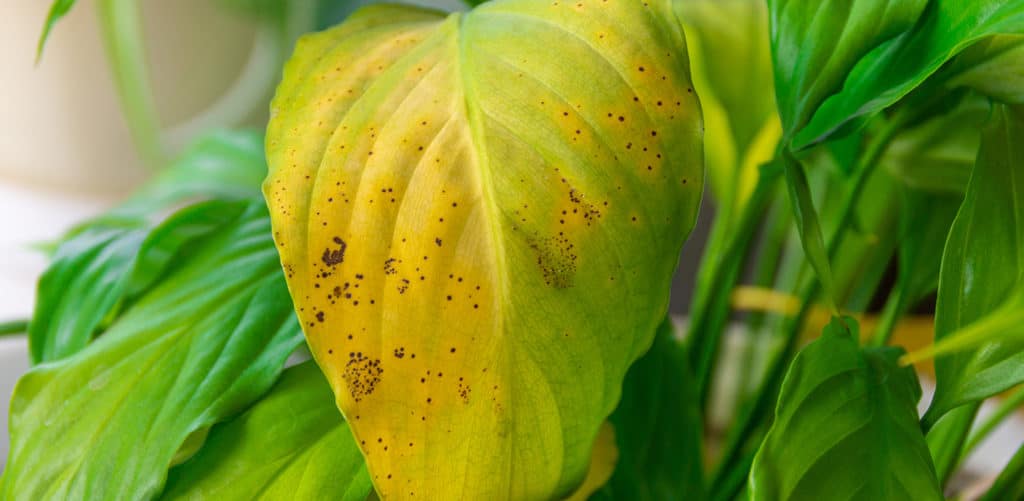
Ignore signs of pests or disease: Notice something off about your garden? Take action immediately. Pest invasions and plant diseases, if left untreated, can become much more difficult to control as they get worse.
DON’T
Overwork your soil: Course, textured soil is full of healthy organic matter. It allows for easier water and nutrient penetration, because it’s less compressed than fine soil. So keep that in mind when working yours!
DON’T
Work the soil while it’s wet: This can make it more tight and compact – which leaves less room for water and air to get through. As worked soil dries, it forms clumps, which are hard to break apart and contribute to slower drainage. It can take YEARS to rebuild healthy soil once that happens!
DON’T
Walk in your garden beds: This compacts the soil – which, as we mentioned above, reduces its ability to retain water and nutrients that your plants need to survive. Instead, use a board to walk on, which can help distribute your weight more evenly.
DON’T
Forget to roll with the punches: Gardening is about the journey, not the destination. It’s about learning new things, experimenting with new methods, and letting your creativity shine. It’s inevitable that you’ll experience roadblocks throughout your journey – but the key is to learn from them, and roll with it!
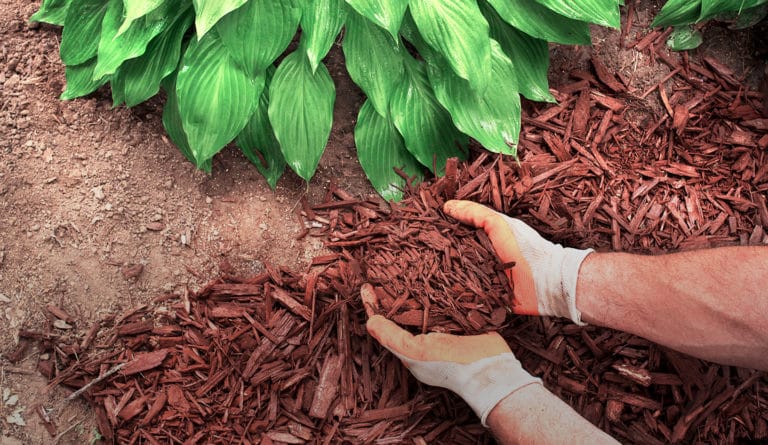
QUICK TIP
Add a layer of mulch around your plants! It can help them retain moisture, inhibit weed growth, and regulate your soil’s temperature.
#happygardening
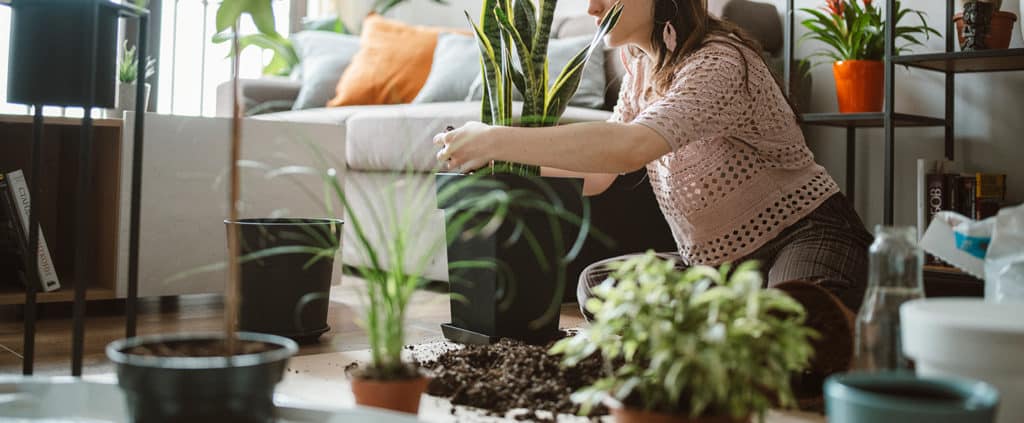
Recently, we asked our Instagram community what their biggest questions were when it comes to repotting.
The response we saw, again and again: “When is the right time to repot my plant?”
We understand the confusion. Knowing when a plant needs to be repotted isn’t the same as knowing when you should get a bigger pair of jeans. There’s more nuance and complexity to the decision.
Which is why we put together a handy-dandy checklist to help you figure out if your plant needs a bigger pot, or not.
2. Are you seeing plant roots on the surface of your soil?
When they’ve run out of space, roots can begin to grow upward in search of more soil and nutrients. This can push the plant up, and make it look like it’s almost coming out of its pot.
3. Is your plant growing slower than usual?
Yes, winter dormancy is a thing. But if you’re noticing a significant lack of growth, this could be a sign that your plants simply don’t have enough space to continue thriving.
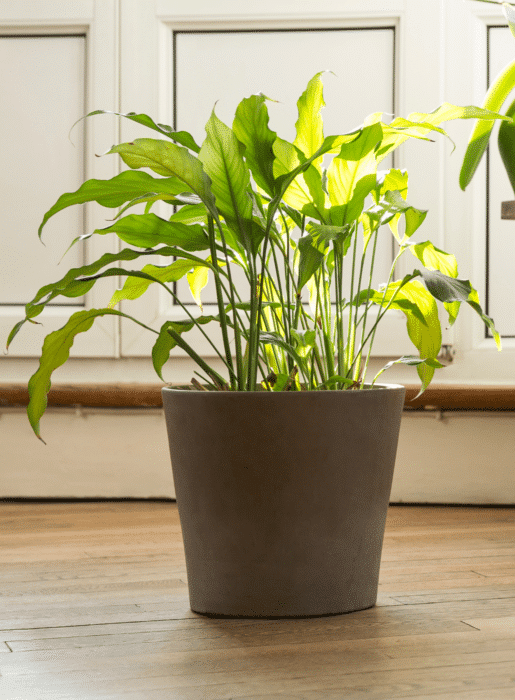
4. Is your plant slumping over?
Once your plant has grown larger than its own pot, it’s likely to start tipping over. Which is when you know you need a bigger, wider pot to help it maintain stability as it grows.
5. Does your potting mix dry faster than usual?
Growing plants have a need for extra nutrients and water. So if you’re noticing their soil getting dry faster, that means it’s time to transition to a pot that will facilitate your plant’s steady growth.
6. is your plant more than 3X the size of its current planter?
Ideally, your pot should be half the size of your plant. If your plant becomes triple its size or more, it needs extra space – or else its growth will be inhibited.
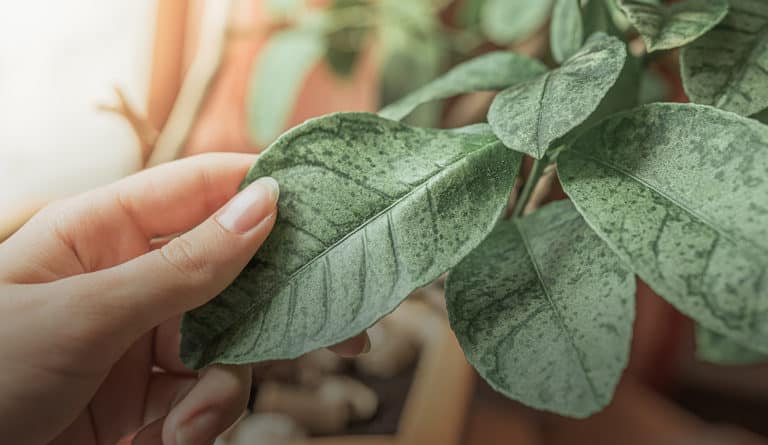
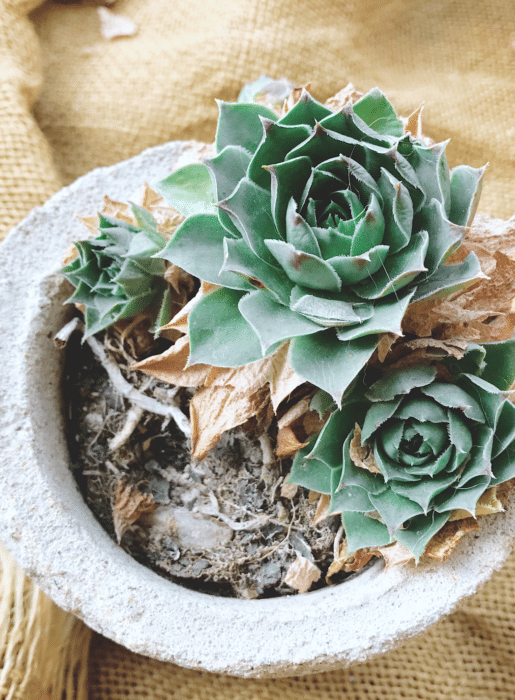
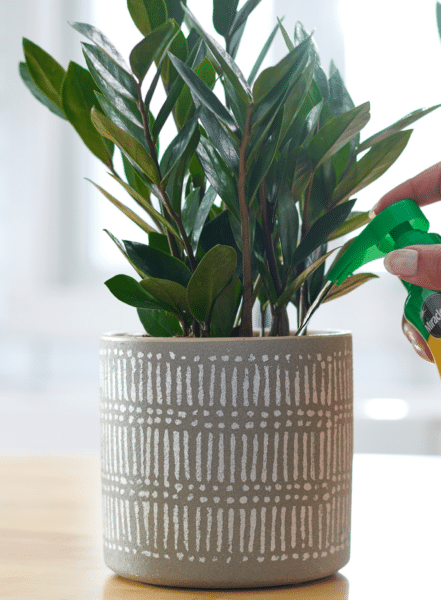
7. is there a weird white residue on your pot or plant leaves?
That’s salt and mineral buildup – which is a clear indication that your plant needs more nutrients, and potentially a bigger pot with fresh soil.
8.has it been over a year since you last repotted your plant?
Rule of thumb: repot your plant at least once every year! It’ll spur new growth, and keep your plant healthy and happy.
to drain or not to drain
It is recommended selecting planters and pots with drainage, especially if you are new to watering plants. It’s totally possible to make planters without drainage work with a little finesse! A good tip to remember is to pour no more than 1/3 of the container’s size in water. Lining the bottom of a planter with lava rocks or similar to create crevices for excess water to drain into is a great way to avoid root rot.
what you’ll need
- Your plant (obviously!)
- Your new planter
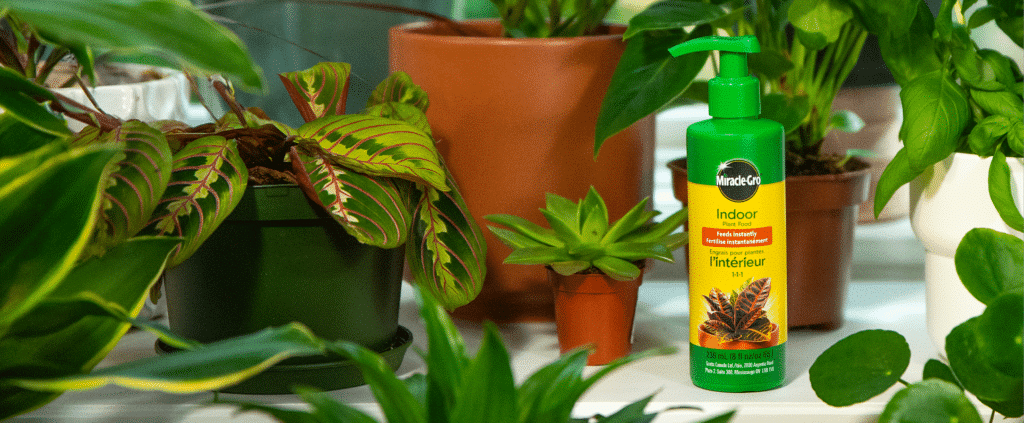
- Miracle-Gro® Indoor Potting Mix
- Miracle-Gro® Indoor Plant Food
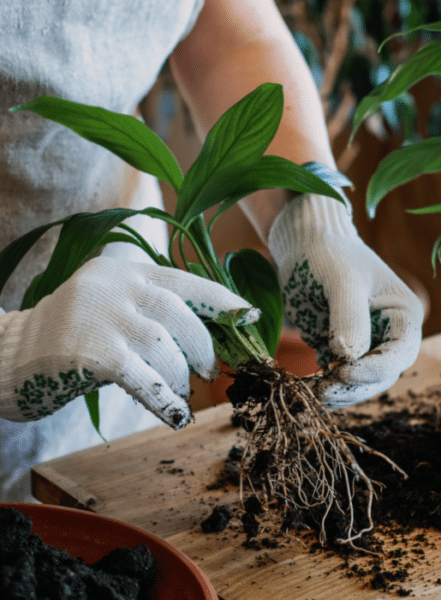
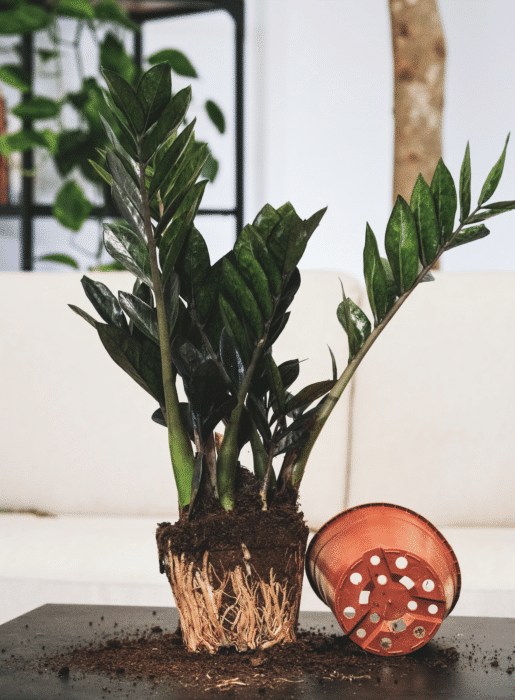
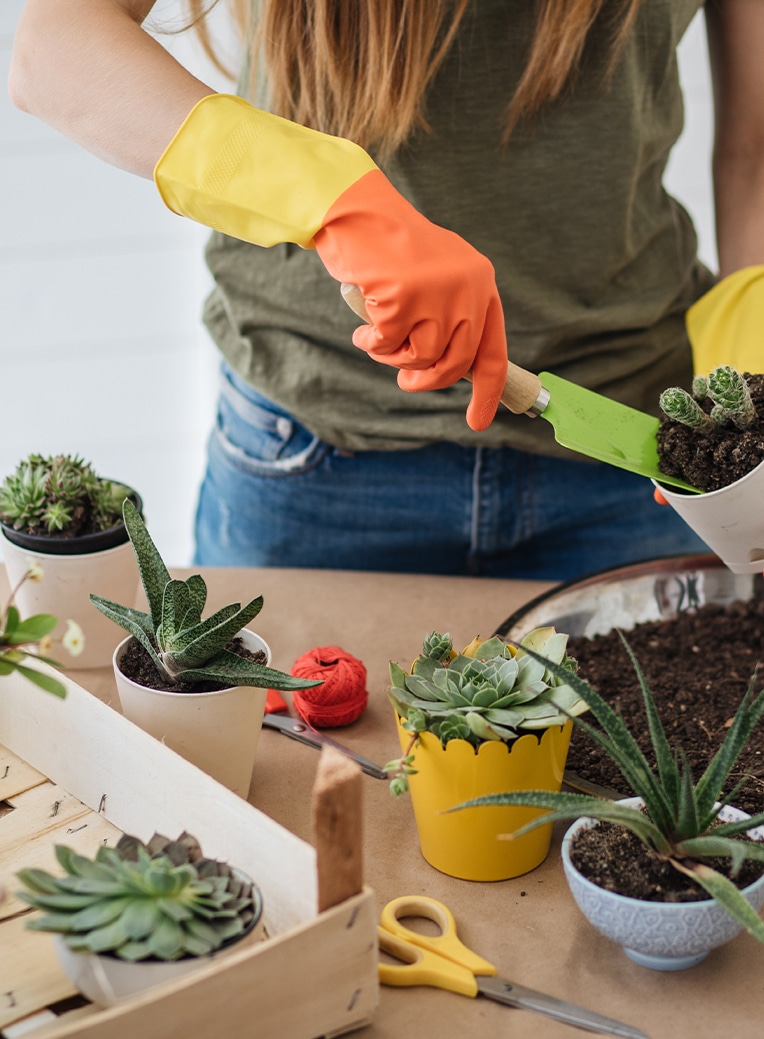
step 1: remove your plant from its current planter
Turn your plant sideways, hold it gently by its stems, and tap the bottom of its pot until the plant slides out.
step 2: prep your plant
Loosen your plant’s roots by massaging it gently with your fingers.
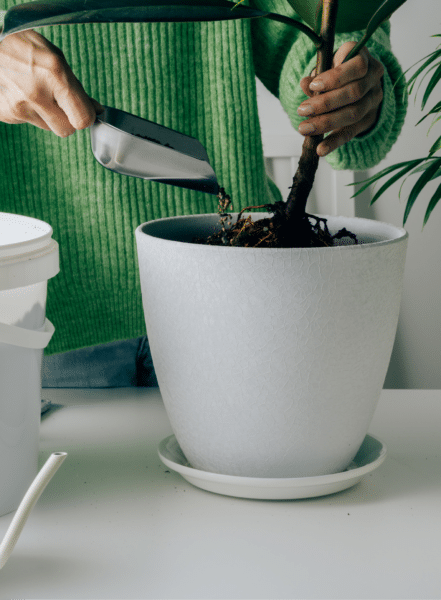
step 3: add your potting mix
Scoop in a nutrient-rich, well-draining potting mix into your new plant pot, until it fills a third of the pot. We recommend Miracle-Gro® Indoor Potting Mix – it feeds your plant for up to 6 months!
step 4: add your plant
Place your plant into the new pot, filling it in with more potting mix. Look at that – you’re only one step away from being done!
step 5: feed your plant
Give your plant a good watering, and add some Miracle-Gro® Indoor Plant Food for an extra nutrient boost.
Want more info where that came from?
To learn more about which material and size of planter you should be getting for your plant’s repotting, read this article!
#HappyRepotting!
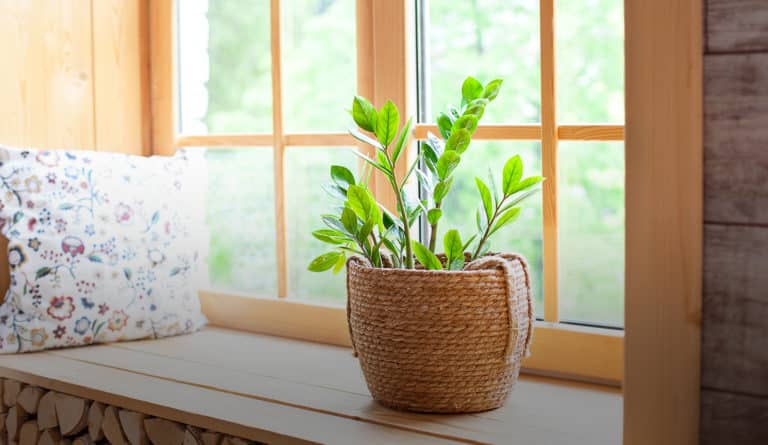
Love houseplants but worried your indoor space is too dark? Never fear, there are plenty of low light plants that will green up even the gloomiest room.
Houseplants bring colour and life into a home – and this is especially valuable in darker rooms, such as those that face north or have small windows. But how do you find plants that will thrive in lower light levels? Luckily many popular houseplants originate in shady forest floors and can take shade in their stride. Here’s a selection of unique plants for darker spots in your home.
1
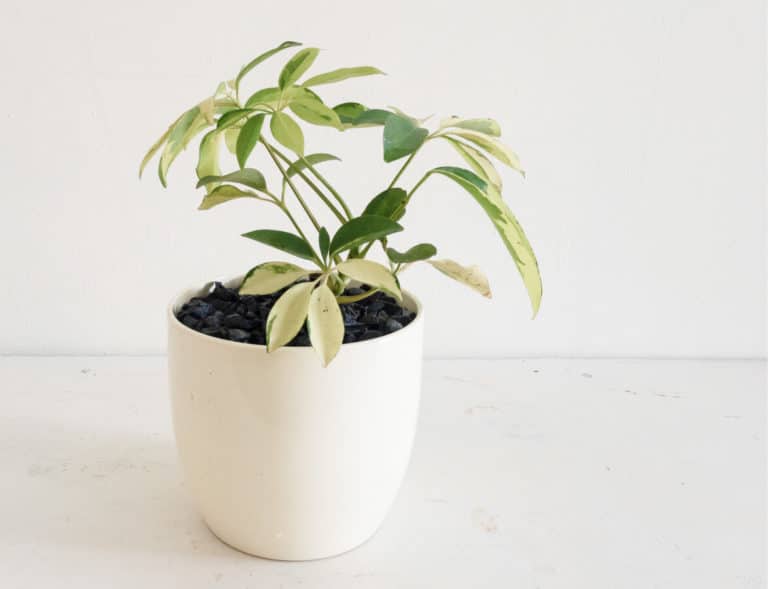
schefflera arboricola
Sometimes called dwarf umbrella trees, Schefflera arboricolas thrive in low to medium light environments. They’ll also grow under artificial lights if they’re kept within about one foot of the light. If your Schefflera becomes leggy or grows slowly, it probably needs a brighter location.
2
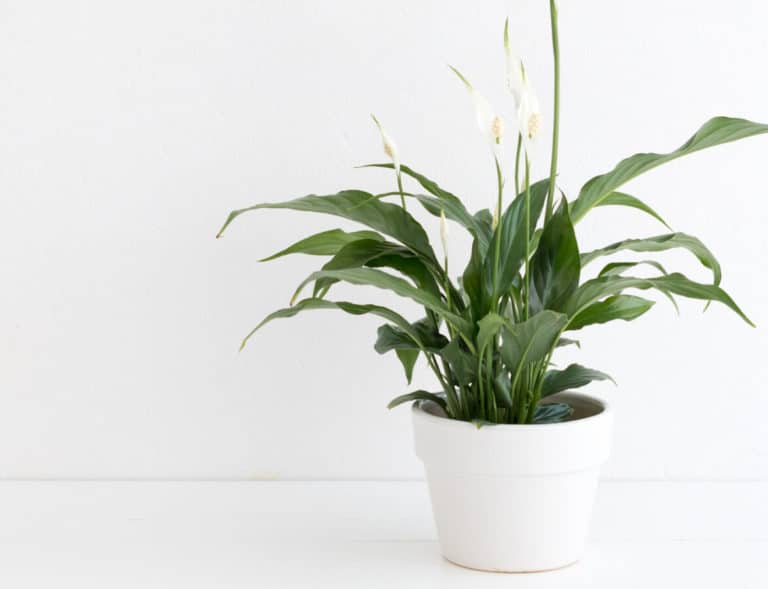
peace lily
Peace Lily is a popular flowering plant that blooms several times a year, even when it’s grown in low light conditions.It can also grow in medium light conditions, but if you have low light you don’t need to worry about growth being inhibited.
3
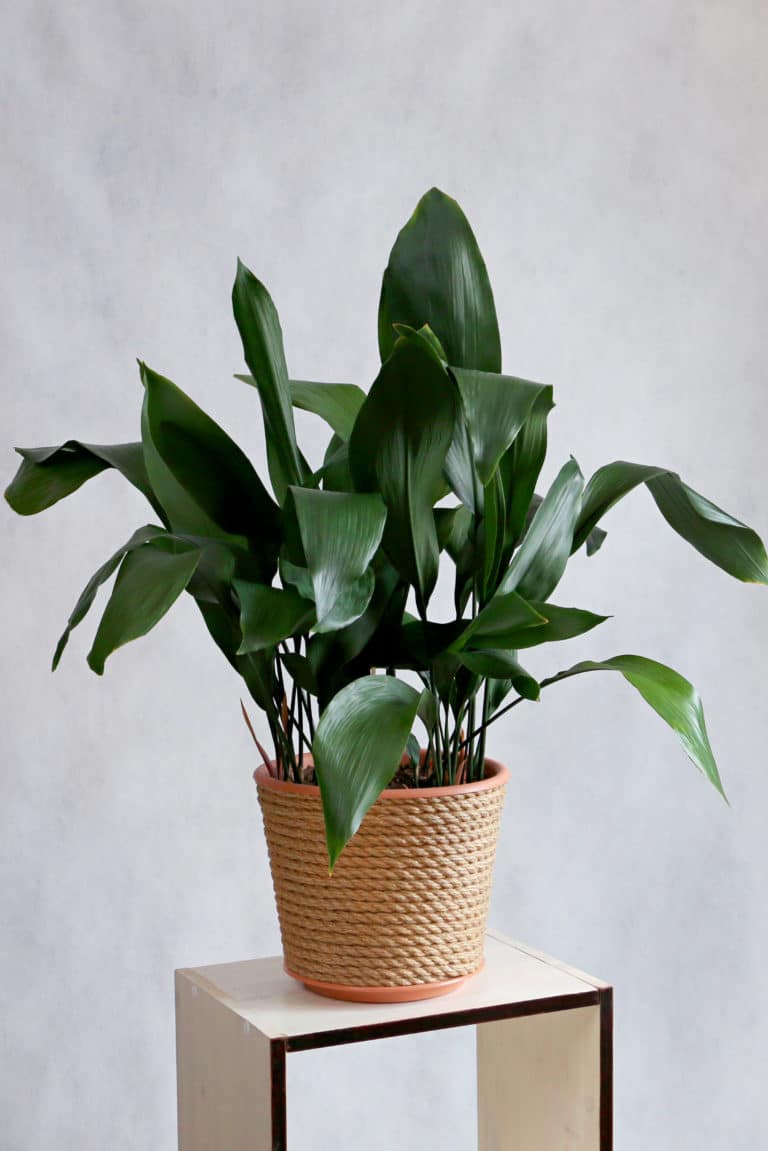
cast iron plant (aspidistra eliator)
This plant can survive lots of neglect and growing conditions that will kill many other plants, such as low light conditions. For a gardener with a brown thumb, this sturdy, long-lasting plant can be used in areas where all else fails. It is always green and can handle deep shade.
4
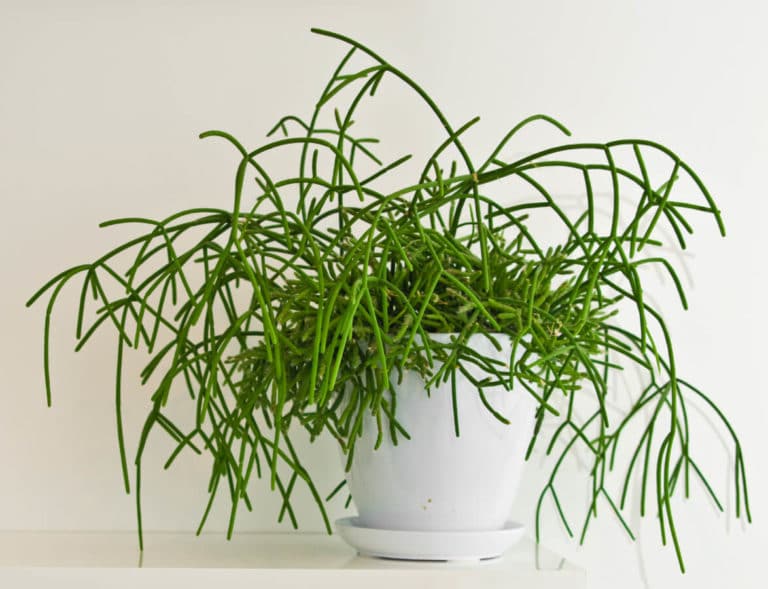
rhipsalis cactus
Rhipsalis is a type of cactus that hails from shady rainforests and makes a tough houseplant that can tolerate a fair degree of shade. Most varieties are spineless too, making them one of the least cactus-like cacti out there. Grow it in a hanging pot to best appreciate its delicate, pendent form.
5
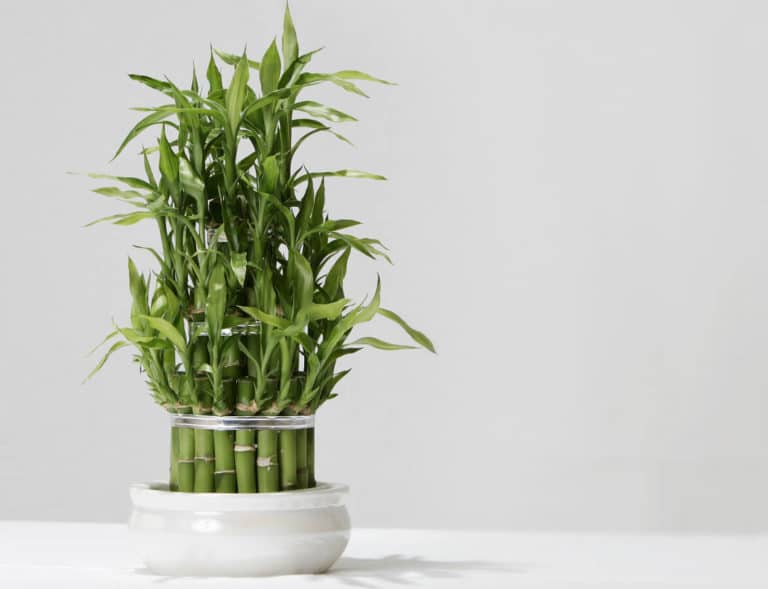
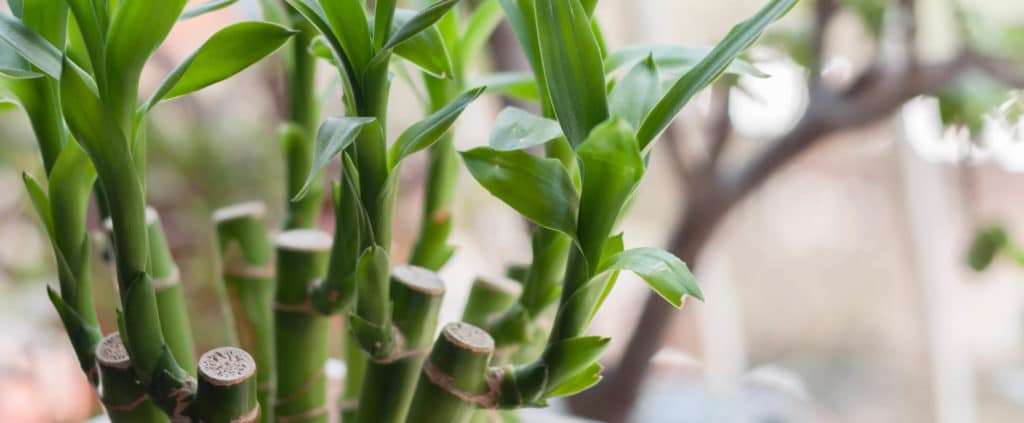
lucky bamboo
Lucky bamboo is a unique looking plant that doesn’t require much maintenance in order to grow and thrive. It grows very well in medium and low light and, in case you don’t feel like setting up a pot or planter, it doesn’t require anything more than water to grow.
#letsgro
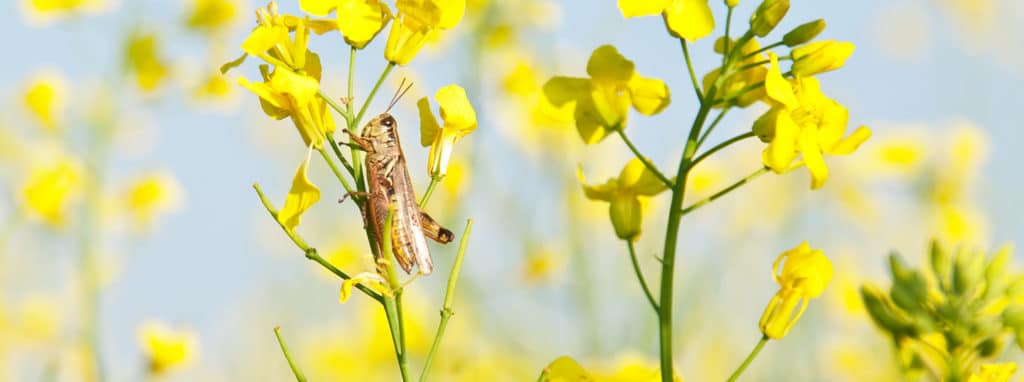
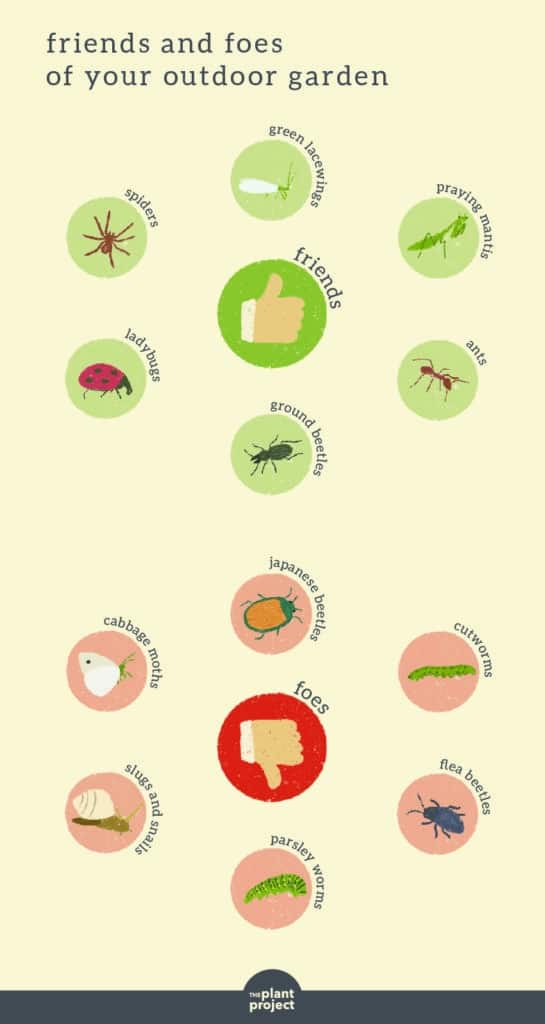
Frustrated by finding pests in the garden? Don’t waste time and money treating pests. Instead, follow our guide for preventing pests from becoming a problem in the first place. Test
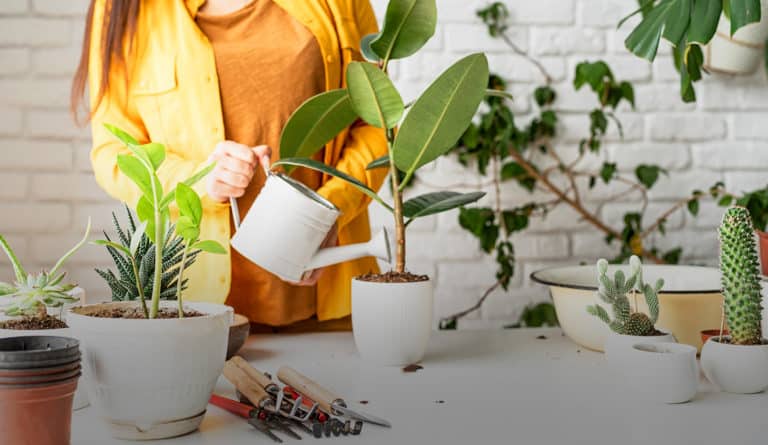
Knowing when and how to water your potted plants is an easy way to ensure your house plants are happy and thrive in your home. Here are a few simple dos and don’ts to keep in mind when it comes to watering your botanical buddy.
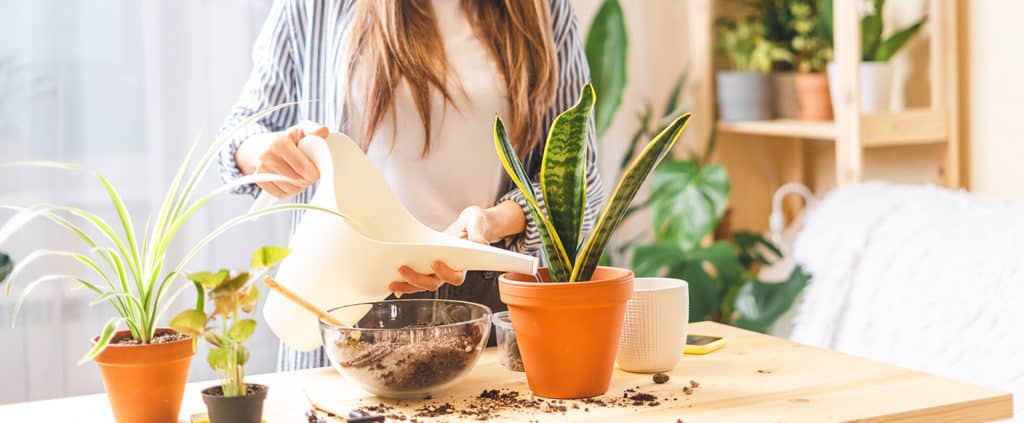
DO
pick a pot that is the right size for your plant and has good drainage holes.
DO
understand the unique needs of your plants. Succulents are desert plants and like to be kept on the drier side. They are susceptible to rot if over watered. Tropicals like to be kept moist. Some other types like to dry out between watering sessions. It’s all very personal.
DO
consider seasonality. Plants tend to take it easy in the winter, as a result they require less water. Spring and summer is a whole new ball game, that’s when your plant uses all its energy to grow.
DON’T
let water sit. Dump out any excess water. To prevent rot, water thoroughly and let the water run fully out of the pot, then discard the excess water to avoid soggy soil.
DON’T
water the leaves. We’ve said this a million times. When you’re watering your plant, avoid watering from overhead. Aim that watering can below the leaves and at the soil. This helps prevent bacterial and fungal infections.
DON’T
favour one side of the plant. Your plant may have it’s good side but to keep your plant friend full and lush, evenly water around the whole pot.
QUICK TIP
House plants love music! A bopping playlist also encourages growth.
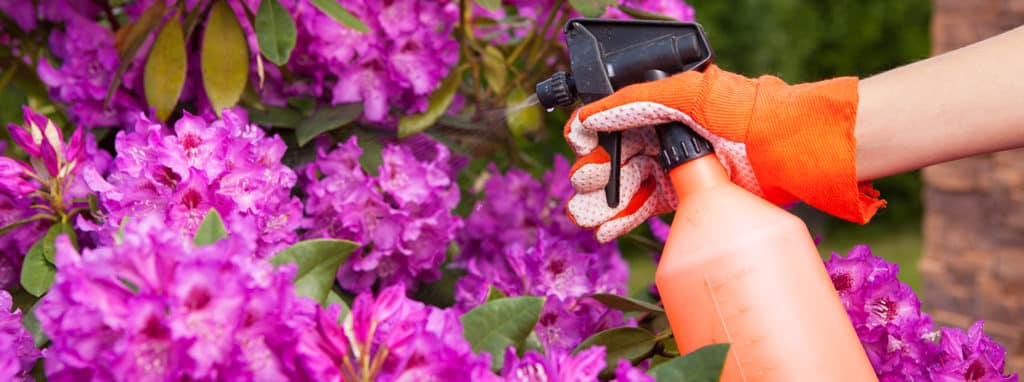
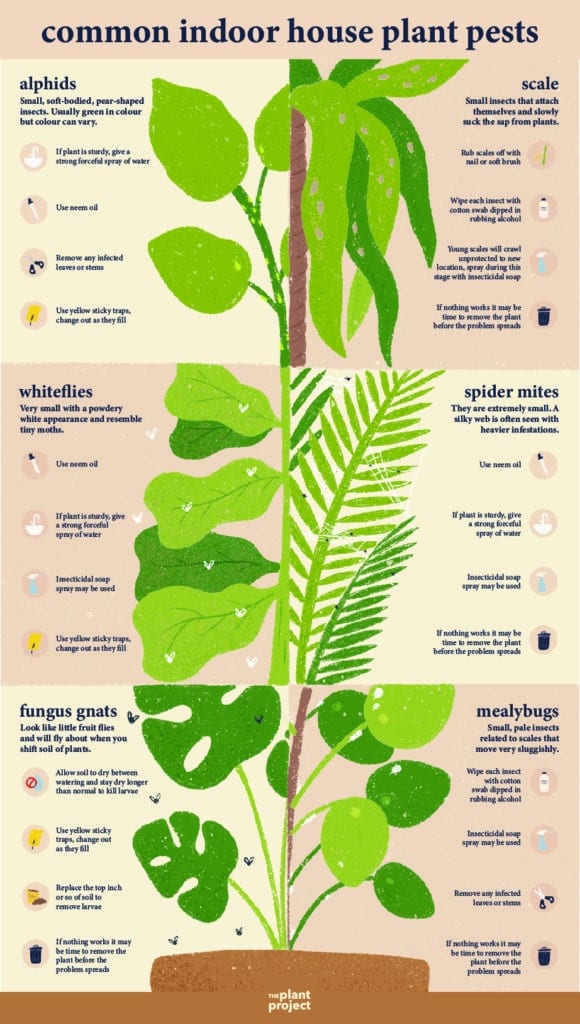
Whether it’s a new botanical you’ve brought home or an old friend, your house plant might be home to unwanted guests. Factors like too much or too little water, light, heat, or fertilizer can cause many plant problems, including pest infestations. There is generally two ways to help your plants when you spot pests.
non-chemical treatments
Early infestations can be caught and little bugs can be removed by hand, or with a cotton swab dipped in rubbing alcohol. This works well for aphids and mealybugs. Scaley insects may need to be scraped off with your nail. Simply spraying a sturdy plant with water can remove many pests. Be sure to spray all plant surfaces. Spraying water repeatedly helps control spider mites. Spraying the plant with insecticidal soap can often eliminate an infestation in its earliest stage. You may not be aware of an infestation at first. Pests may be hidden or in the egg stage, getting rid of them often takes more than one treatment. If the plant is severely damaged and not valuable, often the best and simplest solution may be to discard the plant as well as its soil and start with a new plant.
chemical treatments
Before choosing a pesticide, it is important to know exactly what pest you’re trying to get rid of. A single pesticide will not kill all kinds of pests. Some pesticides are only effective against certain kinds of pests or even certain life stages. It’s important to understand that you may need more than one application of a pesticide to get control of the situation. A good idea is to alternate the pesticide used from one application to the next as some pests develop resistance quickly. Usually a pesticide label will include a list of plants for which the pesticide is recommended, as well as a list of plants that are known to be sensitive to the pesticide. As always, before purchasing and using any pesticide, be sure to read all label directions and precautions and then follow them carefully. Using a gentle insecticidal solution like Ortho® Bug B Gon® ECO Insecticide Ready-to-Use, is an easy way to help prevent recurring infestations.
Knowing what to look for in a planter takes all the guesswork out. And guess what, we’re here to help.
getting started
Getting your hands dirty isn’t just fun, it’s good for your plant. Repotting your plant also gives it fresh potting mix to grow in. Your plant will be able to sustain its current size, but it will also be able to get larger. Repotting doesn’t always mean bigger pots. It could mean changing out old potting mix that’s depleted of nutrients. Eventually, your plant will need a larger pot when it outgrows its current one.
go big or go small
When we talk about plants, we often refer to them in size or inches. This doesn’t refer to the plant at all, but to the diameter of the pot that it is planted in. Let us explain, a 4” plant refers to a plant growing in a 4” diameter pot, regardless of the size of the plant — it comes in a 4” tall x 4” wide pot. We use these terms of measurement to accommodate diversity in height and types of plants. A cactus that fits into a 4” pot may be 1” or 1 ft. tall. When choosing a pot, choose a pot that is 1-2” larger than the current size if the plant is currently in a 10” pot or smaller. If your current pot size is >10”, choose a pot that is 2-3” larger in diameter. Who thought there was so much math involved in houseplants.
to drain or not to drain
It is recommended selecting planters and pots with drainage, especially if you are new to watering plants. It’s totally possible to make planters without drainage work with a little finesse! A good tip to remember is to pour no more than 1/3 of the container’s size in water. Lining the bottom of a planter with lava rocks or similar to create crevices for excess water to drain into is a great way to avoid root rot.
materials that matter
Some things to remember when choosing a planter. Most stores carry terracotta, wood or plastic planters. Our advice is to go porous. Porous ceramics like terracotta dry more evenly than plastic pots, and any wood planter will dry even faster than terracotta. Ceramic planters also are great choices. And if you’re worried about weight, fiberglass planters are ideal for plants 8″ or larger in diameter. Experiment with a few different materials. Horticulture is one part art and one part science.
#easypeasy
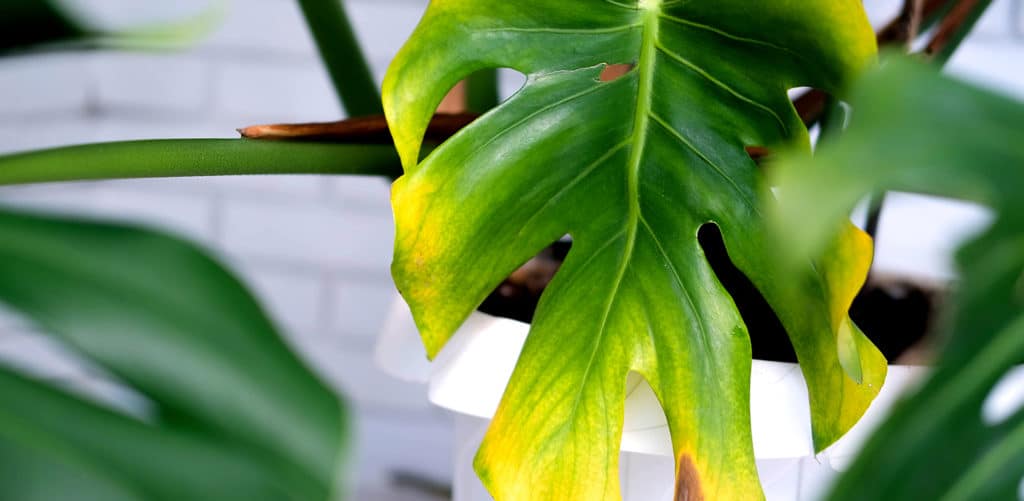
There you are bringing home a new plant, you’re full of hope and promise. You feed and nurture it but after a while you notice the leaves are turning brown and crispy. Let’s look at a few reasons this could be happening to your plant baby.
QUICK TIP
Your plant’s leaves can curl or turn brown if you move your plants abruptly from inside to outside during the summer without acclimating them to the direct sunlight. Let them dip their toes in partial sun first for a few days.