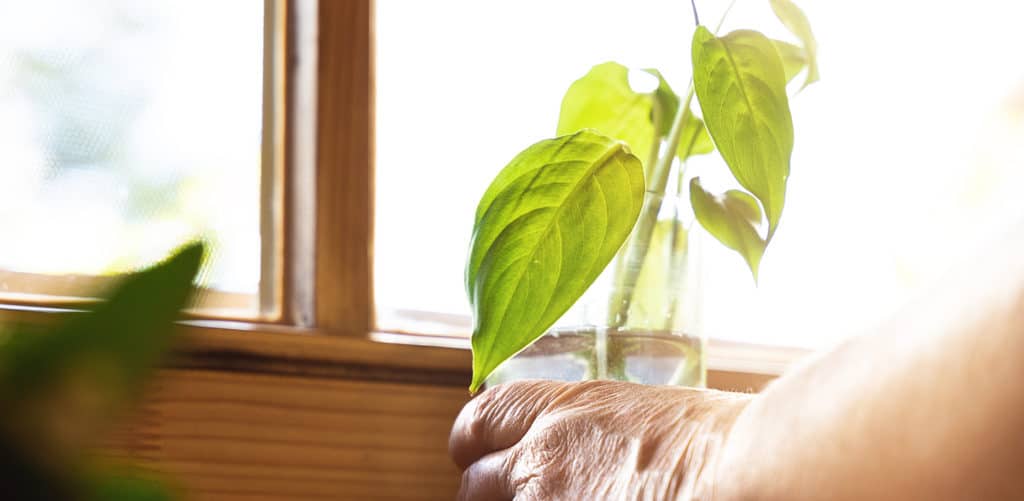
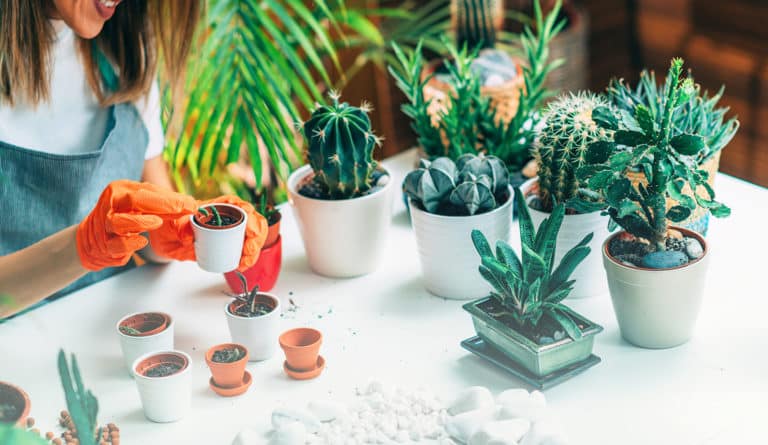
Propagation might sound like something from sci- fi flicks, but it is not as intimidating as you may think, nor must you be a pro gardener to do it.
If your sprawling houseplant is reaching new heights or outgrowing its pot, you may wish to propagate, which means growing a new plant from the original plant’s leaves, stems, or roots.
During pandemic times, we saw a lot of recipes for sourdough bread or kombucha beverages, both requiring a mother as a starter. Similarly, your mature plants are “mothers” that can be used as plant starters for a whole new plant community. Speaking of community, just as sourdough starters exchanged hands amongst neighbours, you can do the same with your propagated plants or within a plant swap, for example.
lets gro #plantproject
plant propagation FAQs
Here, we give props to propagation! Find out what materials and methods you need to get started.
This depends on the type of houseplant you wish to propagate. Whether it’s growing new roots in soil or water, some online research should help you decide if you’re using leaf cuttings, stems, or dividing the existing plant into a new container.
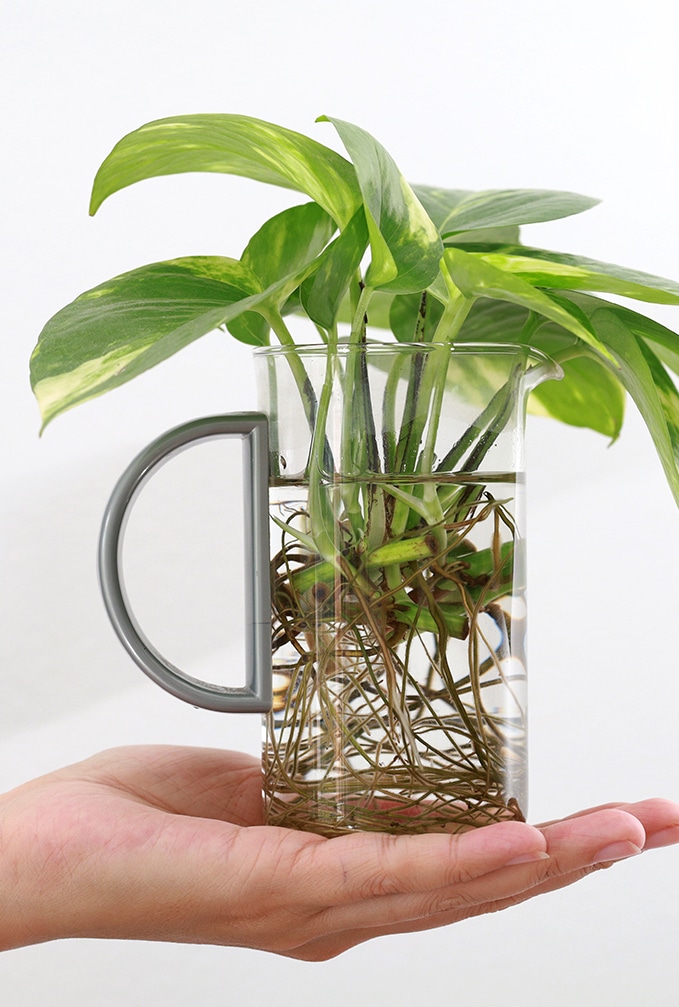
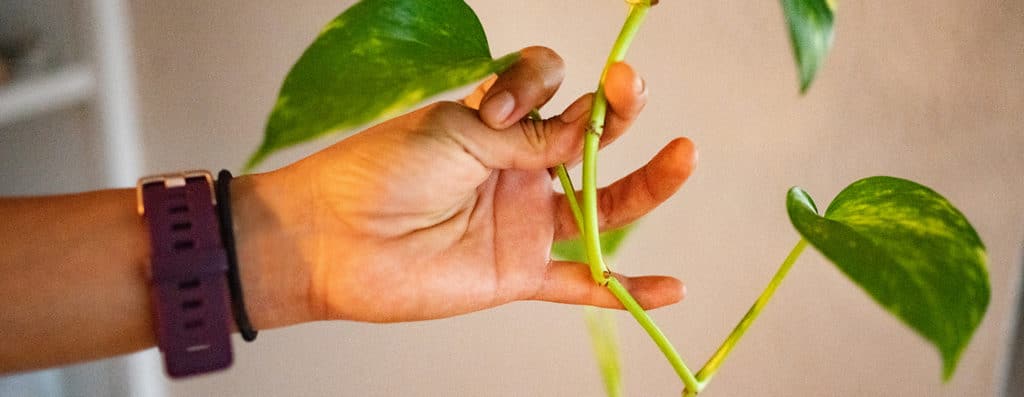
If you see a viable stem from your mother plant, you can cut the stem and place it in water for it to grow new roots. This is both a practical process as well as a fun science experiment to observe. For best results, try rooting tropical plants in water, for example the popular houseplants monstera and fiddle leaf fig.
Take your sharp shears or scissors and cut a 3-to-4-inch at the node (the length of stem below the leaf)
Remove leaves from the lower part of the stem to avoid leaves rotting in the water
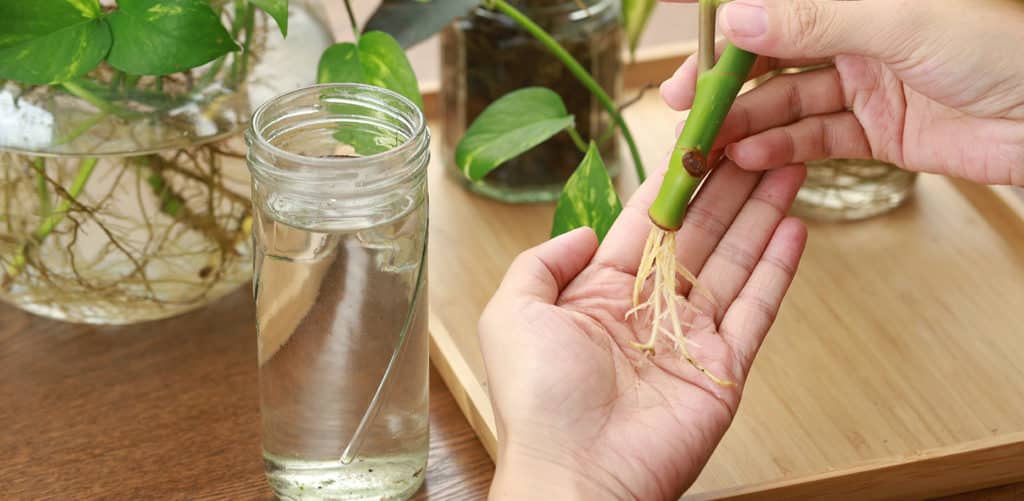
Fill your container with filtered water, changing it every few days, for 2 to 4 weeks, until the roots grow 1 to 2 inches
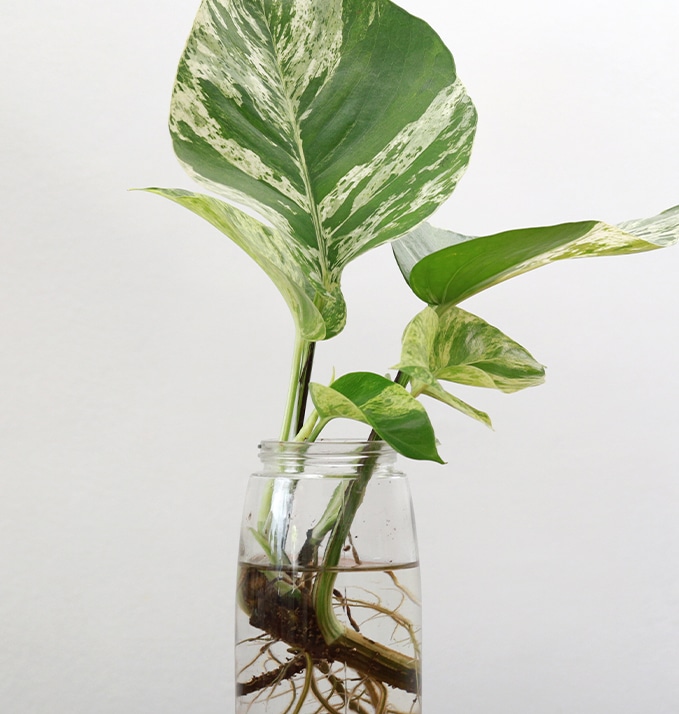
With roots a favourable length, it’s time to transplant the roots from water to soil. Using Miracle-Gro® Indoor Potting Mix , which offers nutrients and oxygen flow to allow your baby plant to thrive, fill a small pot two-thirds of the way making sure the roots are 1-inch below the rim. Surround the roots with more potting mix and gently press in.
Water well, until water comes out the bottom. Return to a sunny spot and watch your new baby grow.
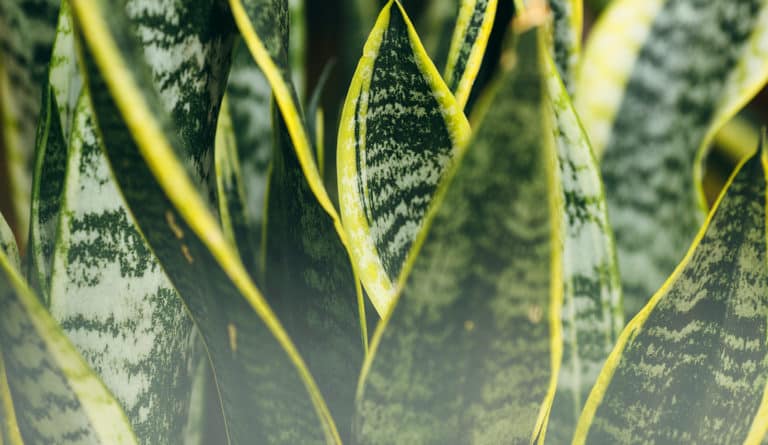
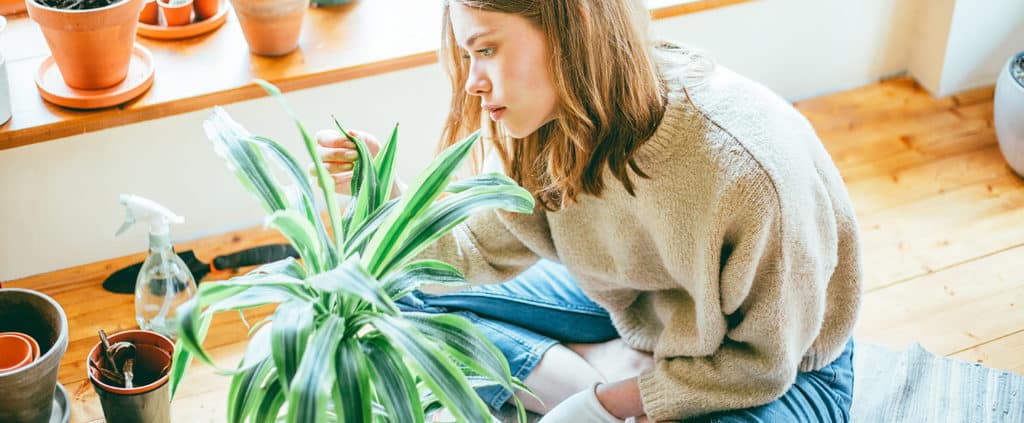
Just as in the above instructions you learned propagating using plant stems, this version is using leaves. A helpful hint to get started is to use a few leaves to root to increase chances of success. Propagating houseplants like snake plants, succulents and African violet are easier thanks to their dense, soft foliage.
Here’s how to root leaves in 5 easy steps:
Cut the leaves from your mother plants about 0.5 to 1-inch down its petiole (stalk). For plants without stalks, cut the leaf into 2-inch pieces, noting which part is the bottom (nearest the base) which you’ll need to know when potting.
Dip the leaves’ bottoms into and securely place it in the spoil on the vertical, bottom down. All leaves may share the same container.
Keep your cuttings moist by gently watering the soil, spritzing with a water bottle or keeping them near a humidifier. While the cuttings have no roots formed, be mindful they can dry easily so check on them frequently (which of course, is part of the fun, watching the progress!)
Congrats, it’s a plant! With patience and care, in a few months you will see baby plantlets with new roots take form, which means you can transplant them into their own pots, minus the original cutting.
Division, which is splitting a plant in half to propagate, is a good method for houseplants with stems at the base. For example, ferns, peace lilies, and bromeliads. You can also split the mother plant in thirds to create one or two more plants.
Here are 6 steps for plants propagation division:
Take houseplant out of its pot and put on a clean, covered surface.
Separate your plant into separate pieces by gently cutting with a sharp knife or pulling apart with your hands
Each new section should have roots attached to it
Fill pots with Miracle-Gro® Indoor Potting Mix, which will jumpstart nutrition to the new plant as it starts to adjust to its new earthy abode
Gently place each plant part into its own pot then add more potting mix to just below 1 inch of the pot’s rim.
Water so that it runs out the bottom of the planter and place your newbies in that bright, indirect light you used to grow their mother.
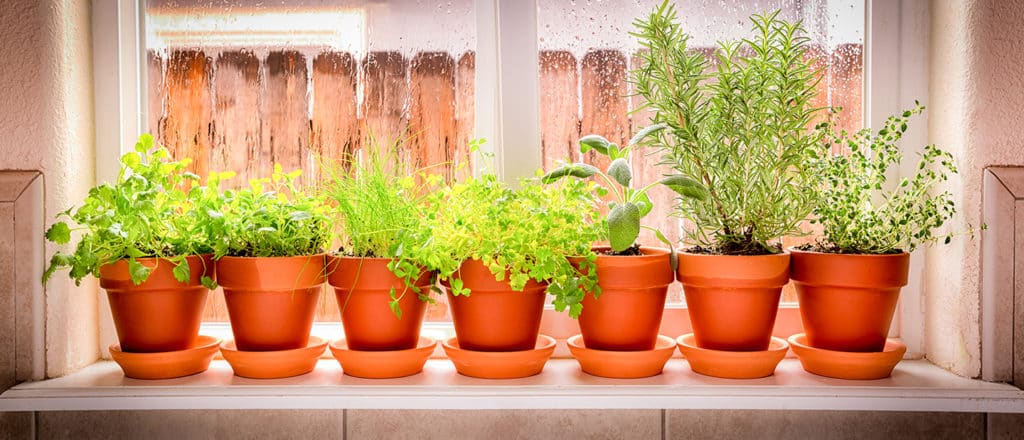
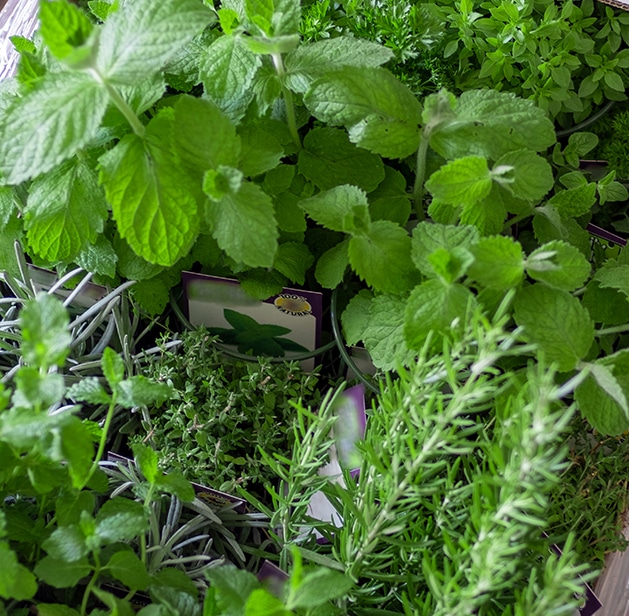
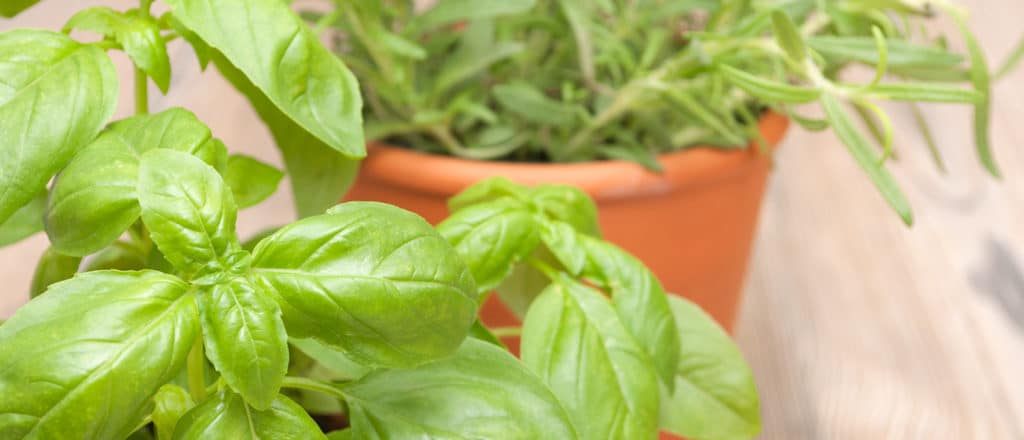
Say goodbye to dried herbs and swap them for their fresh counterparts. More flavourful and healthy, you can even enjoy fresh herbs in winter by growing them indoors. We show you how.
quality soil produces quality herbs
Just as we require fresh food for optimal health (but you already knew that, since you’re here to grow your own fresh herbs!) plants require quality soil.Call us biased but the best results come from using Miracle-Gro® Potting Mix, designed for proper nutrient absorption and drainage.
lets gro #plantproject
sunny side up
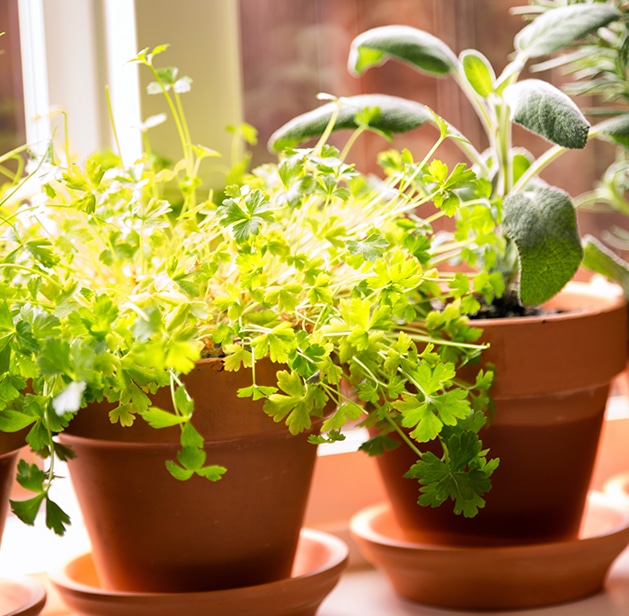
Put it this way, the more sunshine your herb babies get, the more they’ll grow up healthy and abundant. Choose a south-facing window to place your indoor herb garden, avoiding a north-facing windowsill, although east- or west-facing windows are alright, too.
seedy side of the sill
Just as sunlight makes a world of difference, so do the seeds you choose. Small containers work best with denser, smaller seeds. Using a seed starting mix like Miracle-Gro® Seed Starting Potting Mix, sprinkle your herb seeds over the soil and cover not too tightly, or plant your herb seeds an inch or so deep.
talkin’ ‘bout my germination
After you plant the seeds, cover the container with a loose-fitting item like a plastic bag or dome-shaped vessel. Place them in a warm damp spot away from direct sunlight which will allow the seeds to germinate. Once they do, you can remove them and place them in a sunnier spot.
TLC for transplanted herb plants
Your herb babies can undergo shock from dramatic light changes, so adjust them slowly. This means it’s best not to take them directly from a sunny area to a dim one. Allow them to acclimatize by gradually exposing them to lower light conditions. For example, start them in a spot that receives indirect sunlight for two weeks, then to a shadier area for another week or two, until finally moving them to their new indoor home.
water, but not too much
Your potting mix should dry a bit before the next watering. The best way to check is simply sticking your index finger into the soil and if it’s dry, gently water. Liberal waterings can be a recipe for disaster so avoid over-watering your herbs. A good method is to see water coming out of the bottom of the container but not flooding. Check out the Miracle-Gro®’s line of herb feeding products for a healthy herb harvest.
keeping herbs happy
Like most plants, regular pruning of your herbs enables them to stay compact and grow new leaves and shoots. Herbs are easy to prune since you are likely gently pulling them to add to your cooking or salads. Pruning can even extend your herbs’ growth periods. Flowers might look pretty but they affect flavour and tenderness of the herbs, so be sure to prune them below the bud immediately.
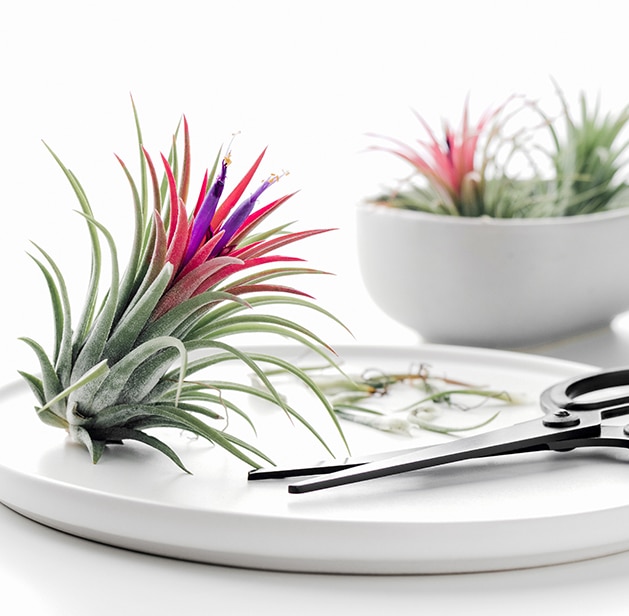
If you haven’t got on board with the air garden trend, it’s time for you to turn a new leaf. Easy to care for and uniquely beautiful, air plants are a way to brighten your home with green, no soil required.
about air plants
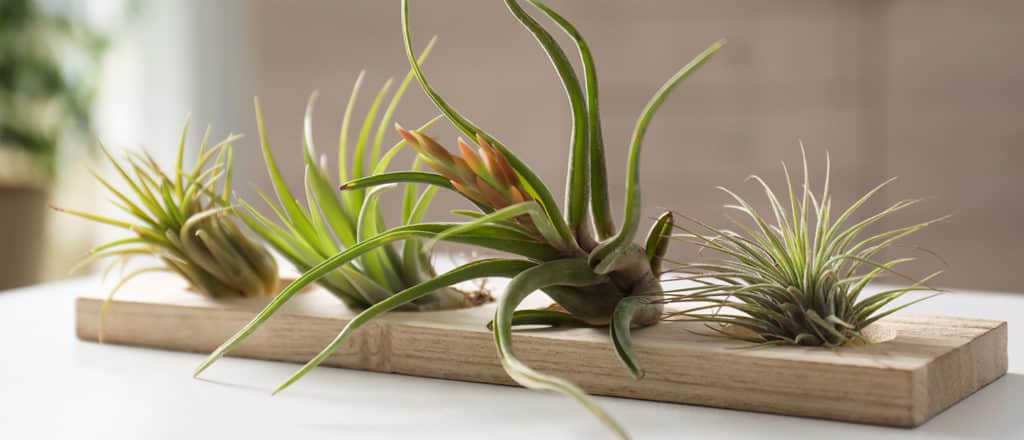
Air plants usually grow on other plants, creating intriguing patterns and visual interest. They look wonderful on their own or grouped together! We love seeing them displayed in things like terrariums, wall planters, and driftwood.
flowering air plants?
Their rosette style of growth, meaning new growth stems from the middle of the plant, make these plants fascinating to watch grow and even flower.
caring for your air plants
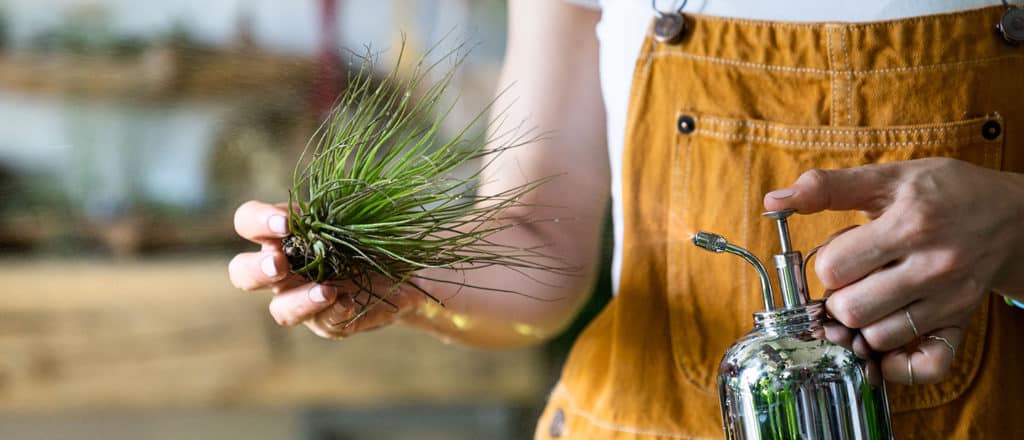
As easy as air gardens are to care for, your air plants require the right amount of light and room temperature. Bright, indirect sunlight is best. Since they originate from warmer clients, your air plant babies like a cozy home, so keep the thermostat at least 8 ℃ (46℉) so they don’t get cold. Unlike other houseplants, air plants do not have roots. This means you should soak them at least one a week in a jar for about 30 minutes, then turn upside down gently to drain.
all set!
They can be placed in terrariums or attached to anything from magnets to driftwood for creating your own interesting displays—just use a bit of hot glue or translucent fishing line to create a floating look!
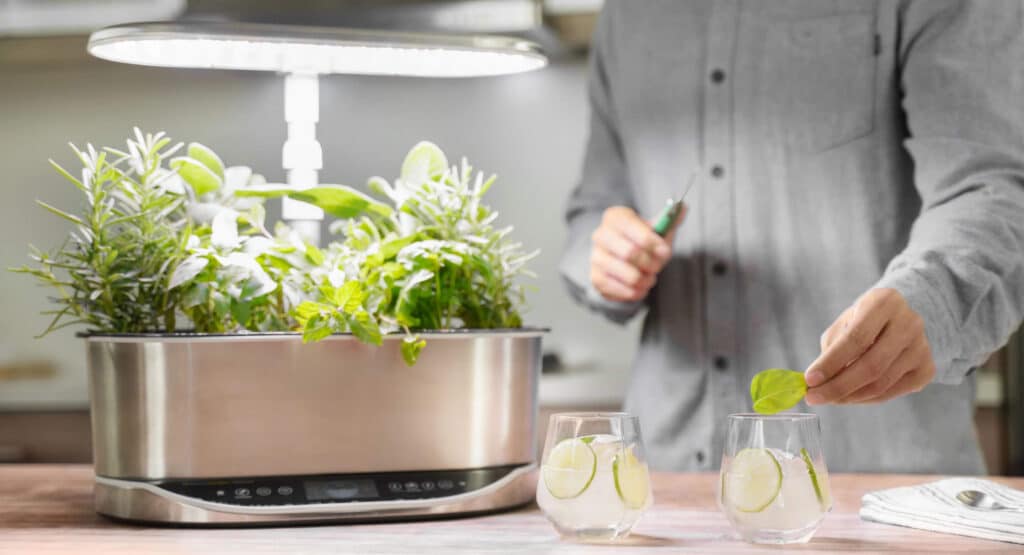
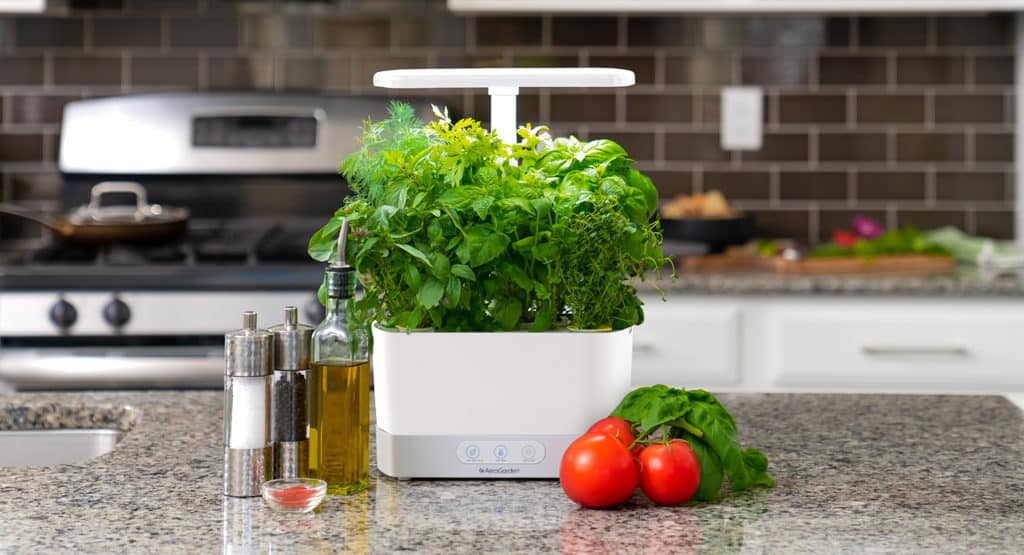
With food prices on the rise, many people are growing their own produce. There’s no need to wait until next spring to start a garden outdoors, you can grow more of what you love – year round.
lets gro #plantproject
The Aerogarden makes the perfect gift for the plant lover in your life. Grow anywhere with style and convenience.
grow anything
Seed pod kits come in a variety of vegetables and gourmet herbs that include basil, thyme, dill, parsley, chives, mint, cherry tomatoes, and lettuce. A Grow Anything seed pod kit allows you to start your favourite plants before potting them or planting in ground in the spring and summer.
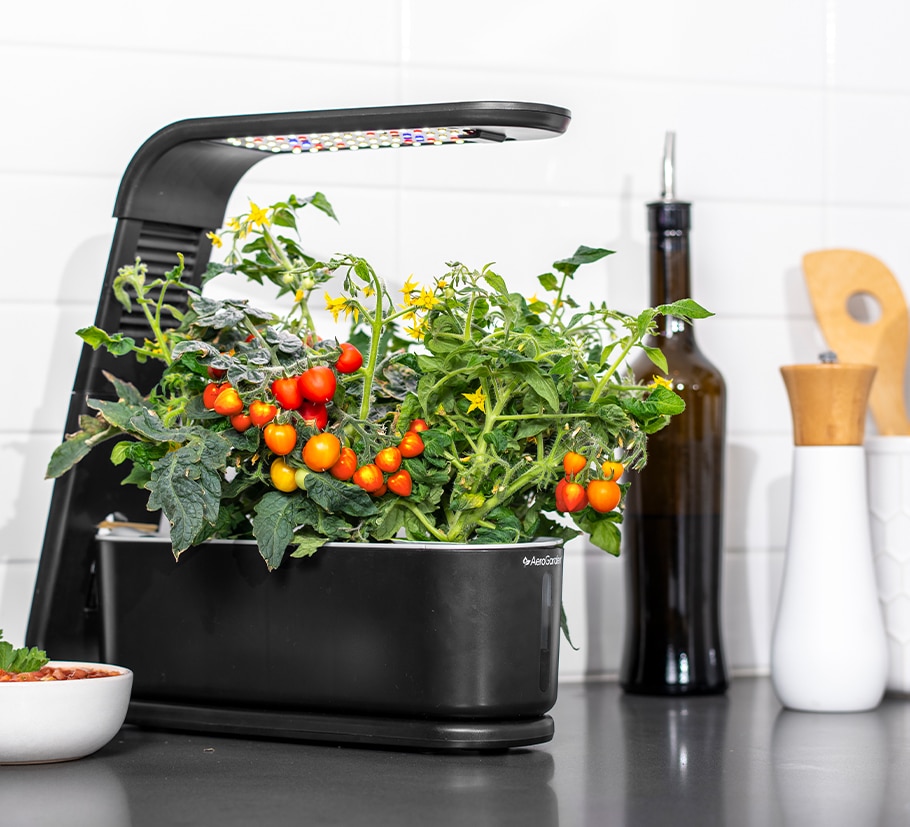
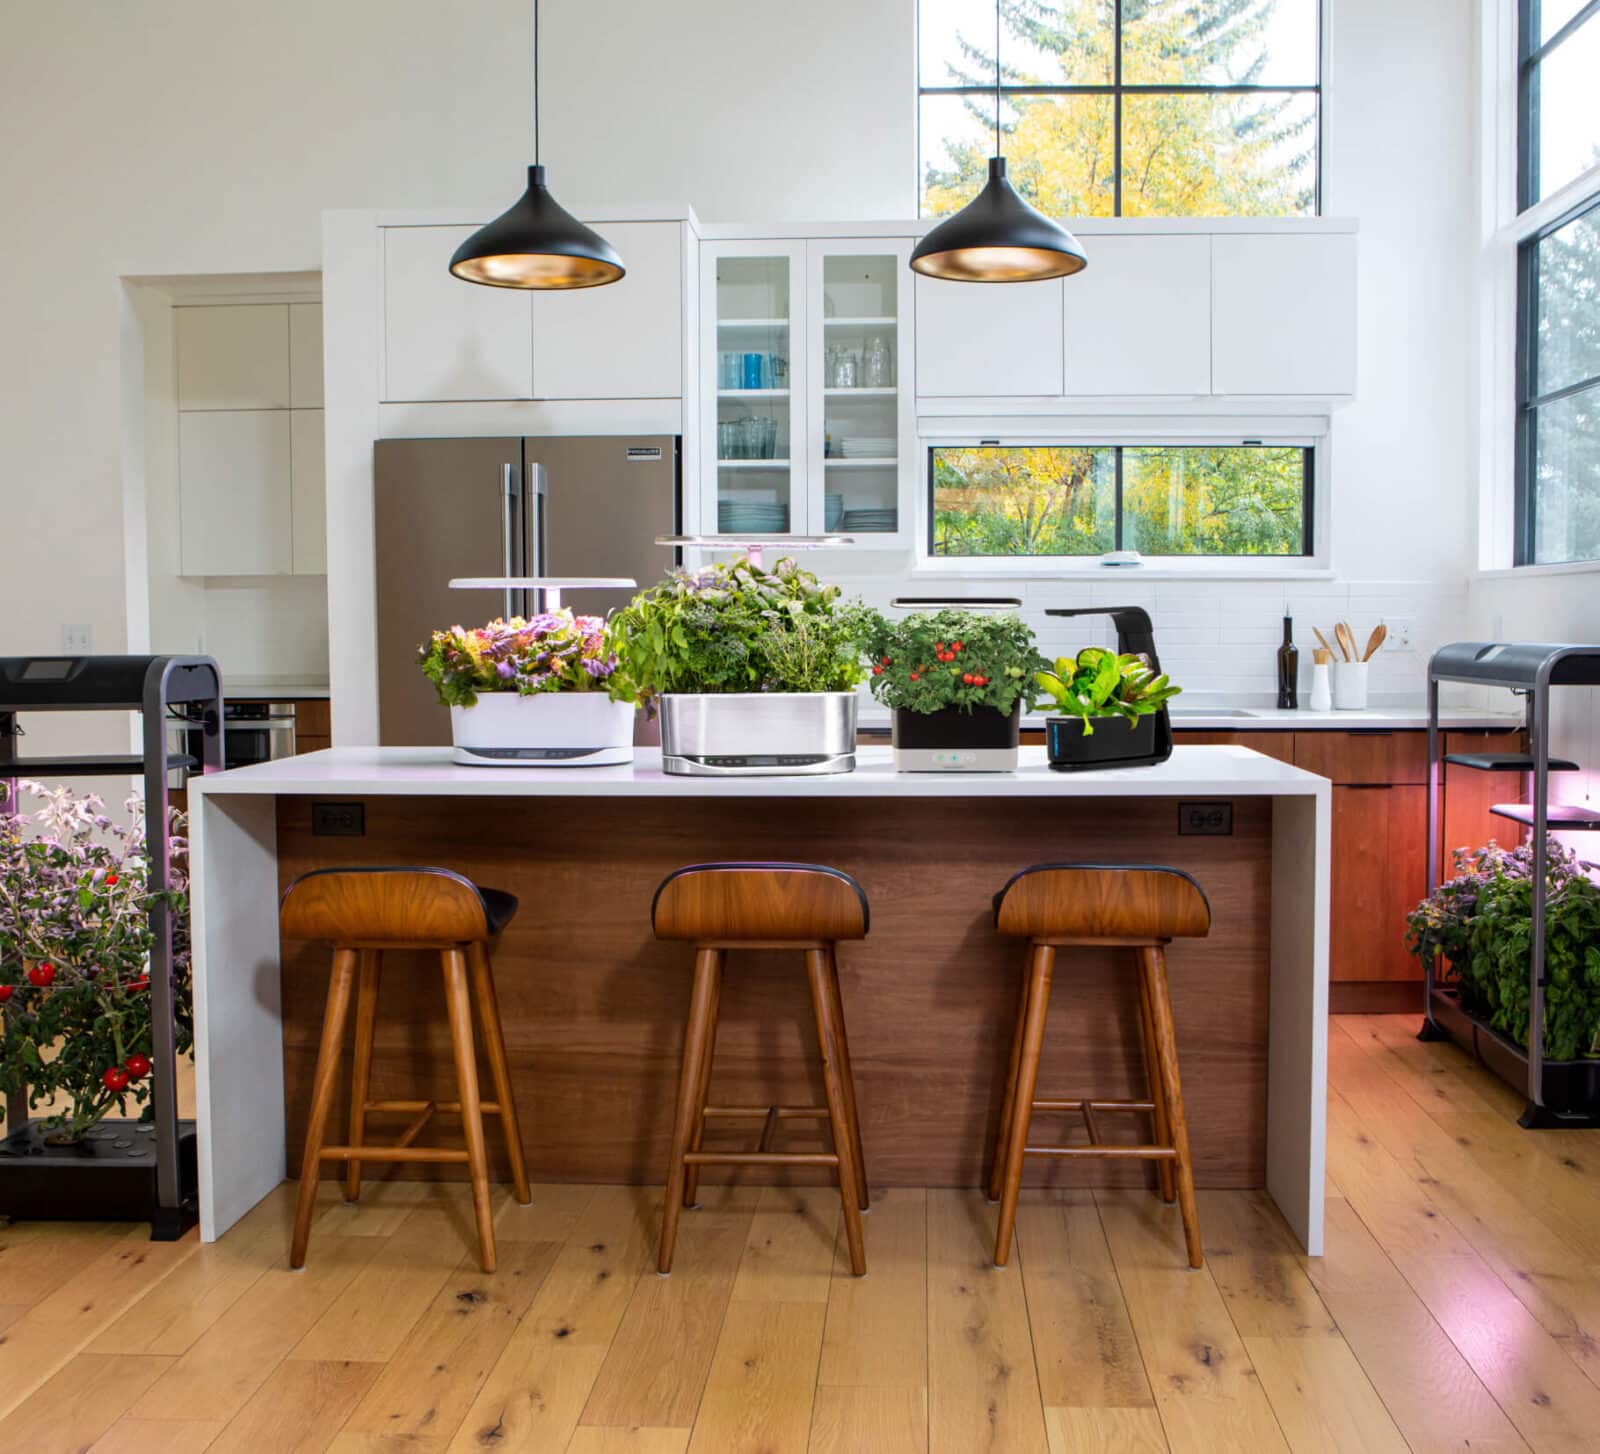
the AeroGarden family
Countertop Aerogardens range from 2 to 9 pods and offer different growing heights as well as space saving options. WiFi and non-WiFi Aerogarden versions are available.
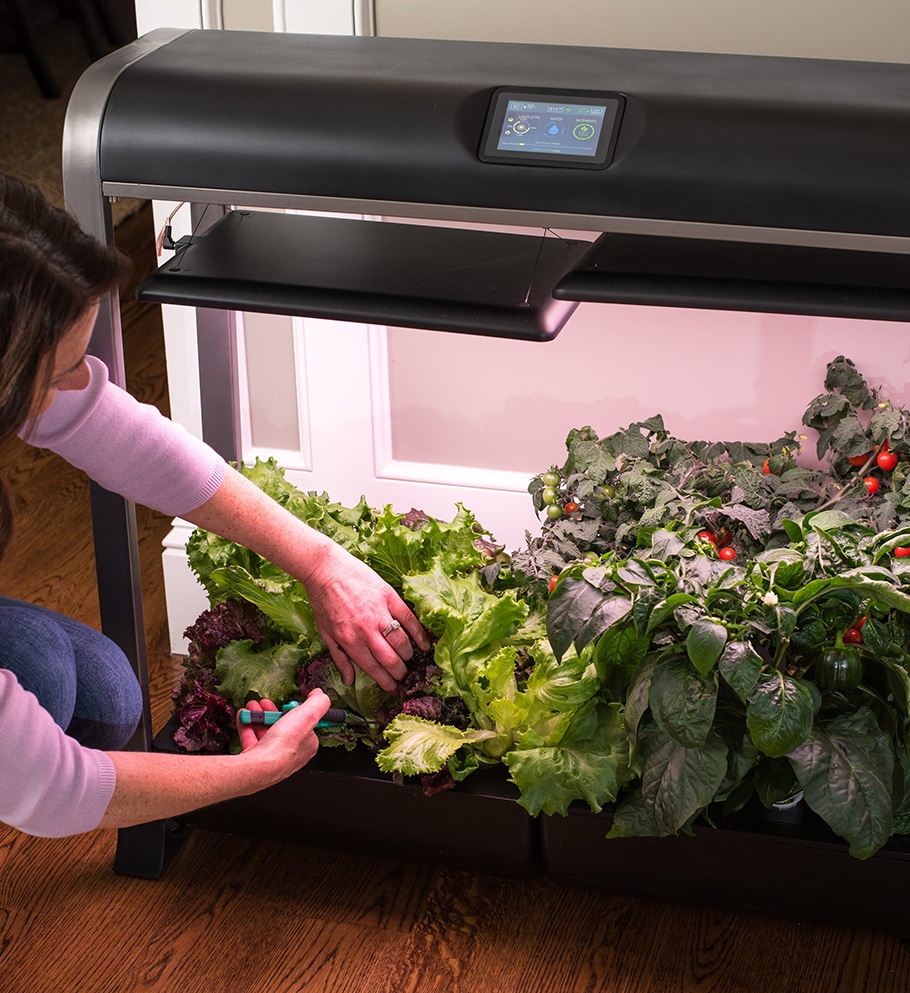
5X growth speed
Plants grow five times more quickly in the Aerogarden than they do in soil. As a result, we recommend you not pack your Aerogardenholes with seeds, alternating holes instead, due to the robust seed growth.
clean green machine
Keep your Aerogarden clean by giving it a weekly wipe down. When unboxing, fully wash the unit and ensure.
water, lights, action!
Ensure the growing lights above your Aerogarden are 4- to 6-inches above the plants. As your plants begin to grow to different heights, base this measurement on the tallest plant.
It is fine to use tap water for your plants. If the water is on the harder side, purified or distilled water is better.
Don’t forget to prune them. This is especially important because Aerogardens grown and consume space quickly.
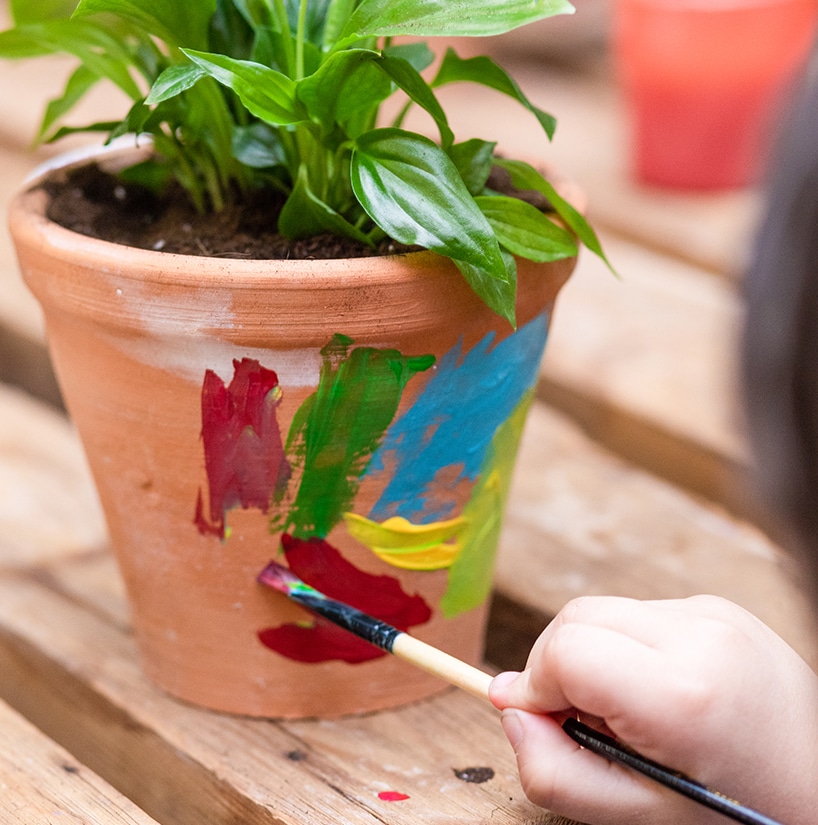
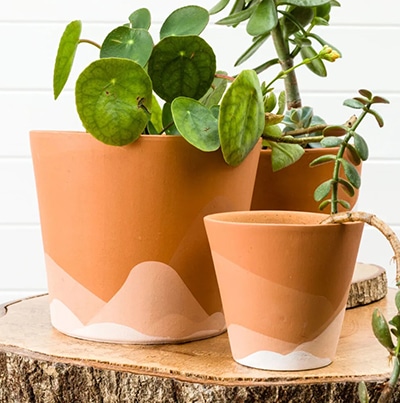
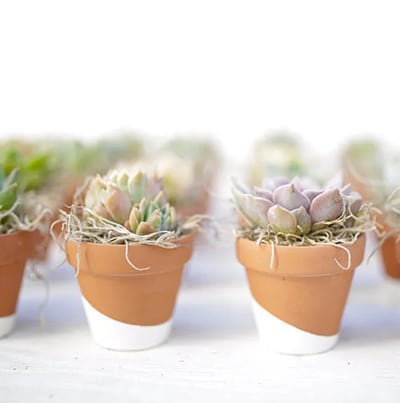
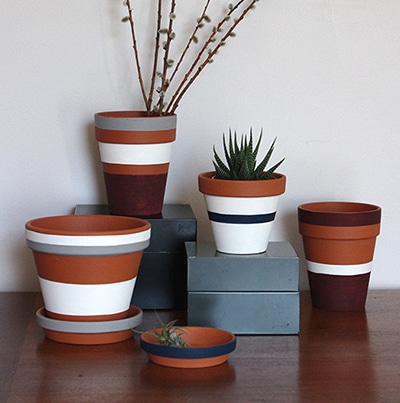
Upcycle the ubiquitous terracotta plant pot. With these easy tips, you can bring those boring pots from drab to fab in a day
here’s what you need to get started:
Terracotta pots
Foam paint brushes
Acrylic paint in your preferred colours
Newspaper
Matte or gloss sealing spray
Pot cleaning brush (optional)
Disposable plate (optional)
Water (optional)
lets gro #plantproject
step one.
using pencil, sketch out the basic shapes of the type of plant you want to label: an elongated oval for peppers, rounded triangles for strawberries, circles for tomatoes, and so on. write out the name of the plant in pencil as well. use your best handwriting or get creative with fonts!
step two.
Clean your pot, whether it’s new or used. Your scrub brush can help you remove any dirt. Make sure that the pots are completely dry, which can take a couple hours or a couple days depending on their size.
step three.
If needed, thin the paint by squirting a good amount on the plate and adding a few drops of water and mix. Clay or terracotta pots are absorbent so thinned paint allows a more even coat of paint.
step four.
Get painting! Desired coverage might require two or three coats. You may wish to paint the top interior that is exposed above the soil.
step five.
Personalize your pots by adding designs, lettering or adhesive decals. Your plant babies deserve a pretty home all their own.
step six.
Allow paint and decorations to dry. Since these pot materials hold moisture, it may take longer than you expect to dry. Yes, we want our pots to be moist or our plants, but their painted surfaces!
step seven.
Seal the deal. Select a glossy or matte finish and spray the pot evenly in a well-ventilated area
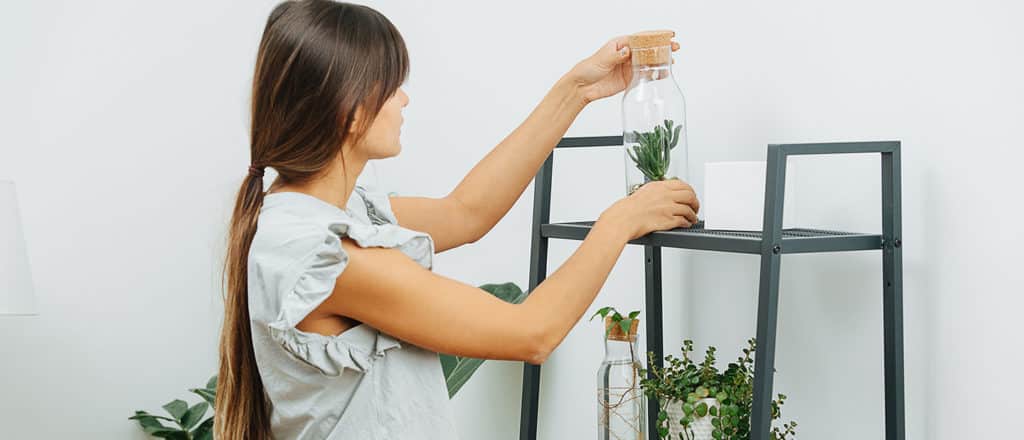
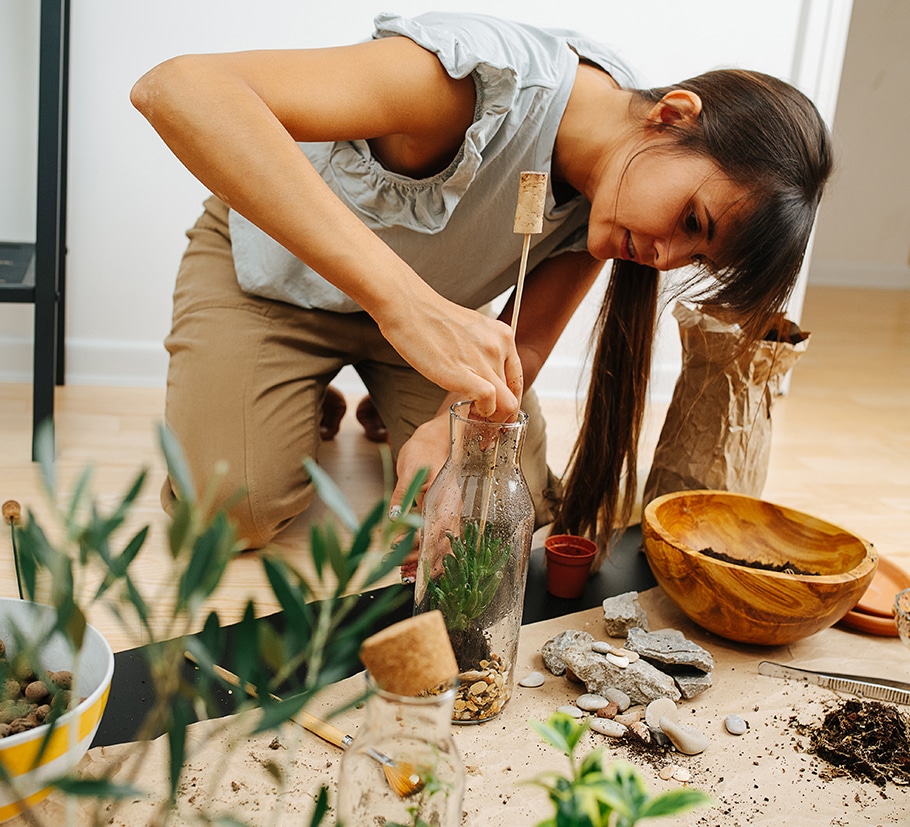
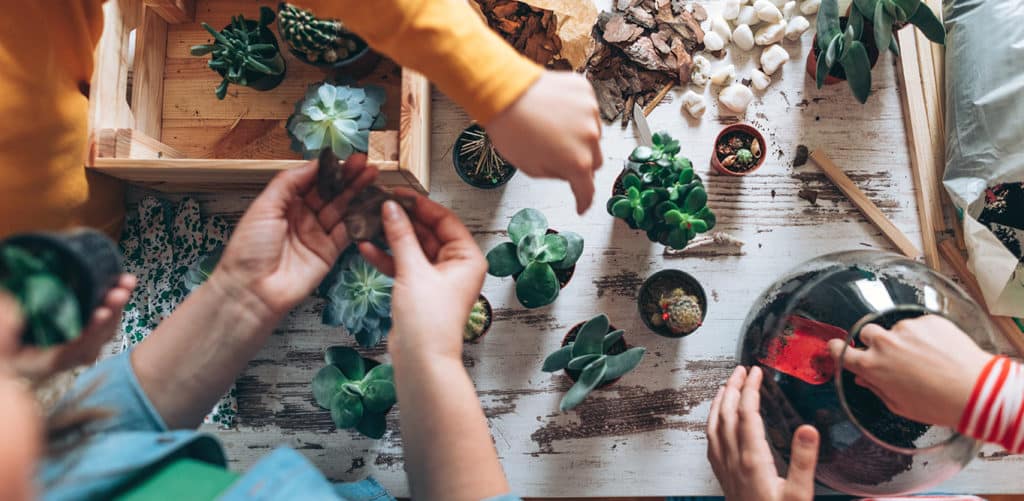
Why are terrariums so popular? We don’t need to explain when you see the charming miniature, glass-enclosed world for yourself. Or, better yet, when you make your own. They are fun to create and so rewarding, especially when you compare your DIY terrarium to the cost of a store-bought version.
Here’s how to DIY your own plant terrarium, which is big on beauty and small on space. A bookshelf or hanging plant holder will do!
Terrarium-friendly plants like succulents, air plants or miniature cacti
Small gardening tools
Small or medium sized glass vessel
Miniature decorations or trinkets (optional)
lets gro #plantproject
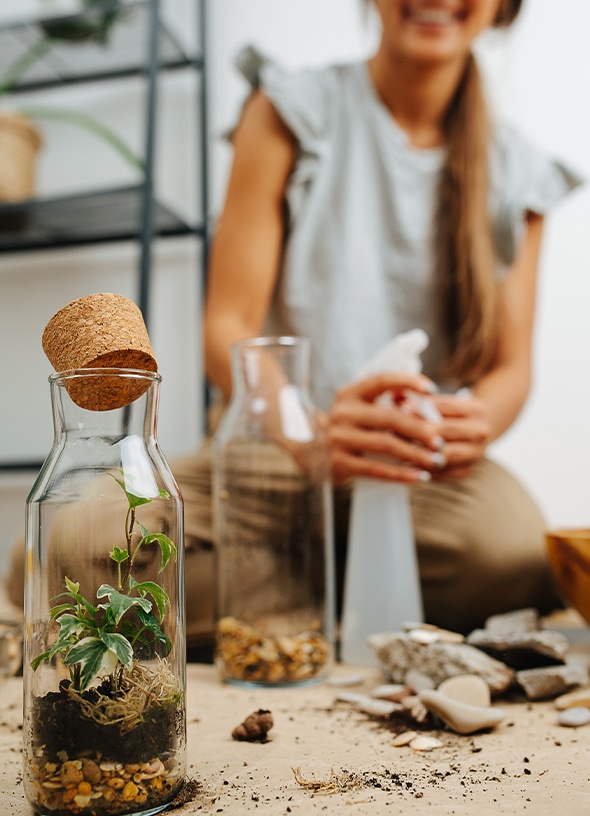
step one.
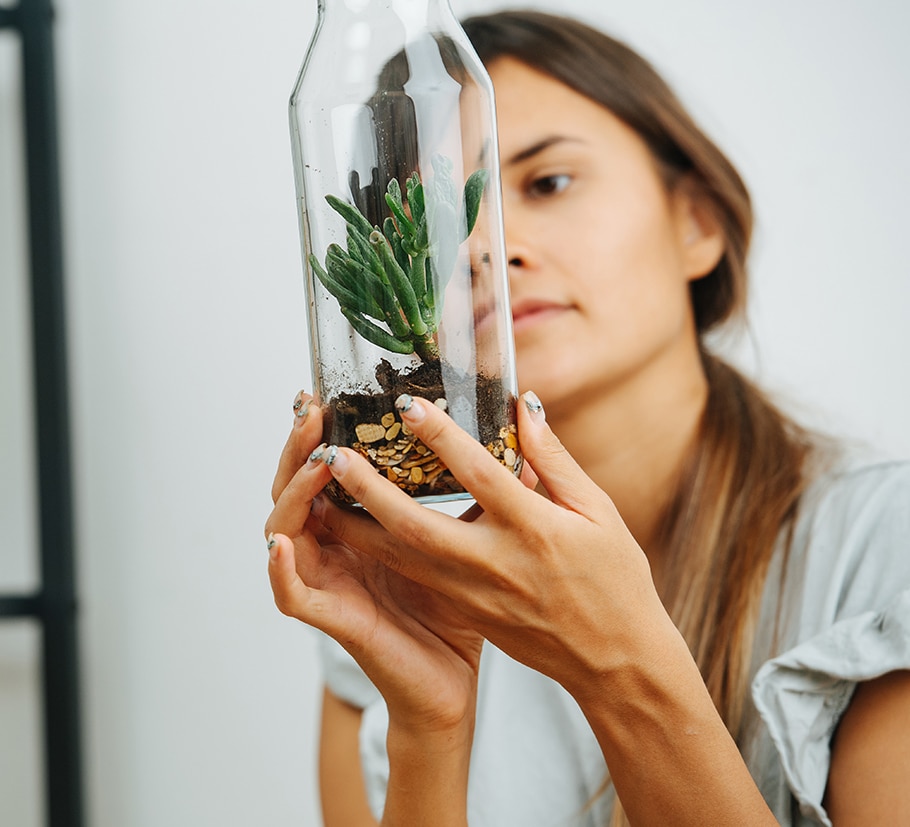
Spread a 1 ½“ layerof pebbles on the terrarium’s interior base.
step two.
Place the activated charcoal on top in a thin layer.
step three.
Add potting mix (or your mix of choice depending on plant type) ensuring adequate depth for plant roots, approximately 2.5”. Smaller glass containers may require slightly less.
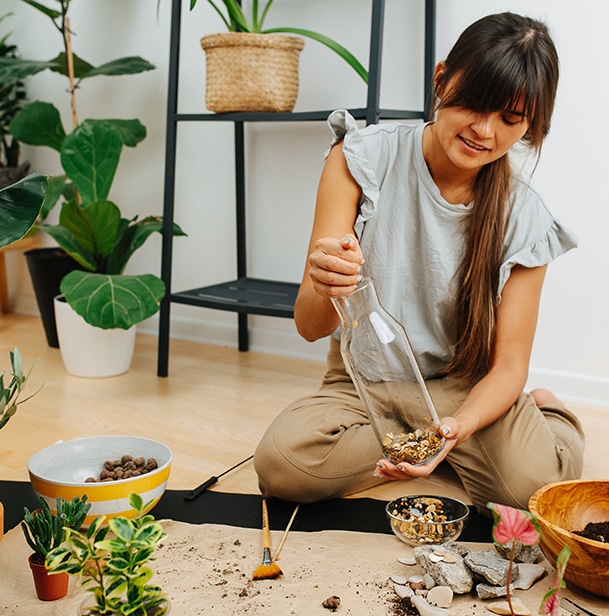
step four.
Add your plants, beginning with the largest one first. Add your plants, beginning with the largest one first. As a general rule of (green) thumb, prune the roots once you remove them from their container.
step five.
Using your fingertip, make a dent in the soil that is big enough to submerge the plant roots.
step six.
Gently nestle the small plant in the soil. We suggest starting from the back of the terrarium then making your way to the front. Feel free to experiment with spacing, as you are the one who decides what is most visually attractive.
step seven.
If you’ve chosen to add some ‘pizzazz’ with additional miniature decorations, now you can (yes, you can even find tiny garden gnomes for your glass-enclosed garden).
taking care of your terrarium:
Now that it’s done, all that’s needed is simple upkeep. Find a place to show it off, a spot that has ample indirect sunlight and make sure to dampen the soil every two weeks or when it appears to need moistened.
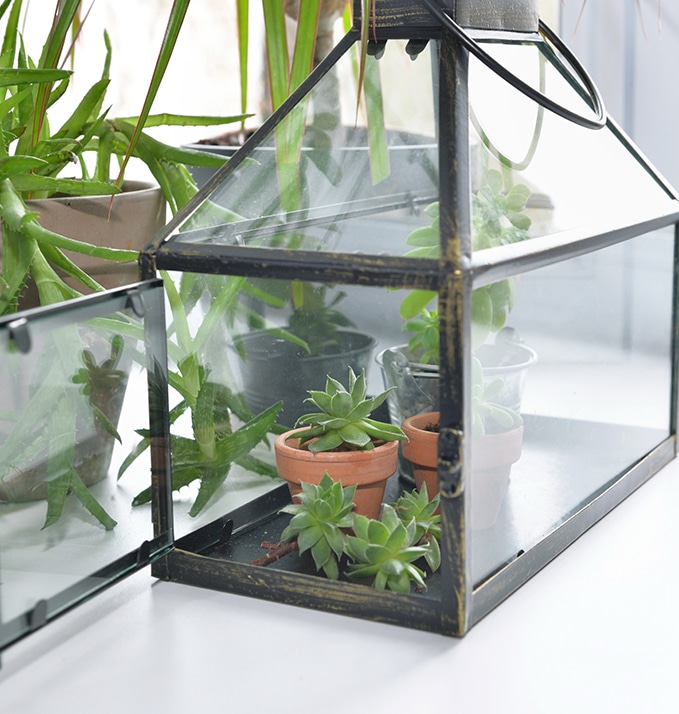
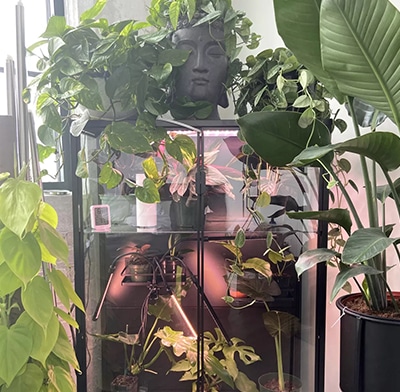
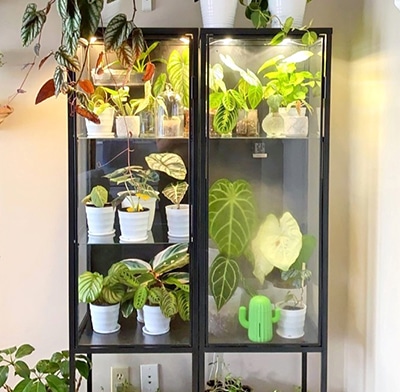
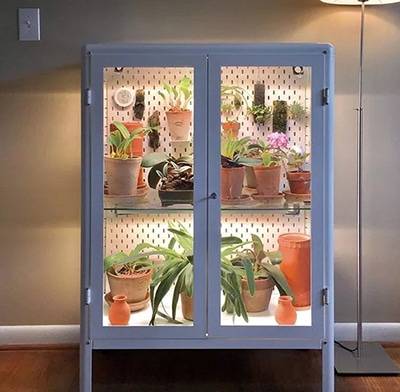
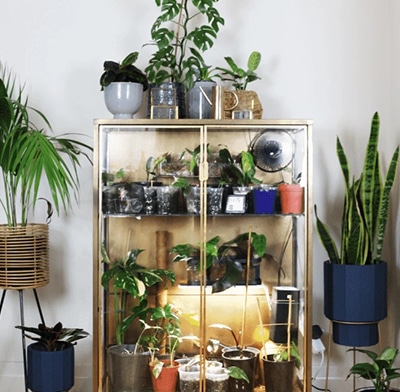
The beauty and practicality of greenhouses don’t have to be relegated to the great outdoors. This a rewarding plant project that keeps on giving.
here’s what you need to get started:
a glass cabinet
a grow light
portable humidifier
small fan
heating mats (optional)
pegboard (optional)
decorations
lets gro #plantproject
get a glass cabinet
Search your local antiques shop or home décor or furniture store for a glass cabinet that speaks to you.
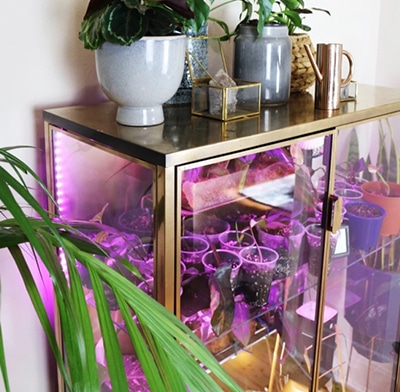
install a grow light
After assembling (if required) your glass cabinet that will soon become a greenhouse, it’s time to add grow lights. If you plan to put your greenhouse in a darker or shaded area of your home, grow lighting is especially important. A home improvement store will have varying styles, we recommend those with adhesive strips for ease of installation.
control air quality
Greenhouses are excellent for tropical plants that need humid conditions. Add a portable humidifier or water tray inside your greenhouse. To circulate the air, you may wish to include a small fan. Greenhouses are also useful for plants that do not require humidity.
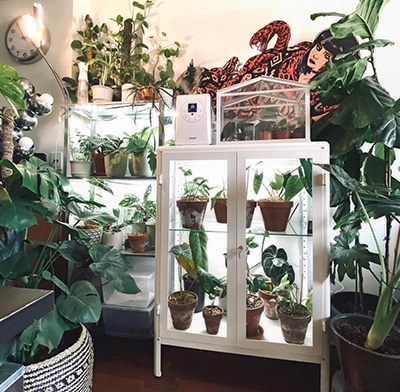
get creative
The last step of building your own indoor greenhouse is up to you, as it is customizing it to make it your own. Shelving, rugs or heating mats, pegboard or particle boards, small garden gnomes – whatever useful or aesthetic ideas you have, now you can add them to your indoor greenhouse and enjoy the fruits (and flowers) of your labour!
Babies don’t come with instructions but plant babies do. Even with instructions, you may still have some questions on doing right by your plant. We’ve got you covered with some basic houseplant do’s and don’ts.
let your plant get used to its space and quarantine. When you introduce your new plant to its new home, it will need time to get acclimated. Another good rule of thumb is to keep your new plant well away from other houseplants for at least 2 weeks. This gives you time to inspect your new baby for bugs or diseases.
DO
keep it on a schedule. Plants love structure. Watering and feeding your plant on a schedule helps to keep it happy and healthy. Most plants like to stay moderately hydrated and well fed. Take a look at our plant tags to find more information about your plant and its needs.
DO
repot when the time is right! A good rule of thumb is to repot once the plant has reached 2-3 times the size of their pot. Another good indicator is if it appears to be growing slower than it should. A new size pot let’s your plant spread it’s wings (if it’s a Caladium it really does have wings)
DON’T
repot too soon. Slow your roll! Repotting a plant suddenly can cause browning leaves or wilting. Give your new buddy time to get used to its new home before repotting. You may not need to for quite some time!
DON’T
let it get root bound. Roots that push through drainage holes can push the plant out of its pot.This is a pretty big hint that your plant needs more room. It’s time to let it stretch its legs.
DON’T
let it dry out too much. Your little plant baby will thrive in high quality potting mix, Miracle-Gro® Indoor Potting Mixbut potting mix dries out faster than normal soil. So check for dryness with a quick finger dip to test the mix. If it’s dry, you know what to do.
QUICK TIP
Plants love a fresh dose of potting mix, so re-pot every year right before the warm-weather growing season.
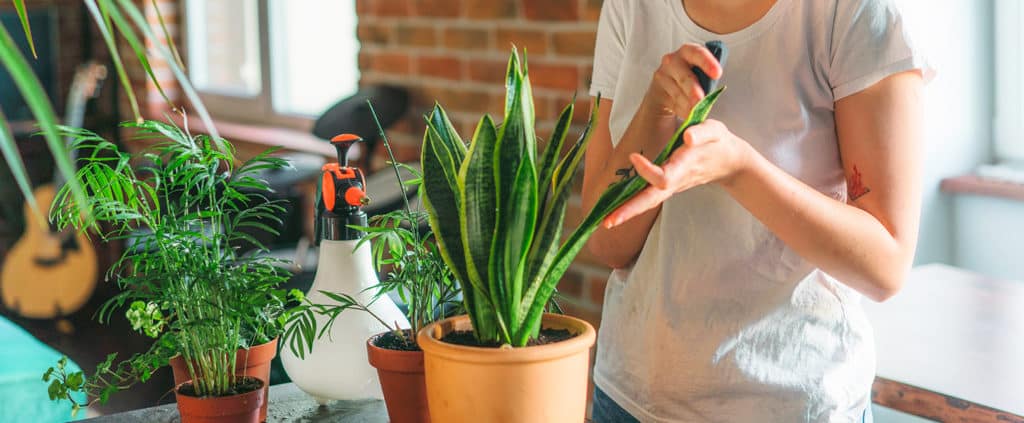
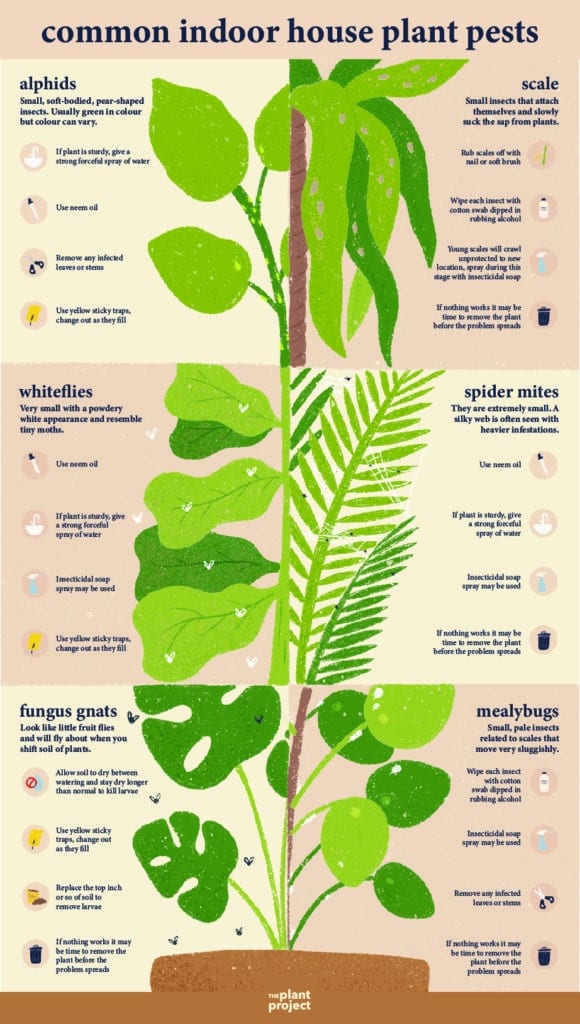
Whether it’s a new botanical you’ve brought home or an old friend, your house plant might be home to unwanted guests. Factors like too much or too little water, light, heat, or fertilizer can cause many plant problems, including pest infestations. There is generally two ways to help your plants when you spot pests.
non-chemical treatments
Early infestations can be caught and little bugs can be removed by hand, or with a cotton swab dipped in rubbing alcohol. This works well for aphids and mealybugs. Scaley insects may need to be scraped off with your nail. Simply spraying a sturdy plant with water can remove many pests. Be sure to spray all plant surfaces. Spraying water repeatedly helps control spider mites. Spraying the plant with insecticidal soap can often eliminate an infestation in its earliest stage. You may not be aware of an infestation at first. Pests may be hidden or in the egg stage, getting rid of them often takes more than one treatment. If the plant is severely damaged and not valuable, often the best and simplest solution may be to discard the plant as well as its soil and start with a new plant.
chemical treatments
Before choosing a pesticide, it is important to know exactly what pest you’re trying to get rid of. A single pesticide will not kill all kinds of pests. Some pesticides are only effective against certain kinds of pests or even certain life stages. It’s important to understand that you may need more than one application of a pesticide to get control of the situation. A good idea is to alternate the pesticide used from one application to the next as some pests develop resistance quickly. Usually a pesticide label will include a list of plants for which the pesticide is recommended, as well as a list of plants that are known to be sensitive to the pesticide. As always, before purchasing and using any pesticide, be sure to read all label directions and precautions and then follow them carefully. Using a gentle insecticidal solution like Ortho® Bug B Gon® ECO Insecticide Ready-to-Use, is an easy way to help prevent recurring infestations.
We use cookies on our website to give you the most relevant experience by remembering your preferences and repeat visits. By clicking “Accept All”, you consent to the use of ALL the cookies. However, you may visit "Cookie Settings" to provide a controlled consent.
This website uses cookies to improve your experience while you navigate through the website. Out of these, the cookies that are categorized as necessary are stored on your browser as they are essential for the working of basic functionalities of the website. We also use third-party cookies that help us analyze and understand how you use this website. These cookies will be stored in your browser only with your consent. You also have the option to opt-out of these cookies. But opting out of some of these cookies may affect your browsing experience.
Necessary cookies are absolutely essential for the website to function properly. These cookies ensure basic functionalities and security features of the website, anonymously.
Cookie
Duration
Description
cookielawinfo-checkbox-analytics
11 months
This cookie is set by GDPR Cookie Consent plugin. The cookie is used to store the user consent for the cookies in the category "Analytics".
cookielawinfo-checkbox-functional
11 months
The cookie is set by GDPR cookie consent to record the user consent for the cookies in the category "Functional".
cookielawinfo-checkbox-necessary
11 months
This cookie is set by GDPR Cookie Consent plugin. The cookies is used to store the user consent for the cookies in the category "Necessary".
cookielawinfo-checkbox-others
11 months
This cookie is set by GDPR Cookie Consent plugin. The cookie is used to store the user consent for the cookies in the category "Other.
cookielawinfo-checkbox-performance
11 months
This cookie is set by GDPR Cookie Consent plugin. The cookie is used to store the user consent for the cookies in the category "Performance".
viewed_cookie_policy
11 months
The cookie is set by the GDPR Cookie Consent plugin and is used to store whether or not user has consented to the use of cookies. It does not store any personal data.
Functional cookies help to perform certain functionalities like sharing the content of the website on social media platforms, collect feedbacks, and other third-party features.
Performance cookies are used to understand and analyze the key performance indexes of the website which helps in delivering a better user experience for the visitors.
Analytical cookies are used to understand how visitors interact with the website. These cookies help provide information on metrics the number of visitors, bounce rate, traffic source, etc.
Advertisement cookies are used to provide visitors with relevant ads and marketing campaigns. These cookies track visitors across websites and collect information to provide customized ads.
join our passionate plant community and gro your garden!
By registering, I am allowing Scotts Canada Ltd. to contact me with news, articles and promotions. I understand that I can withdraw my consent at any time.