
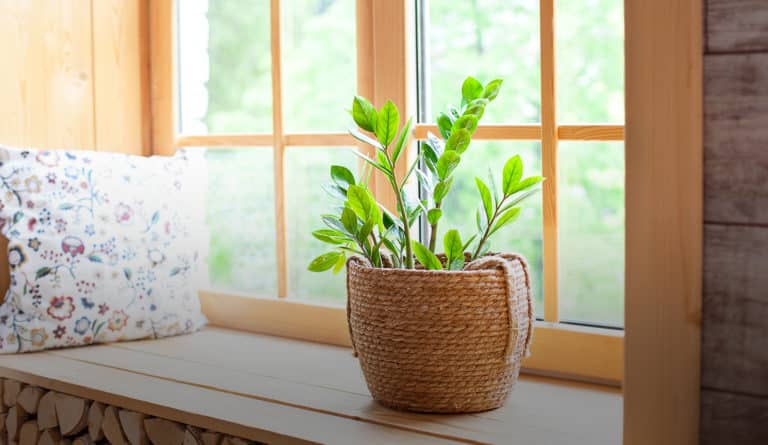
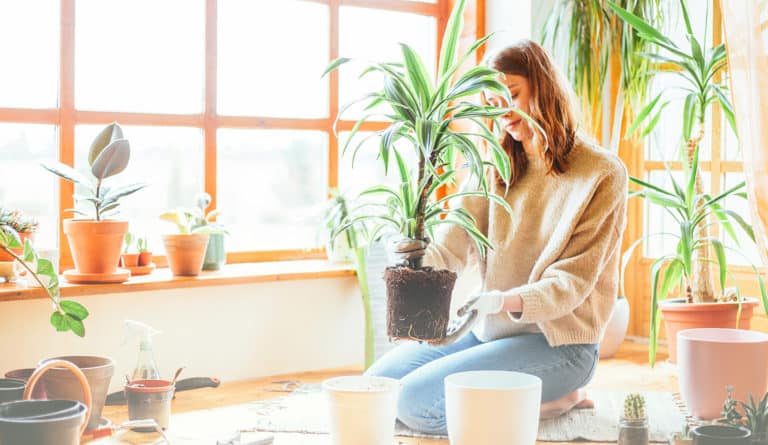
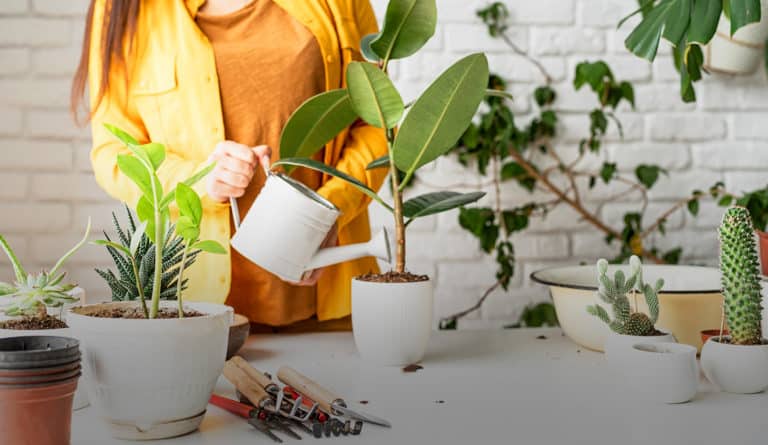
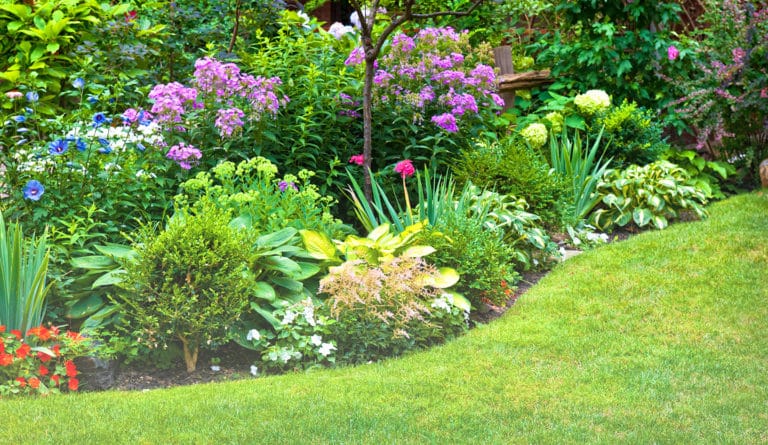
You only need one location and that’s a sunny one. Vegetables thrive in sunshine so find a spot that will be sun-soaked for most of the day.
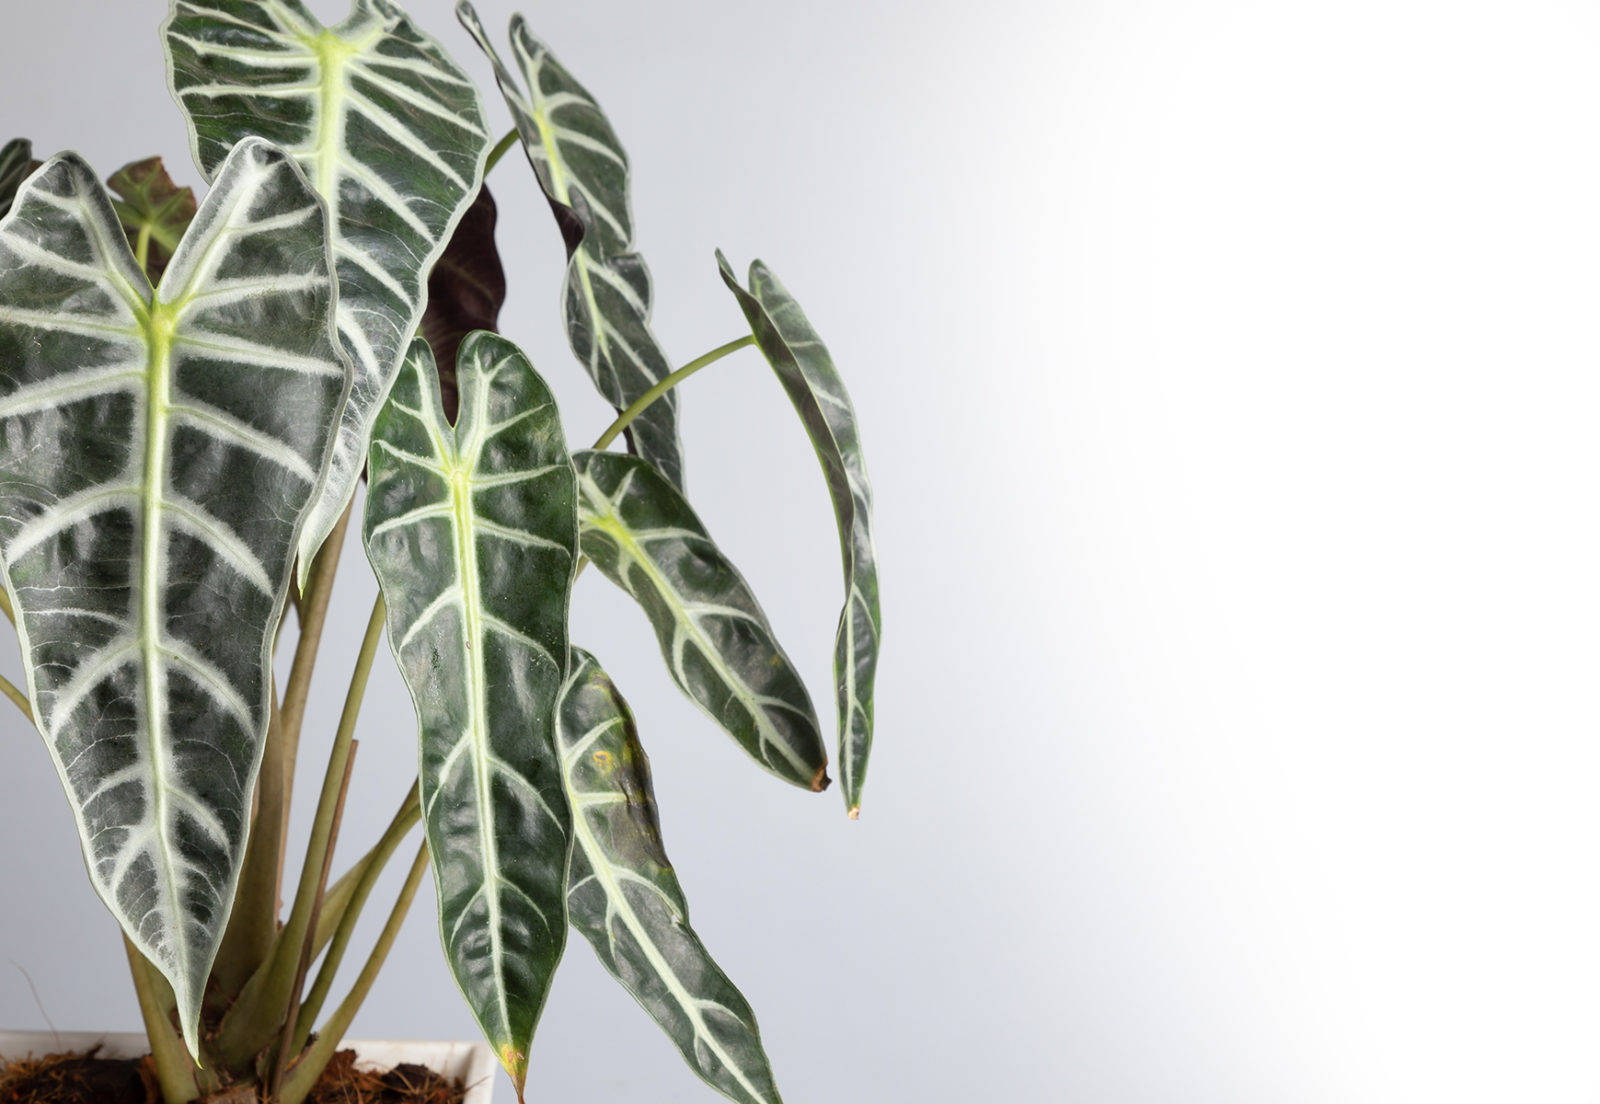
elephant ear
aka colocasia esculenta
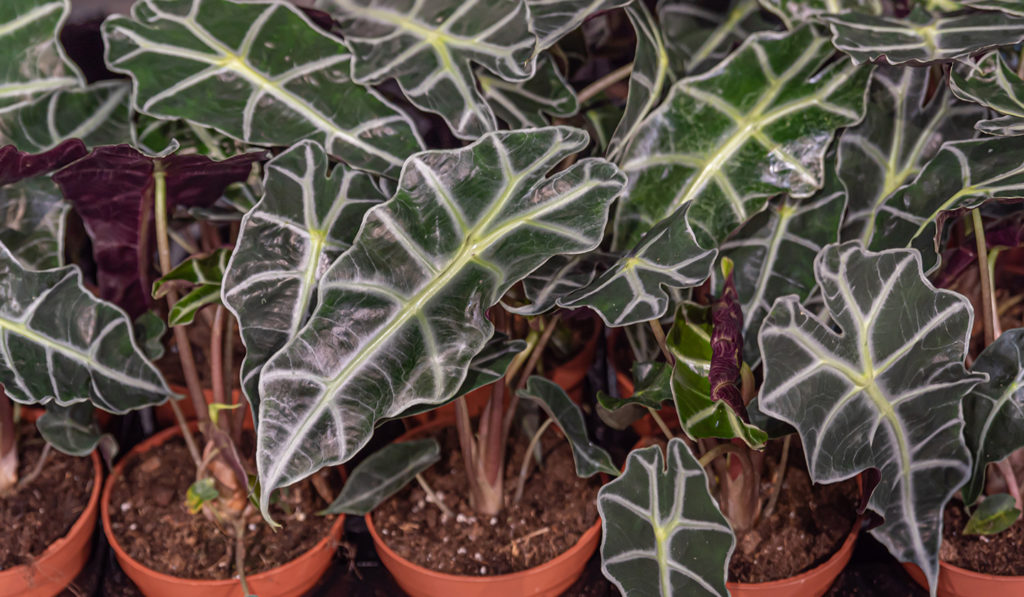
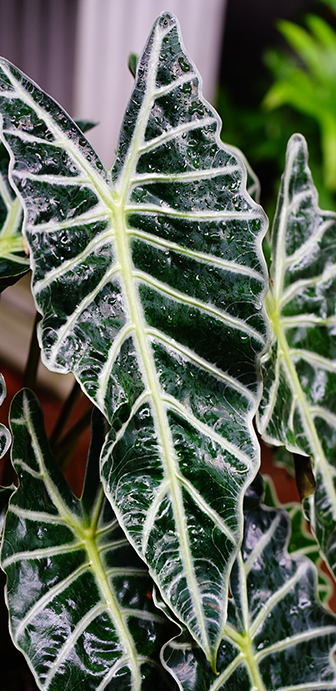
Always the centre of attention, these big beauties make a statement indoors and out. They can grow to an impressive height with leaves that mimic hearts, or the shape of elephant ears.
variations
alocasias and colocasias

light
full sun
Even dappled shade will work

water + feeding
thirsty
Keep the soil moist. In summer months you may have to water your potted plant almost every day.

toxic
toxic to people and animals
Ingesting stems or leaves can cause a burning sensation or cause swelling. In some cases touching the plant can cause a skin irritation.

location
flexible
Elephant ears do well on patios and indoors. Keep your plant in indirect light to avoid it getting sunburnt.

humidity
love it
Elephant ears are tropical plants that thrive in warm, humid environments.

size
large friend
Can grow to 3 – 5 ft

pro tip
Leave lots of room
Elephant ears need a big pot to grow to their fullest potential.

fun fact
A tropical bulb
Elephant ears have tuberous roots that are often referred to as bulbs. Unlike common garden bulbs, these ones are not cold hardy so you’ll need over-winter the bulbs inside.
beyond the basics
-
soil + potting
Consider elevating your elephant ear slightly by adding a layer of rocks and pebbles between the planter and its saucer. This helps increase the humidity and prevents root rot. Use a well-draining soil for your elephant ear. Consider using Miracle-Gro Cactus, Palm & Succulent Potting Mix or Miracle-Gro Moisture Control Potting Mix for a happy plant.
-
when to repot
The best time to repot your elephant ear is during the spring months. When repotting your elephant ear, make sure to use a well-draining soil. Consider using a soil like Miracle-Gro Cactus, Palm & Succulent Potting Mix or Miracle-Gro Moisture Control Potting Mix to help refresh the soil.
-
propagation
While you can’t propagate an elephant ear with a cutting, you can divide tubers of a healthy adult plant. The tubers have a texture similar to that of a potato. You can easily cut through it with a sharp knife. Plant the divided tuber immediately into your potting soil and keep it moderately wet.
-
pest control
Common pests for elephant ears are aphids, spidermites and mealybugs. Use a gentle insecticide like Ortho® Bug B Gon® ECO Insecticide Ready-to-Use and make sure the leaves of your plant are treated as well.
troubleshooting
-
why is my elephant ear turning yellow?
Too much sunlight or overwatering. You can cut the dying leaves close to the base of the stem. This should prevent more leaves from yellowing. Then adjust your watering schedule or move it away from direct sunlight.
-
why are my leaves crying?
Usually due to overwatering. The leaves of an elephant ear are long and heart-shaped, which naturally draws water to the tip of the leaf. If there aren’t other signs of overwatering, like soft stems or yellow leaves, you can likely hold off on watering for a few days.
-
why are my plant’s leaves turning brown?
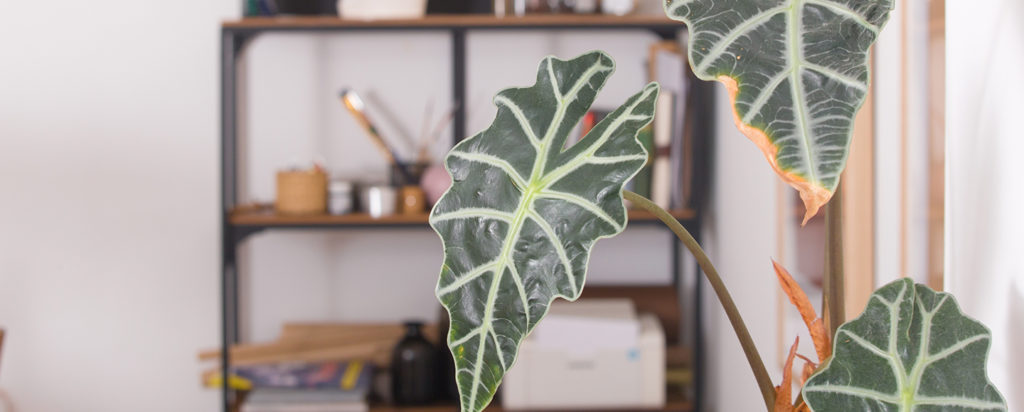
It’s a sunburn. Your plant is too close to bright, direct light. Elephant ears tend to thrive in bright, indirect light. Scorched leaves won’t kill your plant, it just doesn’t look pretty.
-
Why does my plant’s leaves have spots?
Fungal leaf blight. If this fungus isn’t caught early, it will cause the whole leaf to collapse and travel to the rest of the plant. To prevent this, make sure you’re using high-quality, well-draining soil.
Lily
aka Lilium
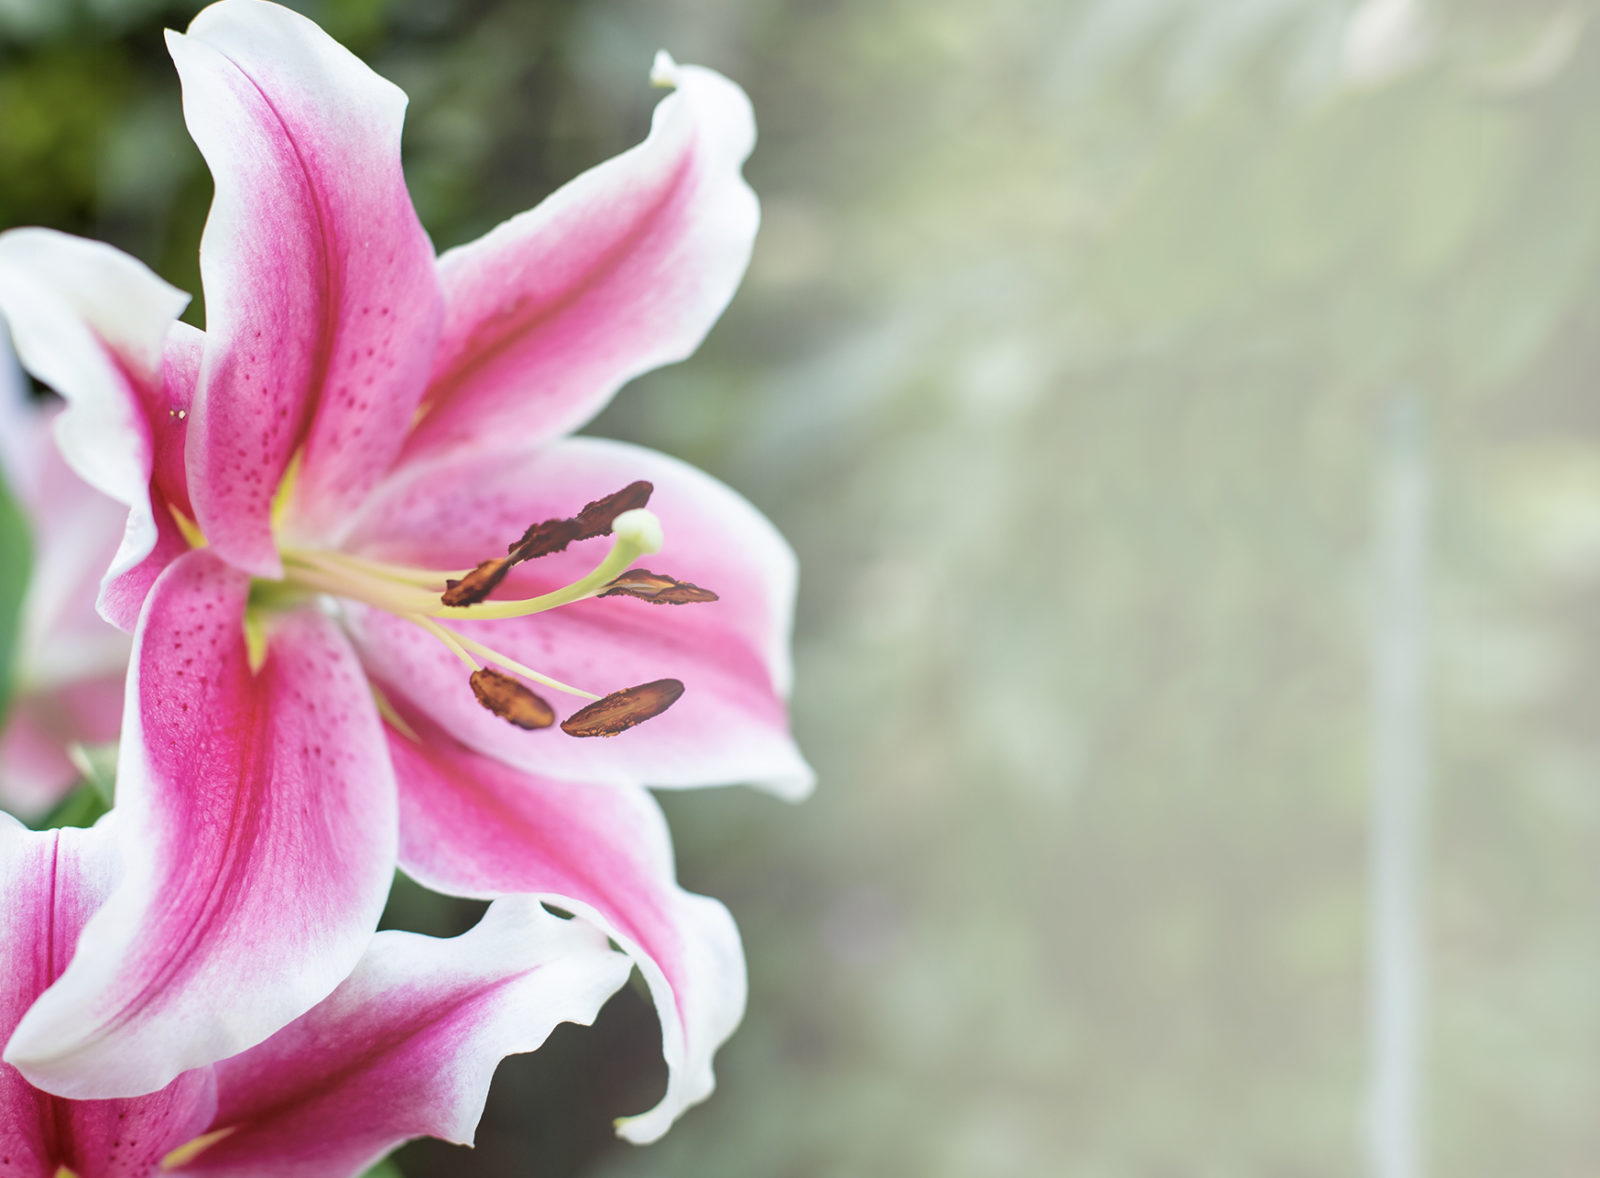
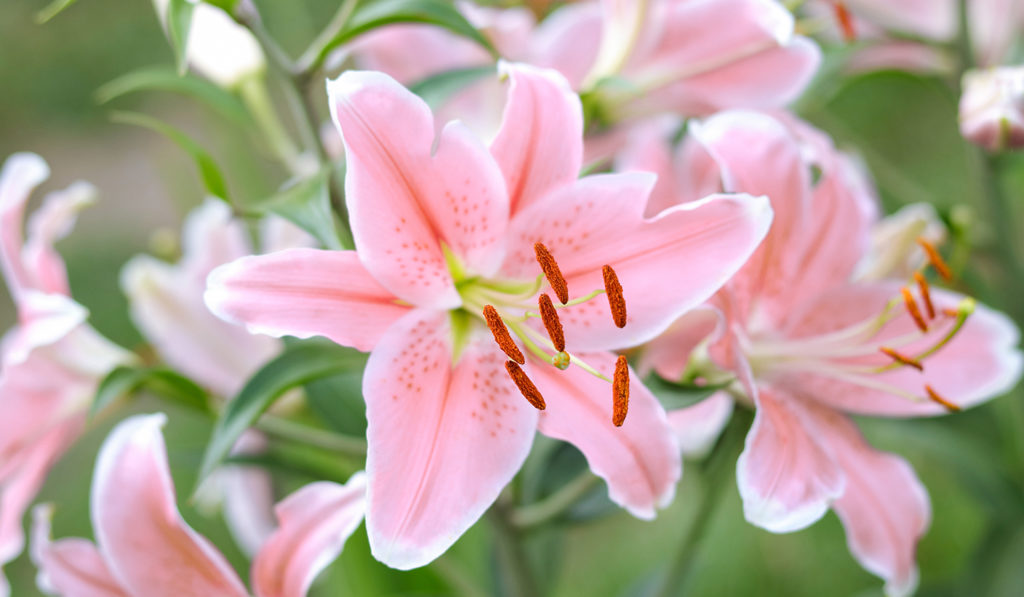
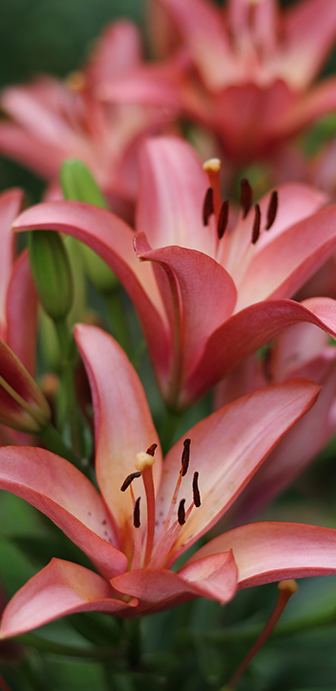
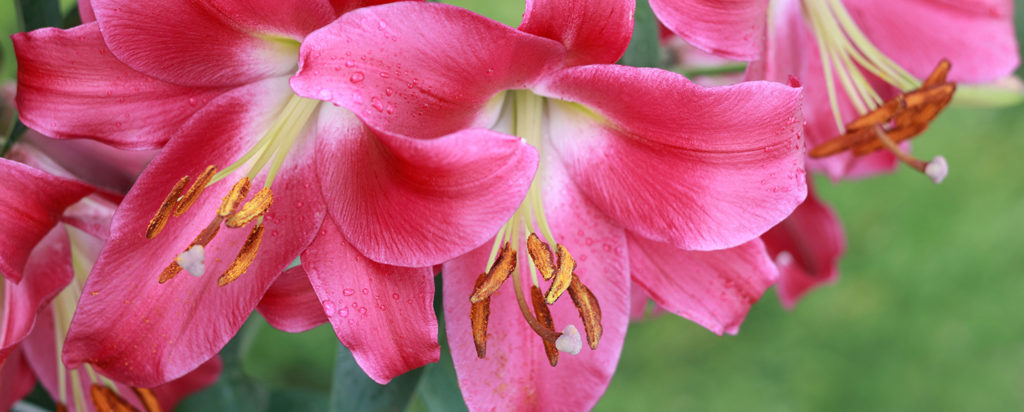
lilies are an exotic and elegant perennial flower that are quite easy to grow. Lilies start as onion-like bulbs and require good soil and lots of sun to flourish.
variations
trumpet lilies, Asiatic lilies, Easter lilies, Oriental lilies
light
full sun
Your lilies will enjoy about 6 – 8 hours of sunlight but be sure to keep their roots cool.
water + feeding
thirsty
Water your lilies freely, especially if you’re not in a climate that gets much rainfall in the summer months.
toxic
yes, the whole plant
The entire plant is toxic to humans and pets. Even the water that fresh cut lilies sit in can make you and your fuzzy friends sick.
location
in the sun
A good rule of thumb is that lilies like their head in the sun and their feet in the shade. To help keep your lily’s roots cool, consider planting with low profile annuals or perennials, or ornamental grasses.
size
medium to large
Lilies can grow between 2 – 8 ft tall!
pro tip
lots at stake
Lilies can grow quite tall. Consider staking your lilies to keep them tall and upright.
fun fact
powerful native plants
Lilies are attractive to many insects because of their bright colours and sweet nectar. They can be pollinated by either the wind or bees!
beyond the basics
-
soil + potting
Lilies love to have their roots in cool soil, and their heads in the sun. The best soil option to keep your lilies happy is a rich, moist soil. that is also well-draining. Consider adding in just a little bit of organic compost.
-
companion planting
You can find a wide variety of companion plants from annuals, bulbs to
other perennials. Consider using annuals such as dill, geraniums, pansies, or new guinea impatiens. Dahlias, daffodils, or irises make great companions when planting other bulbs. Perennials such as peonies, daisies and lavender are excellent companions for lilies. -
Blooms
Lilies only bloom once per season. You can remove, or deadhead, faded flowers to keep your plant from wasting energy making new seeds.
-
pest control
The most common pest issues for lilies are infestations of scarlet lily beetles. These little guys like to hang out on the underside of leaves. The easiest way to get rid of these little pests is to catch them manually by holding a bottle of warm water under the leaves you’re inspecting. The bugs will be startled and drop off into the water waiting below.
troubleshooting
-
what are those oval-shaped spots on my leaves?
Lily disease. This is a fungal infection that creates oval-shaped dark spots on your lily’s leaves. Make sure you use clean tools before you get started. Then clear out the infected soil and debris and get rid of the infected plant. Be sure to not plant lilies in an infected spot again.
-
why are the tips of my leaves turning brown?
Could be overwatering, sunburn, or underwatering. If the tip of the leaf is brown and crunchy, this means the soil is likely too dry.
-
why are my buds rotting?
Likely a fungus. Many fungi (Rhizoctonia, Phytophthora, Pythium, Fusarium, and Cylindrocarpon) attack the bulb and cause the roots to rot. This will also cause the plant to wilt, and eventually die. Be sure to remove the infected plants and check all bulbs carefully before planting.
-
why aren’t my lilies blooming?
Could be the result of small bulbs or over-crowding in the soil. Planting your lily bulbs too shallow could also lead to your lily not producing big blooms. If you cut away the leaves after a lily has flowered, it may also decrease the likelihood of flowering the following year. Keep in mind, some lilies won’t flower in their first year of planting due to transplant shock.
jade
aka crassula ovata
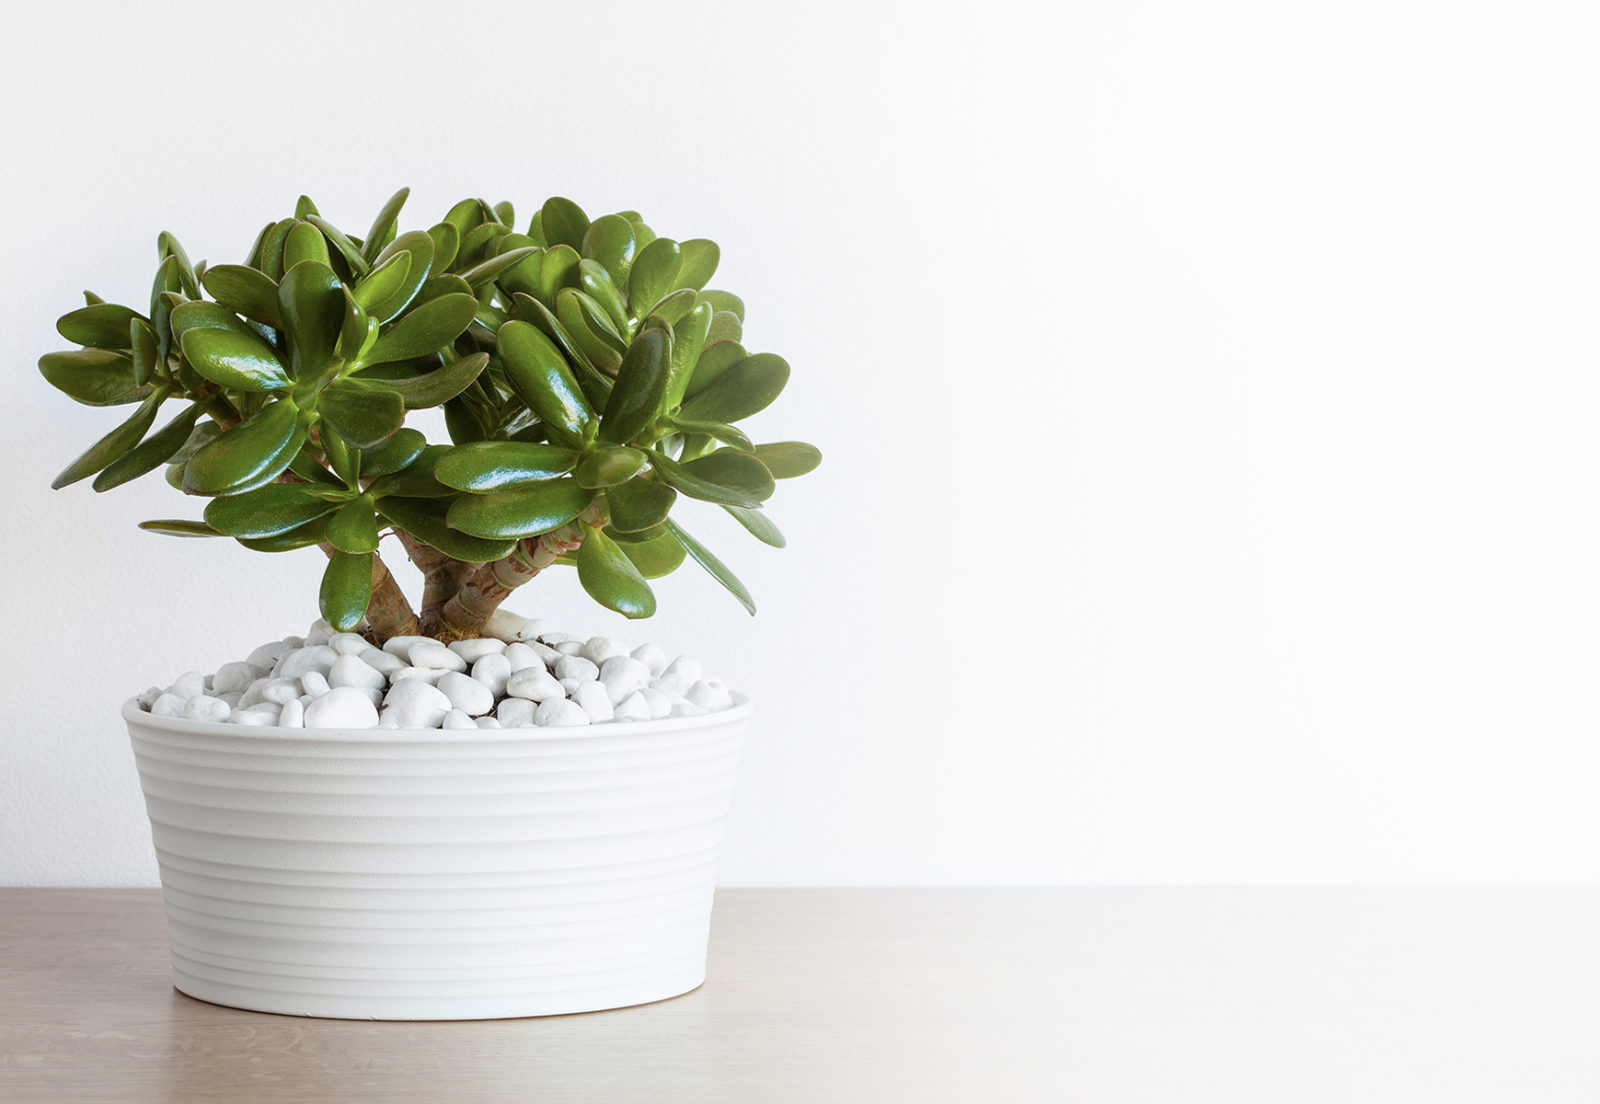
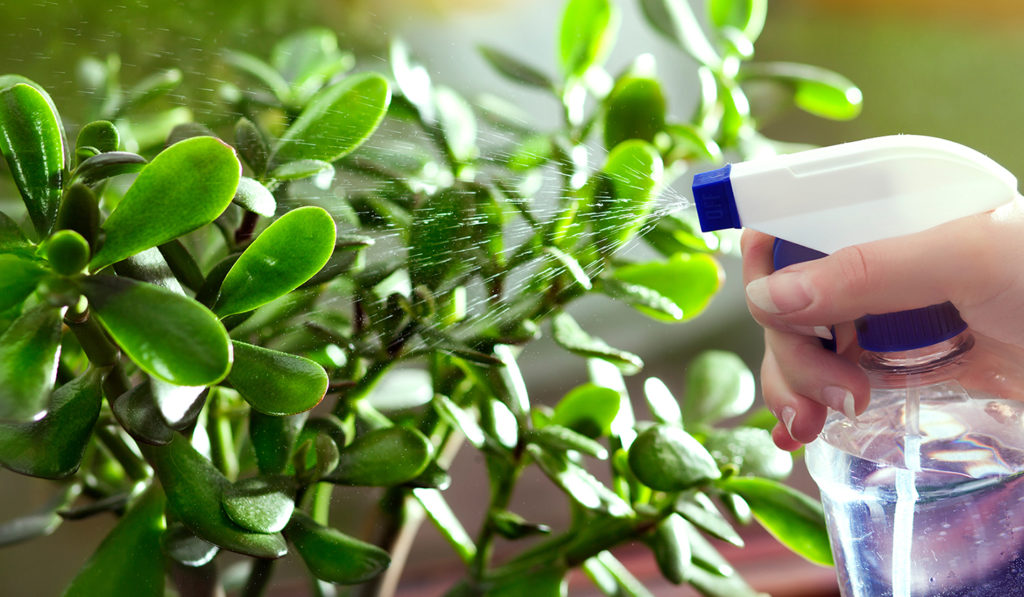
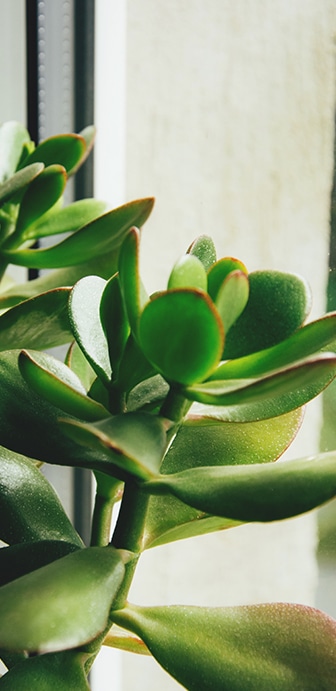
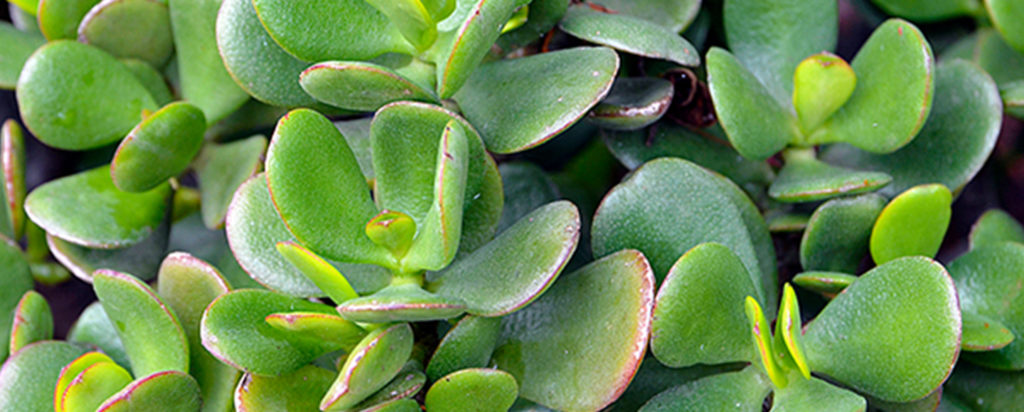
Jade plants are native to South Africa and are classified as a succulent. Jade plants have oval shaped, fleshy leaves and stems that look like tiny tree trunks.
variations
there are a variation of jade plants available that range from the common green-leaf to more rare variegated varieties. Variegated jade plants can include the tricolour, ET’s Finger or the Hummel’s Sunset variety.
light
bright, indirect.
Jade plants, especially young plants, should get about 6 – 8 hours of light a day.
water + feeding
somewhat thirsty
In spring and summer your jade plant should be watered consistently so that its soil is moist, but not super wet.
toxic
Yes
Jade is toxic to pets.
location
Adaptable
These beautiful plants do well in most indoor settings, but prefer to be close to bright, indirect light. Jade does their best growing in room temperature 18° to 24°C (65° to 75°F).
humidity
a little finnicky
Overwatering and standing water are the most common mistakes made with jade plants. Be sure to monitor your jade for signs of too much moisture.
size
it depends
Jade plants can grow up to 5 ft tall but can stay small if they are rootbound in a small pot.
pro tip
rare flowers
Jade plants don’t regularly flower when grown indoors. To get your jade plant to flower keep it rootbound and in a small pot. Cut back slightly on watering, and you may see a bloom come through.
fun fact
bringers of good luck
Jade is often given as a housewarming gift because it’s thought to bring good luck.
beyond the basics
-
soil + potting
Succulents thrive in porous, well draining potting mix. These usually have less organic matter than regular indoor potting mix. A mix like Miracle-Gro® Cactus, Palm & Succulent Potting Mix is well-draining and won’t compact. Don’t forget to feed your plants consistently during the feeding season.
-
when to repot
Repotting a young jade plant every 2 – 3 years will encourage growth. If you want to keep your jade plant small, they enjoy being slightly rootbound and can stay in a small pot to maintain a manageable size. Always repot in the spring.
-
propagation
Propagating a jade plant is super easy! You can start a whole new jade from just a single leaf or cutting. Remove a leaf or stem cutting from a healthy, mature plant, making sure it’s about 2-3 inches long and has at least 2 leaf pairs. Let the cutting sit in a warm, bright place for several days to develop a little callous. Place the cutting in moist, well-draining soil, keeping it propped upright with rocks. Be sure not to water your jade cutting at this point. After a week or two roots should start to form. Gently water the soil once roots have formed, and allow soil to dry between watering.
-
pest control
Jade is prone to mealybugs and scale. Mealybugs may hide under the leaves of your plant. During your routine leaf cleaning, inspect the underside. Most pests can be managed by using an insecticidal soap such as Ortho® Bug B Gon® ECO Insecticidal Soap. For more tips, check out our Pest control section in Plant 101 for how to identify and deal with pests on your plant!
troubleshooting
-
why are my leaves dropping?
Overwatering. While young jade plants need thorough watering, if your jade’s leaves are squishy and dropping it’s definitely getting overwatered.
-
why are my leaves shrivelling?
Underwatering. These are clear signs that your jade is asking for more frequent or deeper watering.
-
why are the stems getting squishy?
Root rot. Do a quick inspection of your plant’s root ball. A healthy root will be firm a white. If your plant’s roots are looking brown or slimy, it’s definitely root rot. To avoid this, be sure the soil is drying out completely between watering.
-
why are my leaves spotty?
You’ve got scale. These insects feed on the sap in your jade’s leaves. You can quickly remedy this problem by applying Ortho® Bug B Gon® ECO Insecticidal Soap.
string of hearts
aka ceropegia woodii
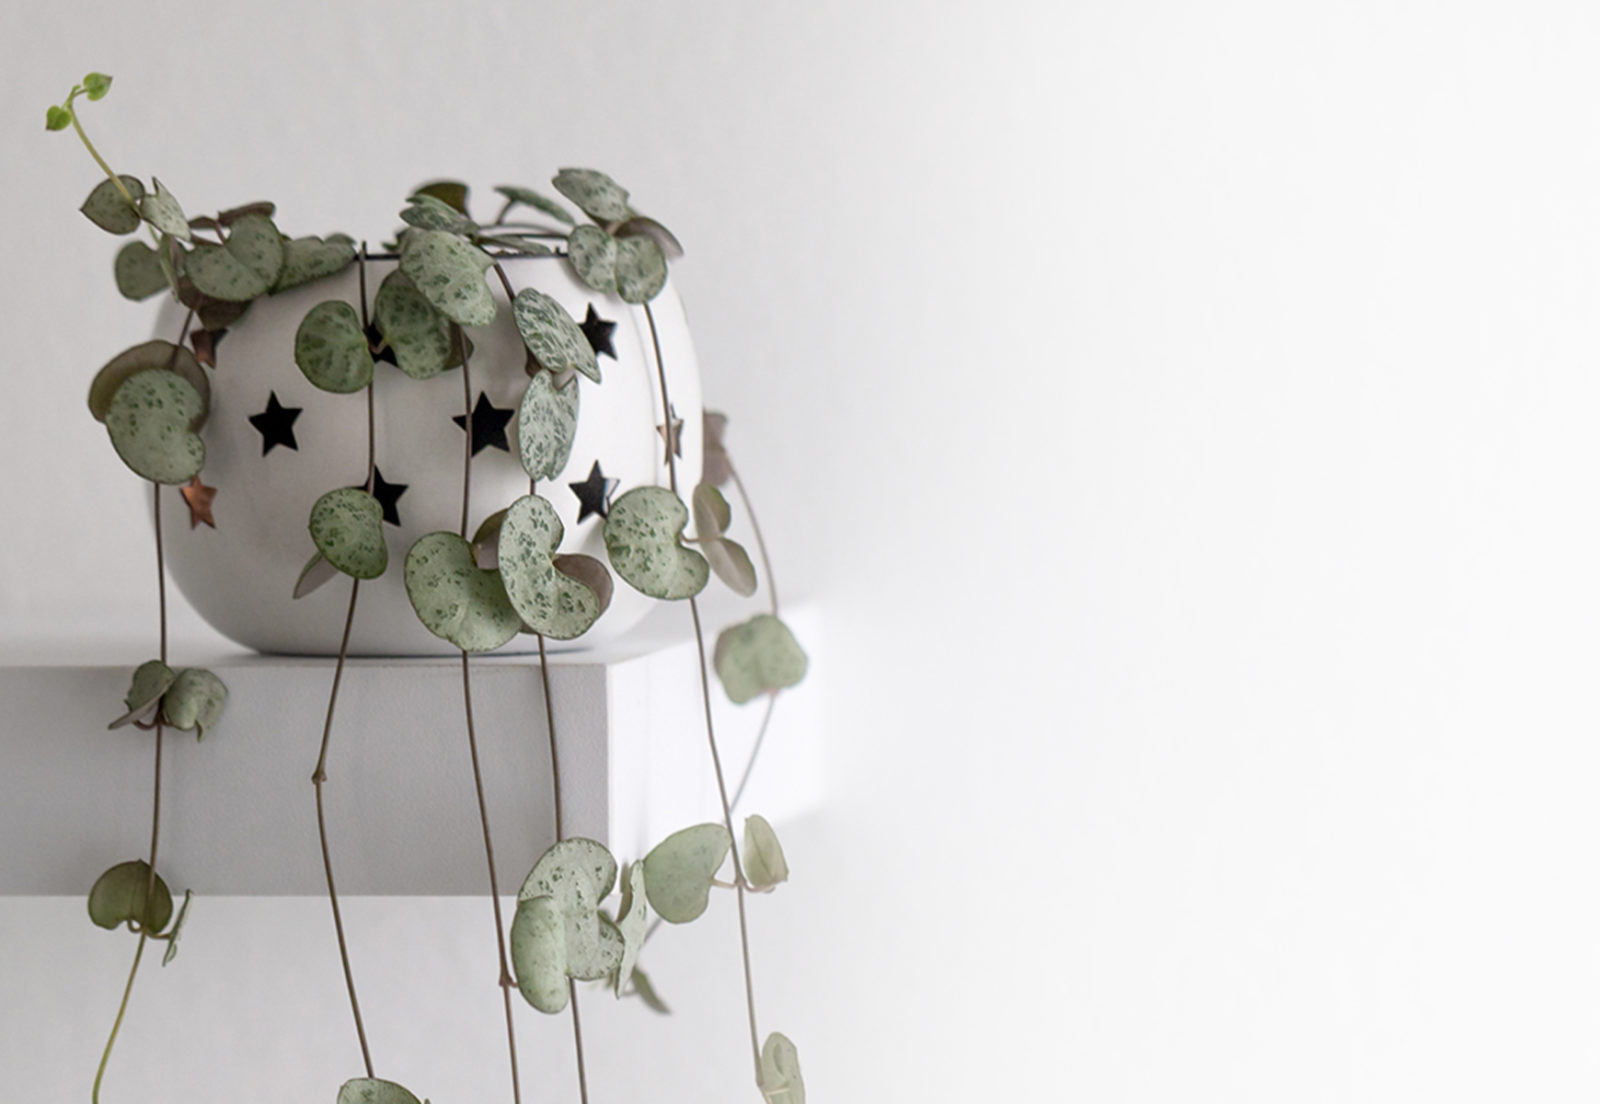
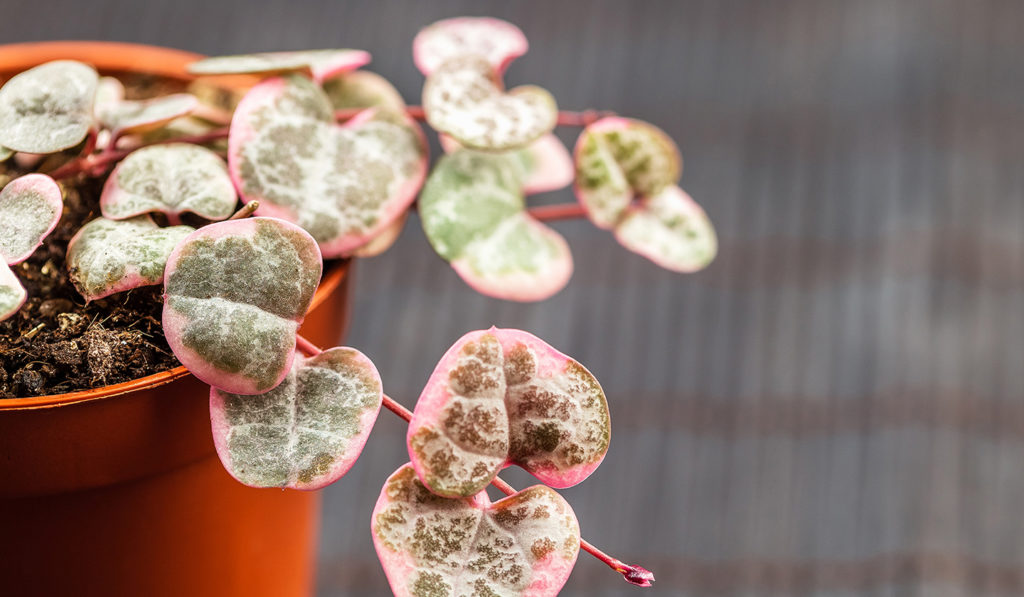
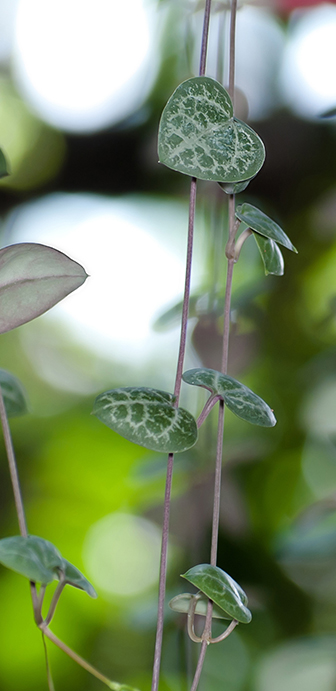
this beautiful trailing succulent is native to South Africa, Swaziland and Zimbabwe. This plant is named for the sweet, heart-shaped leaves.
variations
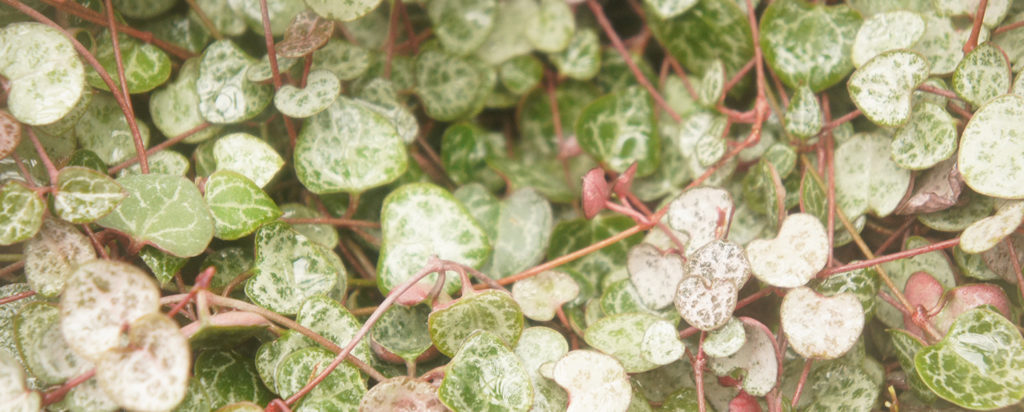
the more sun it gets, the more variegated the leaves will get. Leaves can get silver, cream or even pink markings.
light
bright, indirect.
Ample bright, indirect light will lead to greater variegation in the leaves.
water + feeding
somewhat thirsty
Can be watered 1-2 times a week in the spring and summer, once every week or two during the fall and winter.
toxic
no
This plant is safe for pets.
location
somewhere bright
Place near your brightest window. South or West facing windows is recommended
humidity
not too fussy
Can tolerate drier climate but thrive in about 40-50% humidity.
size
small-ish
Can grow up to 3 inches tall and have trailing stems that can grow to 3 – 9 ft long.
pro tip
sun baths
Colour can be revived by placing your plant by a bright window. Leaves can return to their vibrant colours and even turn pink.
fun fact
fast Growers
They’re fast growers and very easy to care for, making them popular houseplants for beginners.
beyond the basics
-
soil + potting
String of heart plants are a member of the succulent family, so they need a porous, well-draining potting mix that doesn’t retain a lot of moisture because these beauties are prone to root rot. It’s recommended to use a succulent specific potting mix, like Miracle-Gro® Cactus, Palm & Succulent Potting Mix.
-
when to repot
String of hearts tend to be okay with staying slightly rootbound, so you don’t need to keep a strict schedule when repotting. A good rule of thumb is to repot about every 1 – 2 years. Use a pot that is a few inches bigger than its current pot and has a drainage hole.
-
propagation
Start by trimming your string of hearts just under a nodule. Place your cutting in moist soil and watch your new plant take root. This process will likely take about a month. Make sure the soil is kept moist during this growing period.
-
pest control
String of hearts are prone to root rot, so make sure your plant’s soil is drying out between watering. Other pests like aphids or mealybugs can be managed by using an insecticidal soap such as Ortho® Bug B Gon® ECO Insecticidal Soap.
troubleshooting
-
why are there big gaps between my leaves?
Not enough light. Move your string of hearts to a place where it can sit in ample indirect, bright light.
-
why are my leaves turning mushy and droopy?
Overwatering or root rot. Root rot is caused by overwatering. The easiest way to tell if it’s root rot or just overwatering is to give it a sniff. If your plant smells bad, it’s root rot. If it smells okay, just hold off on watering it for a little the soil dries out a bit.
-
why are my leaves turning brown?
Sunburn. It looks like your string of hearts is getting too much sun. These plants enjoy bright, but indirect light. Move your plant away from direct sunlight, but keep in a nice, bright room.
-
why are my plant’s leaves curling?
Underwatering. Thinning or curling leaves is a clear indicator of underwatering. Give your string of hearts a good soak and your plant should be happily re-hydrated.
money tree
aka pachira aquatica
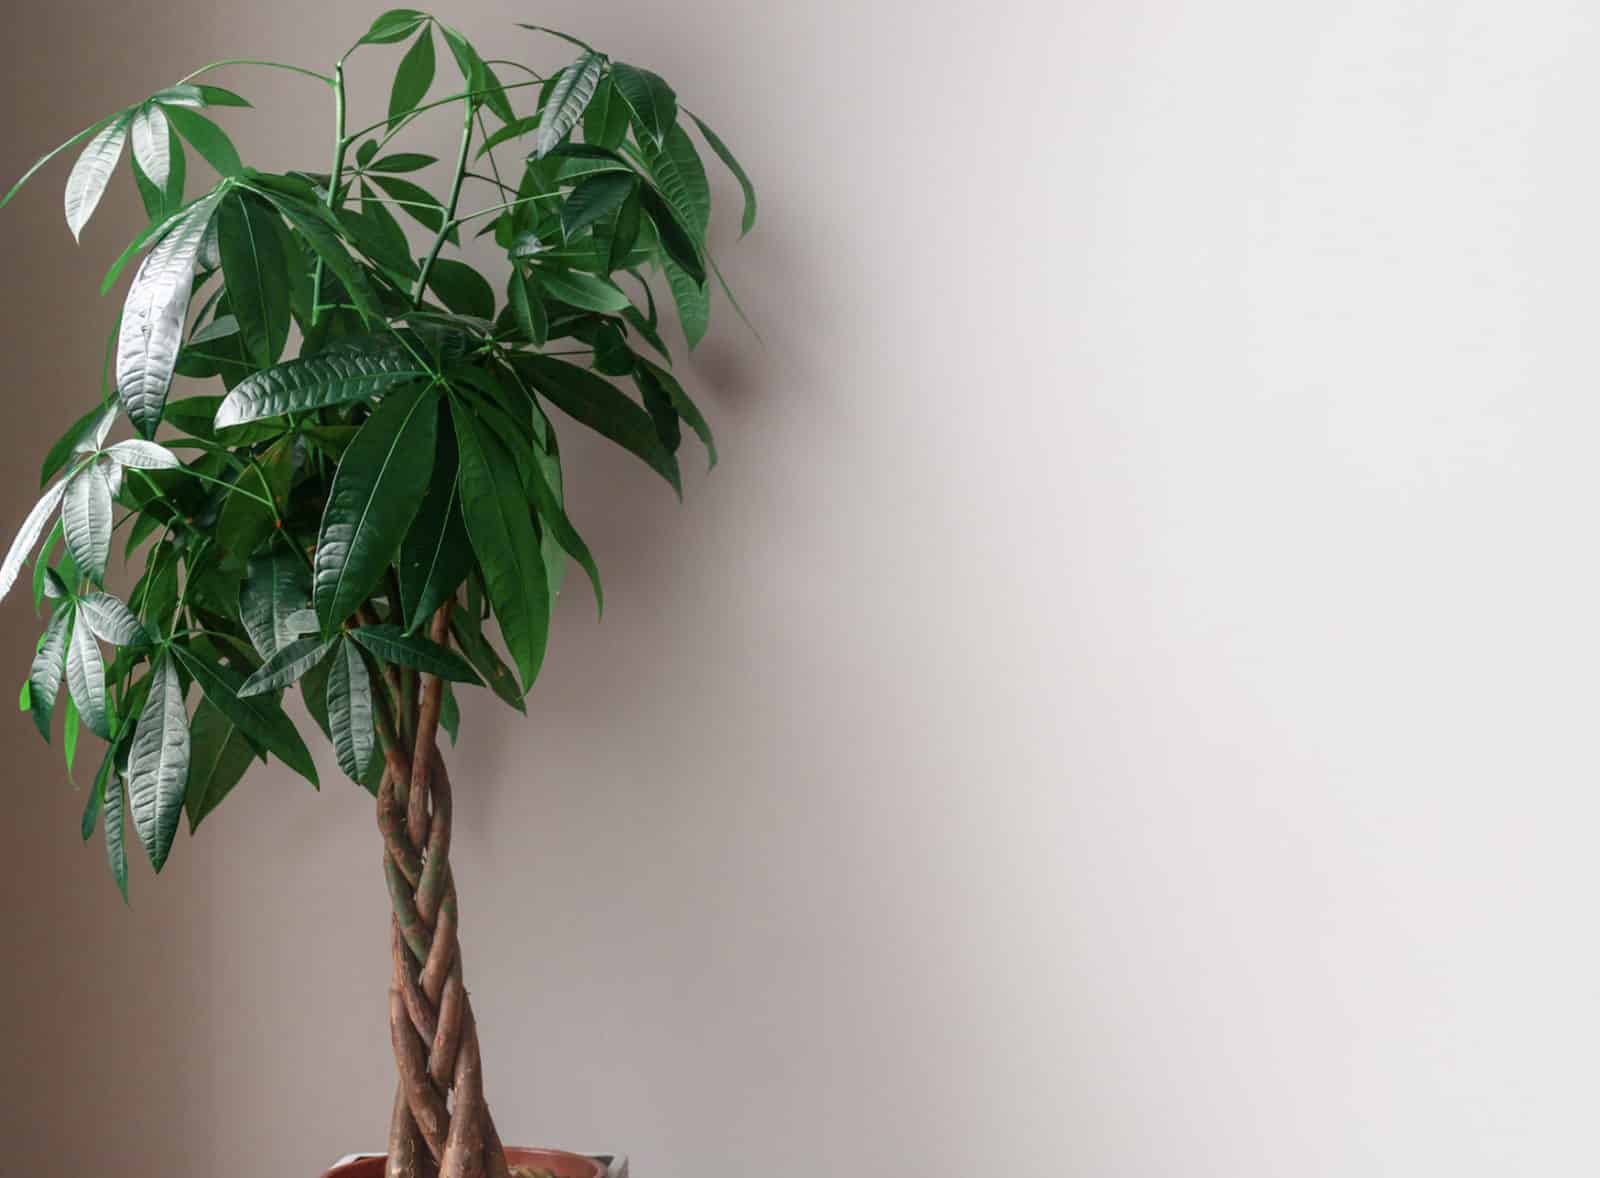
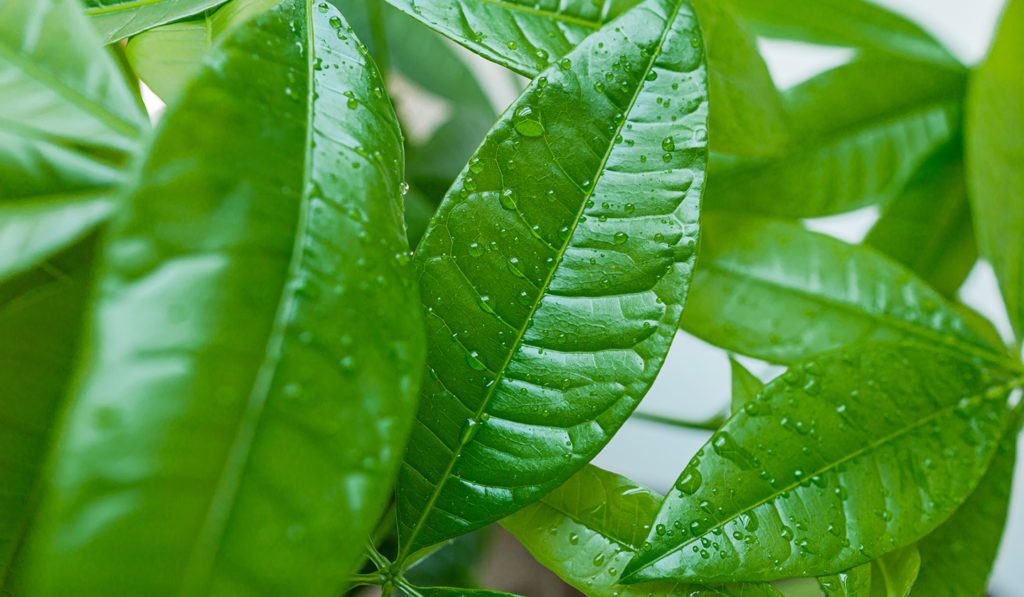
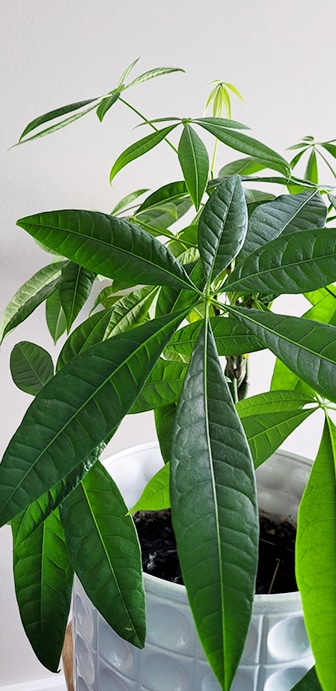
Money Trees originated from Central and South America. The braided trunk of the tree isn’t naturally occurring. This feature is created by cultivators braiding young trees manually.
variations
Variations include Malabar Chestnut, Provision Tree, Guiana Chestnut and French Peanut.
light
avoid direct sunlight
Too much direct sunlight will cause the leaves to curl, yellow or burn.
water + feeding
water when dry
However, these plants can still do well without watering too frequently.
toxic
safe for humans and pets
Money Trees are even recommended for people with allergies or asthma.
location
adaptable
Although it’s recommended not to keep this plant in your bathroom because it’s believed this will “flush” good vibes away.
humidity
love it!
Money Trees appreciate a humid climate, with about 50% humidity.
size
small to medium
At home, your money tree could grow between 3 to 5 feet. In the wild, these trees can grow up to 60 feet tall.
pro tip
get a humidifier
Prevent yellowing and dying leaves by increasing the humidity in the plant’s environment.
fun fact
popular in feng shui
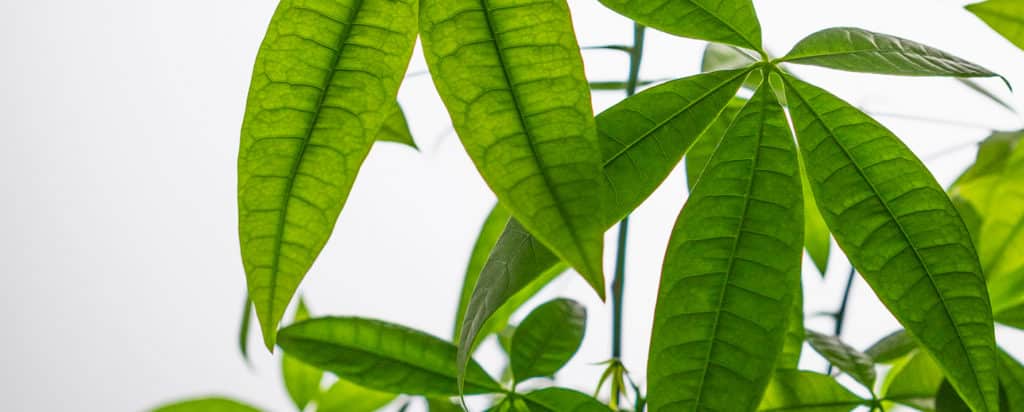
This plant usually sprouts 5 leaves on a stem, and 5 is a very important number in Feng Shui.
beyond the basics
-
soil + potting
Money Trees need a sandy, peat-moss based soil. Consider adding Miracle-Gro® Sphagnum Peat Moss to your plant’s soil. Don’t forget to use a pot with drainage!
-
when to repot
Money Trees usually need to be repotted every three years. The best time to repot is during the spring time, to promote growth. While you can cut back on some root growth, be sure not to take off more than 25% of the roots.
-
propagation
The best way to propagate your Money Tree is through a cutting. Take your 6 inch branch cutting, with several leaf nodes, and allow to root in water. Promptly transfer to a soil mixture with peat moss.
-
pest control
Money Trees are very attractive to aphids and mealybugs. You can use a gentle insecticide like Ortho® Bug B Gon® ECO Insecticide Ready-to-use to prevent these creepy crawlies from returning.
troubleshooting
-
why are my plant’s leaves drooping or turning yellow?
Watering issues. If your Money Tree’s leaves are drooping it could be as simple as inconsistent watering. Keep a schedule and check the soil’s moisture level to understand its needs. If the leaves are yellowing, it’s likely due to overwatering. It’s time to water when the top 2 to 4 inches of soil are dry.
-
why is my plant’s trunk spongey and soft?
Sounds like root rot. This happens when a fungus has attacked your plant’s roots and is a sign that you’ve been overwatering. Root rot can be fatal if it’s not caught early. The best chance you can give your Money Tree for survival is to repot immediately, removing as much old soil as possible.
-
what is this gross, sticky sap?
Guttation. This it totally normal! If the rest of your Money Tree looks healthy, there’s nothing to worry about. But… if you see little dark bumps on your plant, it could be a pest infestation.
-
why are my plant’s leaves curling?
Overwatering. Avoid excessive watering and finger test your plant’s soil when you’re about to water. Make sure you’re only watering when the first 2 to 4 inches of soil are dry.
-
why are my plant’s leaves falling?
Too much sunlight. Too much bright, direct sunlight can cause your Money Tree to drop leaves. Another common cause is if your Money Tree has recently moved to its new home. Dropping a few leaves as your plant adjusts to its new home is totally normal.
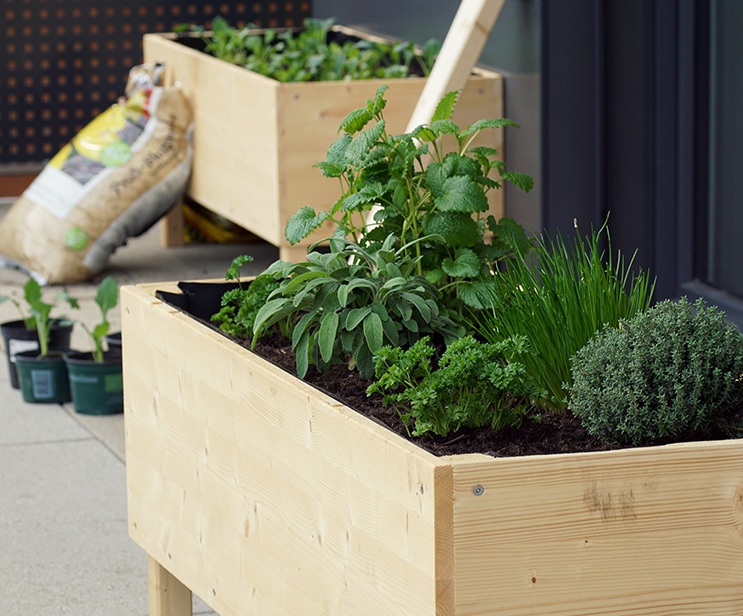
Ready to raise a family of healthy veggies? Well begin with a raised vegetable garden! We make it easy to DIY a raised garden bed brimming with a nutritious bounty.
strong foundations
Adding a high-quality soil to your raised garden bed will significantly improve the existing soil. This will allow your veggie plants to grow strong roots and render robust veggies. A specially designed soil, like Miracle-Gro® All Purpose Garden Soil will continually release plant food.
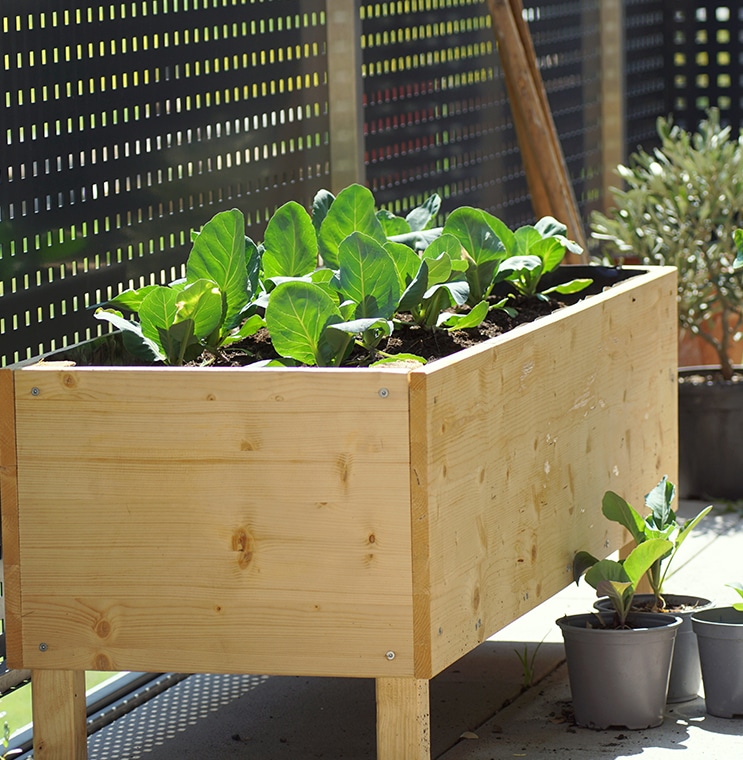
pick faves for picking
Choose a variety of veggies you enjoy eating. If you cook a lot, grow onions, carrots, peppers, and herbs to have on hand. If you’re more into salads, plant lettuce, tomatoes, and cucumbers ripe for the picking.
water & feed
Depending on the weather, water your plants regularly and feed them a couple of times a week with Miracle-Gro® Water Soluble Tomato, Fruit and Vegetable Plant Food.
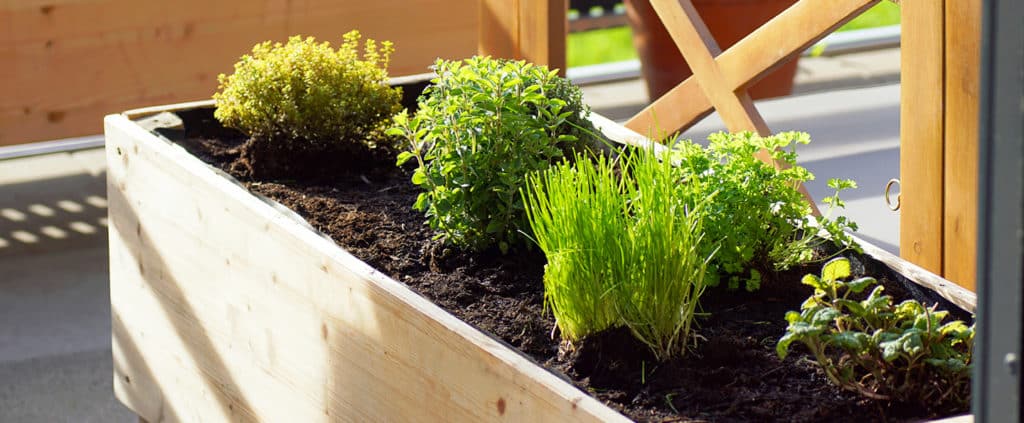
#easypeasy
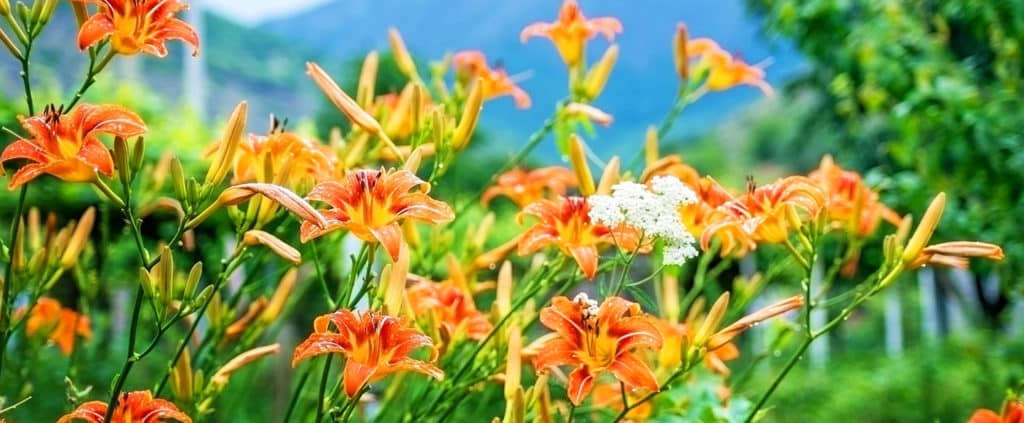
Why do gardening pros and newbies alike pick daylilies? They are easy to grow and easy on the eyes, for starters. They are also perennial and drought-tolerant, making them low maintenance flowers for your garden.
be choosey
Daylilies come in a vast variety, including small yellow plants in landscaping to towering orange ones growing wild by the side of the road. From purple petals to ruffled fringes, part of the fun of daylilies is deciding which ones to grow. To enjoy flowers all season, plant a mixture of early-, mid-, and late season bloomers and look out for re-blooming varieties.
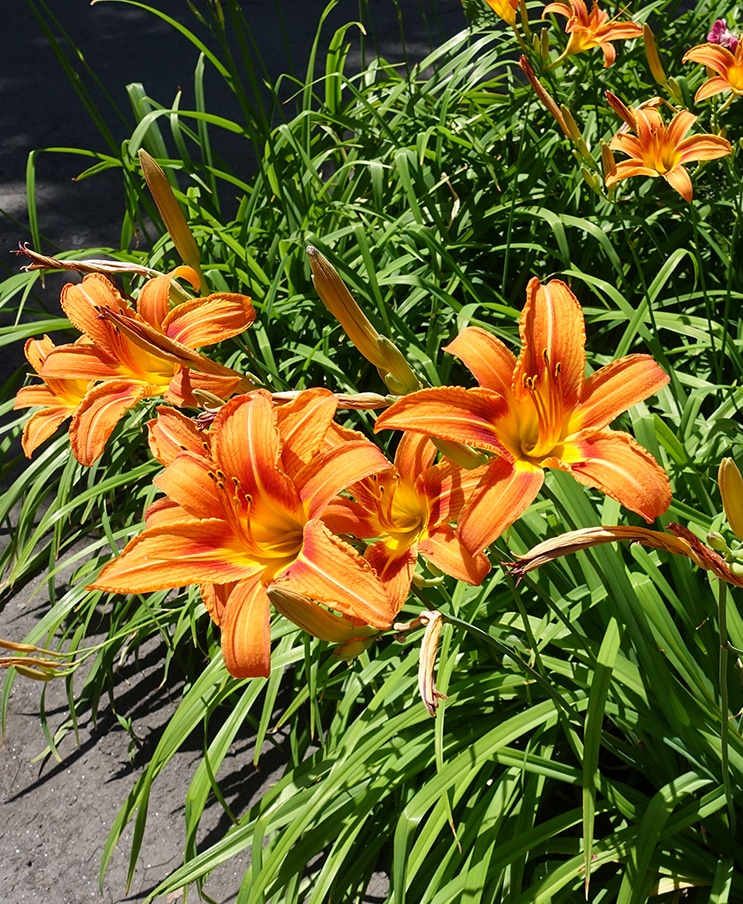
planting daylilies, you dig it
Those roadside attractions of clustered daylilies are proof that they are sturdy and strong. To optimize their flower power, plant daylilies in sunny spots that get at least six hours of full sun rays daily. Soil that isn’t constantly soaked in water is best. For a dramatic floral display, sow seeds generously as they know how to put on a group ensemble show! If you are looking to add a splash of colour around your house exterior or wish to fill out a sparse perennial garden, daylilies are perfect.
it’s all in the timing
Late spring or early fall is best for planting these pretty perennials. If you find a flowering friend in your garden store in the summer, transfer it to the ground right away. It will need some extra TLC so water it frequently during this summer transition but with attention it should grow to be tough like its shoulder-season counterparts.
prep your daylily bed
Knowing how to prepare soil for daylilies properly is key. Adaptable to an astonishing variety of soil, planting daylilies in well-drained, slightly moist soil will render the best blooms, especially if you use fortified organic matter like Miracle-Gro® All Purpose Garden Soil mixed in the planting areas. Mix 3 inches of the garden soil with the native soil, or in individual planting holes in a 50:50 ratio.
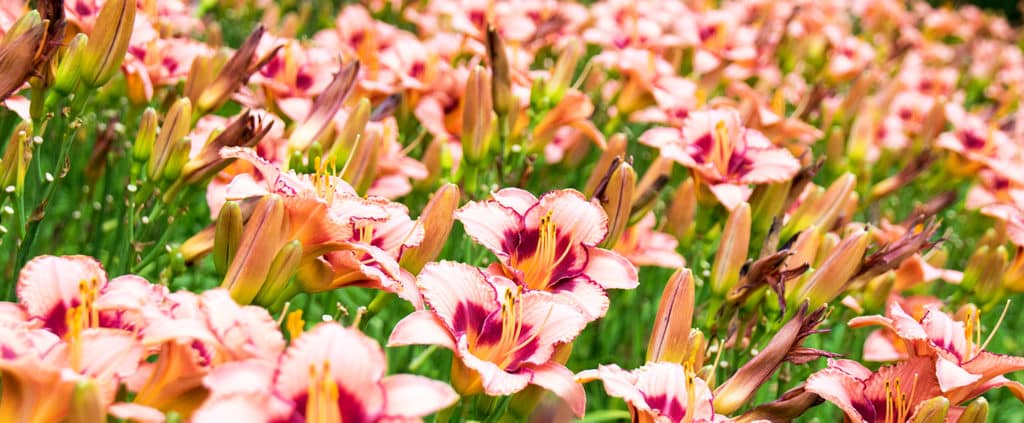
finding a home
The daylilies will start in two ways, usually as container-grown plants but sometimes clumpy bare-root plants that have roots and a growing stem. Either type can be planted by digging a hole that should measure twice as wide as the plant’s root system and just as deep.
Container daylily plants must be gently settled in the hole, nestling the soil around the roots. Bare-root daylilies should be planted by making a mound with some of the soil mixture in the planting hole. Spread out the roots on top of the mound, surround them with soil. Make sure When the daylily is planted, ensure its crown (where the roots meet the stem or leaves) lies slightly above the soil line. Plants must be watered well, and pro tip: hug mulch around them to keep soil moist.
thirsty daylilies
The first few weeks from planting, your daylilies should be watered every couple of days. After a few weeks you can reduce watering once or twice a week. Unless you are experiencing a drought, which is classified as 4-plus weeks without measurable rainfall, natural precipitation will water them for you. Once daylilies are established, magnificent daylilies are drought-tolerant.
daylilies get hangry
Give your daylilies their best lives by feeding them with Miracle-Gro® Shake ‘n Feed® Ultra Bloom® Plant Food. Introduce it about a month after planting to fortify these flowers. Its natural ingredients nourish plants from root to bloom. Follow the package directions to know how much to use and how often.
dead heading, it’s a snap
Daylilies are named after the fact their flowers only last for one day. To keep plants neat and healthy, you’ll have to dead head your blooms by snapping off the dead flowers in the morning. If the flowers are blooming on a stalk, level it to the ground and if foliage withers midway through summer, give it a trim.
#easypeasy
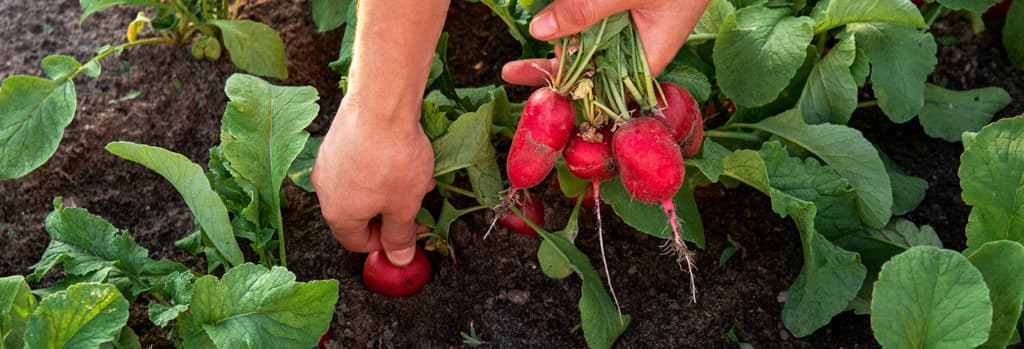
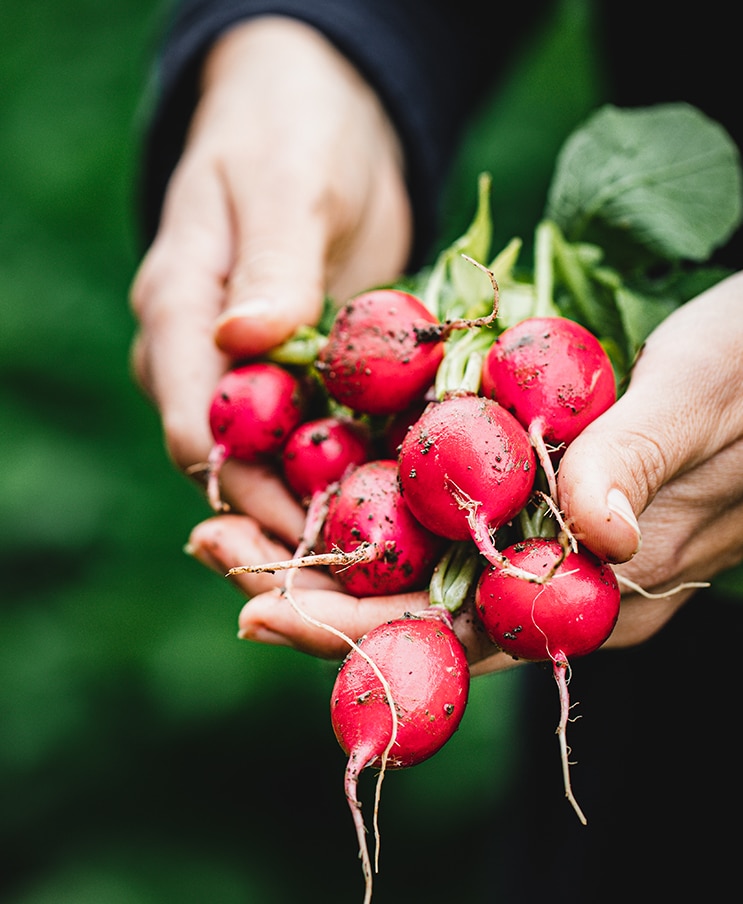
If you didn’t think to add radishes to your dishes, you will now. Here’s how to grow your own radishes that will make Fraggles jealous.
hang loose with your soil.
Soil should be loose, moist, and nutrient-rich for radishes to grow and thrive. Miracle-Gro® Organics Garden Mix for Vegetables & Herbs is the perfect blend that you can use alone or mix it with your own soil.
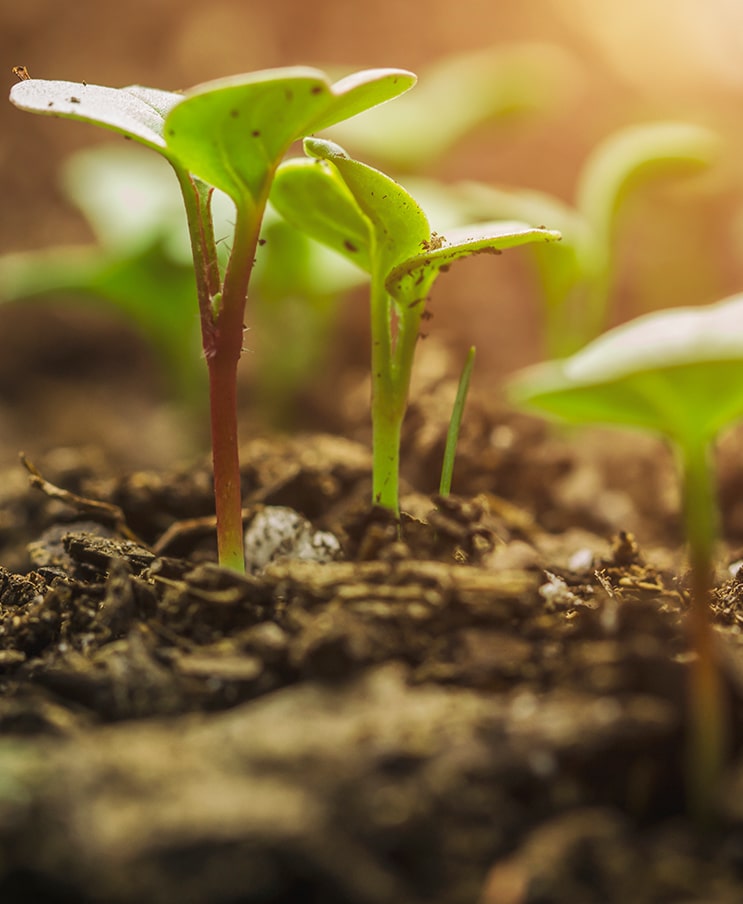
sow the radish seeds. (yes, they do have seeds!)
3 to 4 weeks before the last spring or fall frost is predicted, grab those radish seeds (wondering why you can’t see them? Seeds appear only after the root veg is edible.) Spring radishes usually take 18 to 45 days to harvest and winter radishes anywhere between 45 to 70 days. Plant the seeds ½ inch deep and 1 inch apart.
grow rad radishes
When your radish babies reach 1 inch in height, begin thinning them so the radishes can spread their roots and leaves, ideally 2 to 3 inches apart.
raising radishes right
The most important thing to do for your radish plants is to keep them watered so the soil is moist and remove any weeds that may surround them. Radishes grow best in partial shade or beside taller plants that can protect them from strong sun rays.
they grow up so fast
Radishes are a precocious bunch; they mature before you know it. The grow quickly but left in the ground they will break open, so pluck ‘em when they look like they’re ready to eat.
#easypeasy
The best thing about growing basil of course is when it is ready to eat. To get there faster, opt for young basil plants You say bay-sil, I say bah-sil… tomato or tomAto, there’s definitely one way to make basil grow – and that’s the easy way!
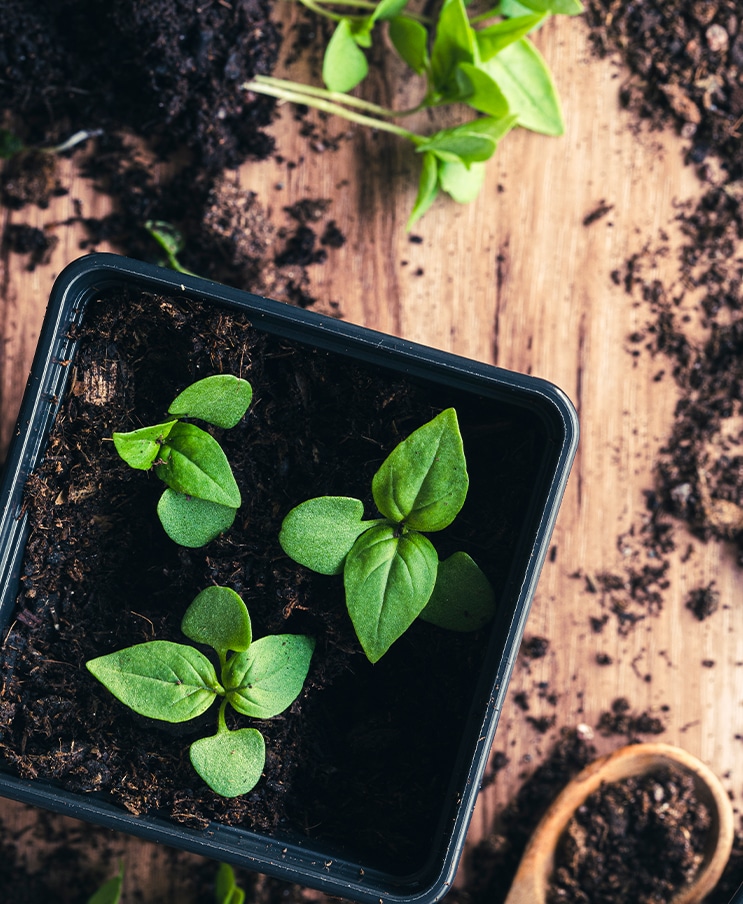
top tips to begin your basil brood:
- Basil plants need 6 to 8 hours of sun daily so place them accordingly, opting for afternoon shade if later sun is a scorcher.
- Check the soil regularly, watering when the top inch feels dry.
- Prune the top branches when the plants grow to be 4 to 6 inches tall to encourage more side shoots. Pinch the basil flowers off so the plants do not go to seed.
- Mulch is a good way to block weeds and keep soil moist.
- Feed basil plants with Miracle-Gro® Water Soluble All Purpose Plant Food one month after planting.
- Begin harvesting when your basil plants are 6 to 8 inches tall.

the secret lifecycle of basil
Originally a tropical herb, this Mediterranean beauty is a favourite in North American gardens and incredibly versatile as a herb in your favourite culinary creations. Here we take you from planting, growing, harvesting, and enjoying.
planting your basil
Robert Plant might have sung Stairway to Heaven but the mighty basil plant is one of the most heavenly herbs by far. Its intoxicating aroma has been the basis for fine perfumes and is a welcome addition to any home or indoor garden just for that reason alone.
The best thing about growing basil of course is when it is ready to eat. To get there faster, opt for young basil plants instead of seeds. If growing from seed is your thing, given their cultural roots (and literal ones!) wait for the soil to have warmed, by waiting for the final frost to pass. You could also grow the indoors six to eight weeks prior to the last expected frost date.
here’s how to grow your basil from seed
• Sow basil seeds one-half inch deep in Miracle-Gro® Seed Starting Potting Mix.
• Place three seeds in each seed-starting cell (egg cartons do nicely).
• After the seeds germinate, about one to two weeks, you will see the first set of teardrop-shaped basil leaves appear.
• Snip away the seedlings leaving the most robust looking one in the cell.
• Use larger containers to transfer seedlings or go straight to planting in the garden or use a 12 inch container or more for growing basil in a pot.
• Space plants 12 to 18 inches apart in the garden.
• If starting basil from seeds directly in the garden, sow the seeds ½ inch deep in the soil, one inch apart. Prune to 12 to 18 inches apart once the leaves appear.
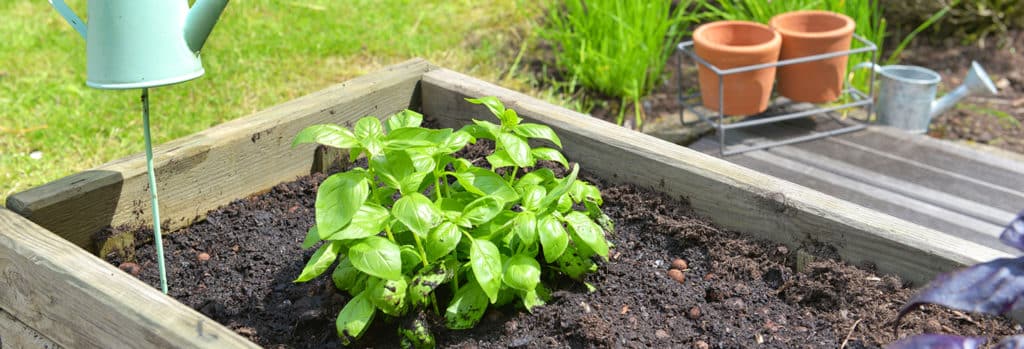
your basil baby all grown up
To really grow like a pro, check out these essential basil gardening tips.
• Aw, those little basil plants are so cute, couldn’t you just pinch them? Then do it! Pinch the tops of your basil plants once they reach 4 to 6 inches in height to make those babies busher and branched out. Repeat once they have grown another 5 or so inches. If you don’t pinch, flowers will grow and decrease leaf production and poorly affect flavour.
• Those basil babes are a thirsty bunch, and basil plants in containers need watered more often than garden-grown basil. Regularly check the soil and if the top inch is dry, it’s time for a date with the garden hose or watering can.
• Basil, true to its warm Mediterranean roots does not live well in cold temperatures, including your refrigerator, where their tender leaves can get damaged and brown. If they are outside in your garden and the temperature dips down to 5C, it’s time to harvest and enjoy.
• Grow like a pro and add mulch around your basil (and other plants) to fend off weeds and retain soil moisture. Scotts® Nature Scapes® mulch was designed for this purpose.
• To boost leaf production, use a high-quality soil. One month into planting, fortify your soil with Miracle-Gro® Water Soluble All Purpose Plant Food® every one to two weeks.
happy harvesting
Once your basil plants are a healthy 6 to 8 inches high, prune or pinch the leaves or stems. Freshly picked basic leaves keep well for a few days, especially in a vessel of room temperature water. Pro tip: do not put basil in the fridge as the cold air browns the leaves. You can however freeze it in cubes of water or oil to cook with at a later date.
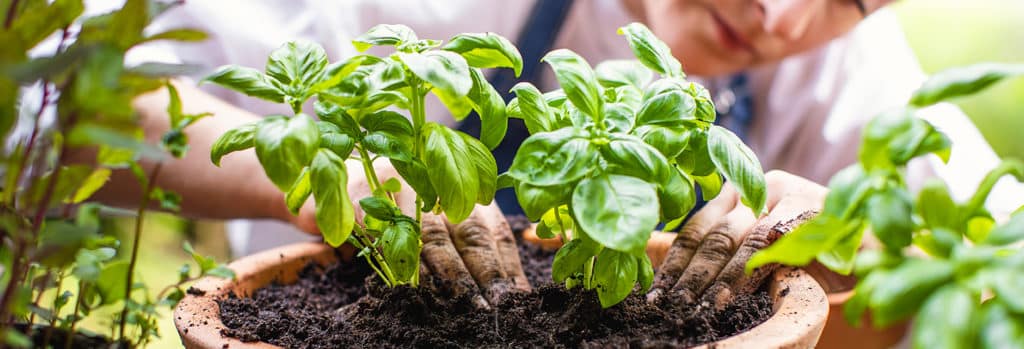
your secret homegrown ingredient
This verdant, versatile herb tastes like it makes Italian food sing opera, Mediterranean food say OPA and Asian dishes burst with depth of flavour. We all know the savoury uses of basil in pizza salads, sauces, and sandwiches, but it also packs a fresh flavour punch to fruits and smoothies.
Use Thai basil in Southeast Asian dishes like stir-fries, soups and marinades. Chef’s tip: tear, don’t chop, your basil leaves to release the natural oils and flavour and add it last.
basil the international herb
This verdant, versatile herb tastes like it makes Italian food sing opera, Mediterranean food shout, “Opa!”and Asian dishes burst with depth of flavour. We all know the savoury uses of basil in pizza salads, sauces, and sandwiches, but it also packs a fresh flavour punch to fruits and smoothies.
Use Thai basil in Southeast Asian dishes like stir-fries, soups and marinades. Chef’s tip: tear, don’t chop, your basil leaves to release the natural oils and flavour and add it last.
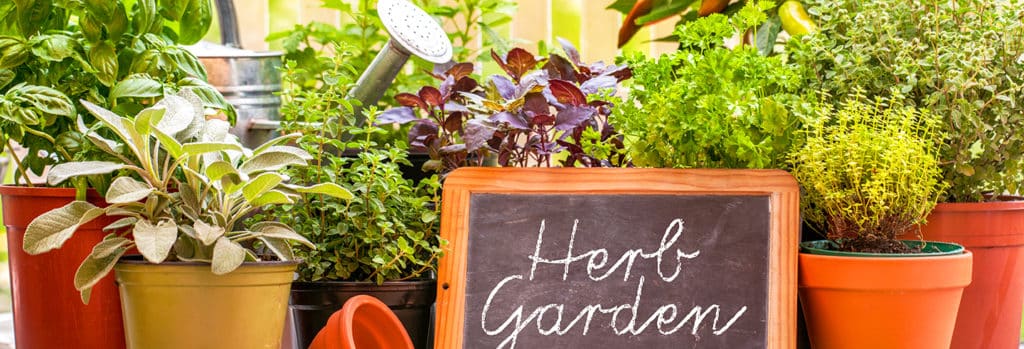
#easypeasy
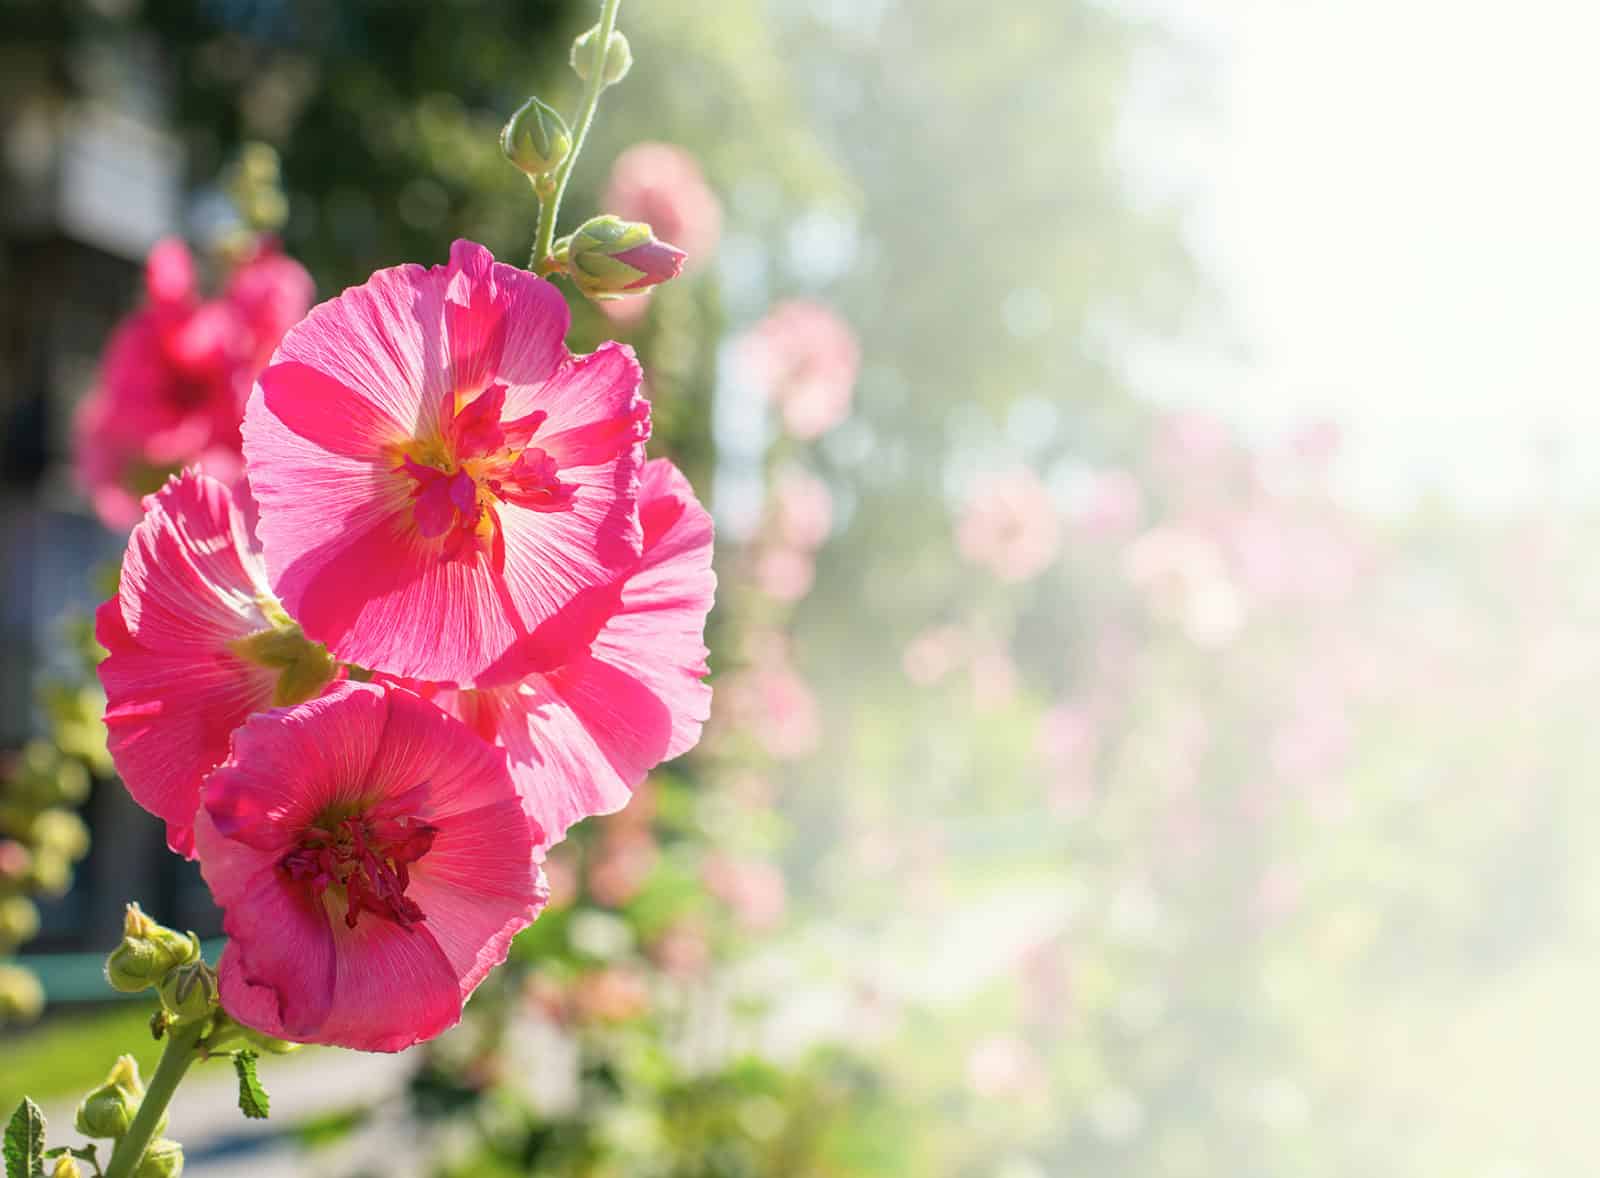
hollyhocks
aka Alcea rosea
Hollyhocks can easily be started from seeds indoors, and transplanted outdoors. They add drama, colour and height to your garden. These plants are likely to attract some wildlife to your garden such as hummingbirds and butterflies! Hollyhocks can get a little “leggy” and it’s often suggested to plant dense plants in front of them to hide this. Once planted, Hollyhocks can be difficult to move. It’s suggested to plant them in a spot where you won’t have to move them.
variations
Hollyhock ‘Sunshine’, Hollyhock ‘Peaches ‘n’ Dreams, Hollyhock ‘Creme de Cassis’, Hollyhock ‘Blacknight’, Hollyhock ‘Halo Red’, Hollyhock ‘Halo Apricot’, Hollyhock ‘Halo Lavender’, Hollyhock ‘The Bride’, Hollyhock ‘O Hara’, Hollyhock ‘Banana’
light
varying needs
Full sun to partial shade
water + feeding
not too thirsty
Will tolerate moist conditions if soil is well drained. Water thoroughly during hot, dry weather. Keep water off leaves when watering, to prevent disease problems. The mistake many novice hollyhock growers make is to plant this flower in soil that’s too dry. If you are planting seeds, sow them outside about a week before last frost. If you are planting seedlings out, wait about two to three weeks after last frost. Hollyhock seeds only need to be planted right below the soil, no more than 1/4-inch (.6 cm.) deep
toxic
not really
These flowers are also non-poisonous to dogs or cats, but you need to be careful about the stems and leaves as they may have resin or fiber which may cause some skin allergies.
size
medium-ish
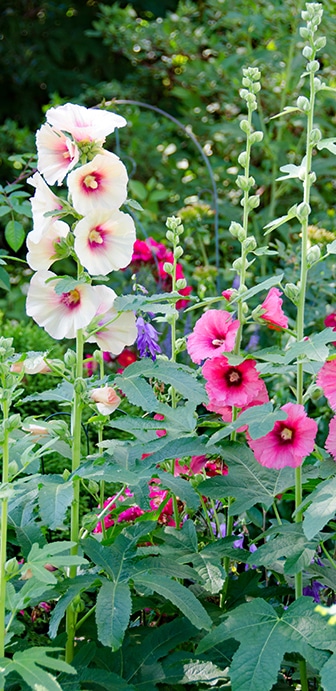
Hollyhock blooms are about four inch double flowers borne on wand-like stems. They have fuzzy leaves, that grow to be about 6-8″ across. A hollyhock plant can grow to be almost 6ft tall!
pro tip
blooms for years
Remove any seed-heads that may form, so hollyhock will continue to bloom for several years. Most plants will live and bloom for several years if stalks are cut off at the base after flowers have faded. They will not be as vigorous as new seedlings. Once established in the garden, hollyhock often grow voluntary from seeds dropped during the summer. These chance seedlings may and should be transplanted elsewhere in the garden.
fun fact
welcome flowers
Hollyhocks symbolize the circle of life, ambition, fertility, and abundance. They have traditionally been planted near the front door of homes to welcome prosperity. Egyptians frequently placed wreaths of hollyhocks with the mummified to help them in their journey to the afterlife.
beyond the basics
-
soil & potting
Hollyhock will do well in almost any soil but prefers a well-drained soil. The most important factor is good air circulation, so do not crowd plants or plant too close to structures, hedges or other plants.
-
companion planting
Hollyhocks make excellent companions for Dahlias, Clematis, Shasta Daisies, Shrub Roses, Baby’s Breath, Black-eyed Susan, or Climbing Roses.
-
blooms
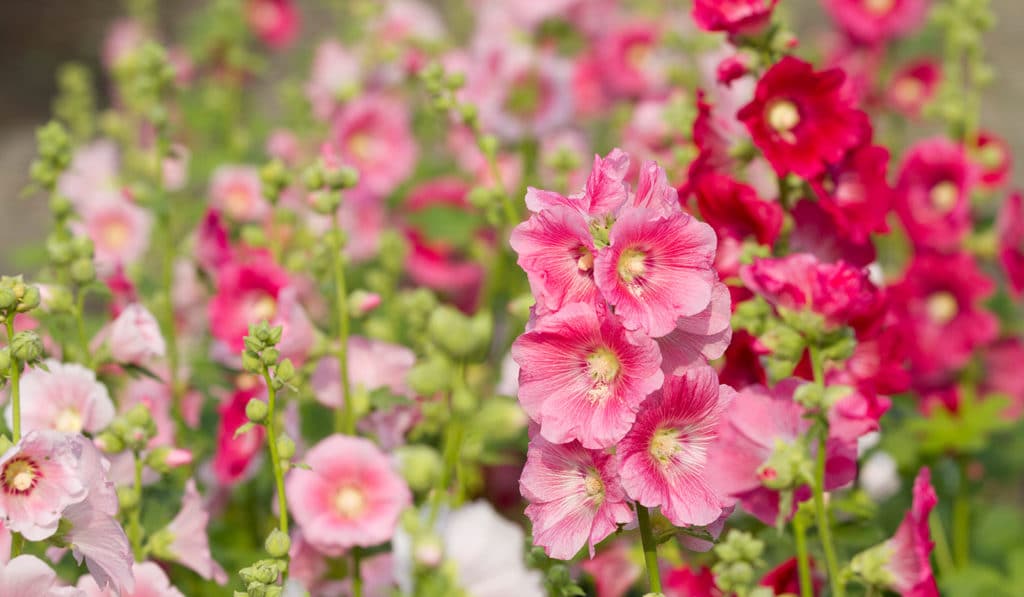
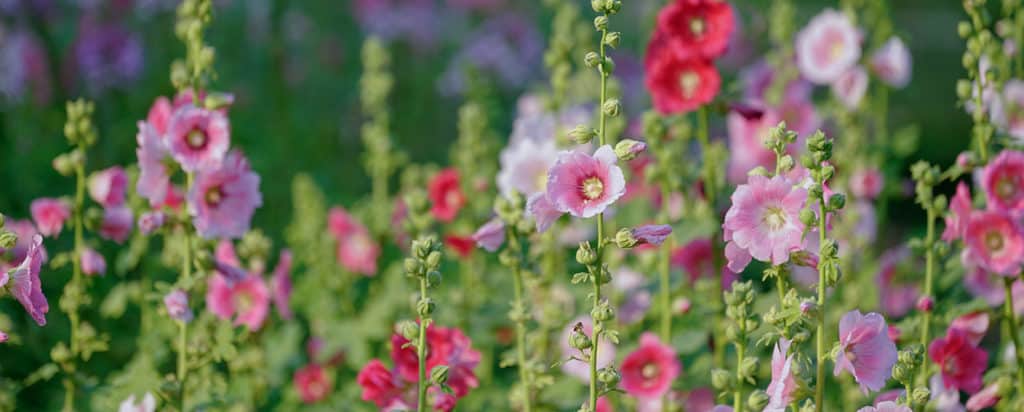
Hollyhocks have single or double, cup-shaped flowers with little or no stalk and bloom on tall spikes. Hollyhocks come in a wide variety of colours: blue, pink, purple, red, white, yellow and even black.
-
pest control
Rust is a leaf disease to which hollyhocks are especially prone. It is worse on older plants and can be kept in check by replacing plants every couple of years.
troubleshooting
-
rusty looking leaves?
Rust is a common problem with hollyhocks and can cause the plants to look ragged. Brown, yellow or orange spots appear as the fungus forms and grows. The damaged leaves will fall off as the disease progresses. Control fungi through proper removal and disposal of infected plants and with a general fungicide.
-
breaking Stems?
High winds or torrential rains can damage hollyhocks because of the sheer height of the flowers. The stalks are strong, but can be knocked around by a summer storm. A trellis positioned behind the hollyhocks gives you a place to anchor the plants. Garden twine, looped around the stalk and fastened to the trellis, keeps the hollyhocks in place when strong winds hit the garden.
-
holes in leaves?
Japanese beetles love the large leaves of the hollyhock plant and create unsightly holes in the foliage. The hibiscus sawfly looks like an elongated housefly with an orange spot just below the head. The larvae of these pests eat the foliage and can completely destroy the leaves on several plants in a short time. Insecticidal soaps and beetle traps generally aid in ridding the hollyhocks of the pests.
-
broken stalks?
Some caterpillars cause hollyhock stems to break and leaves to wilt. Close examination shows small round holes in the stems. Control stalk borers by slitting each affected stem lengthwise, removing the borers, and binding the stems together. Practice clean cultivation and burn all weeds, stems and plant remains likely to harbor over-wintering eggs.
-
wilting leaves?
A fungal stem canker attacks hollyhocks at bloom time on rare occasions. Stem lesions are first dark brown and later ash-gray. As these spots girdle the stem the part above wilts, collapses, breaks off and dies. Remove and destroy infected plants or plant parts as soon as you notice them. Disinfect clippers and other tools after using them on cankered plants. Space plants farther apart to minimize splash-borne infection.