Indoor sowing is the process of starting your seeds indoors, and then gradually exposing and transplanting them outdoors. Almost every seed can be started using this method – but particularly long-season crops, which, as the name implies, take a longer time to grow.
starting your seeds in springtime? here’s what you need to know
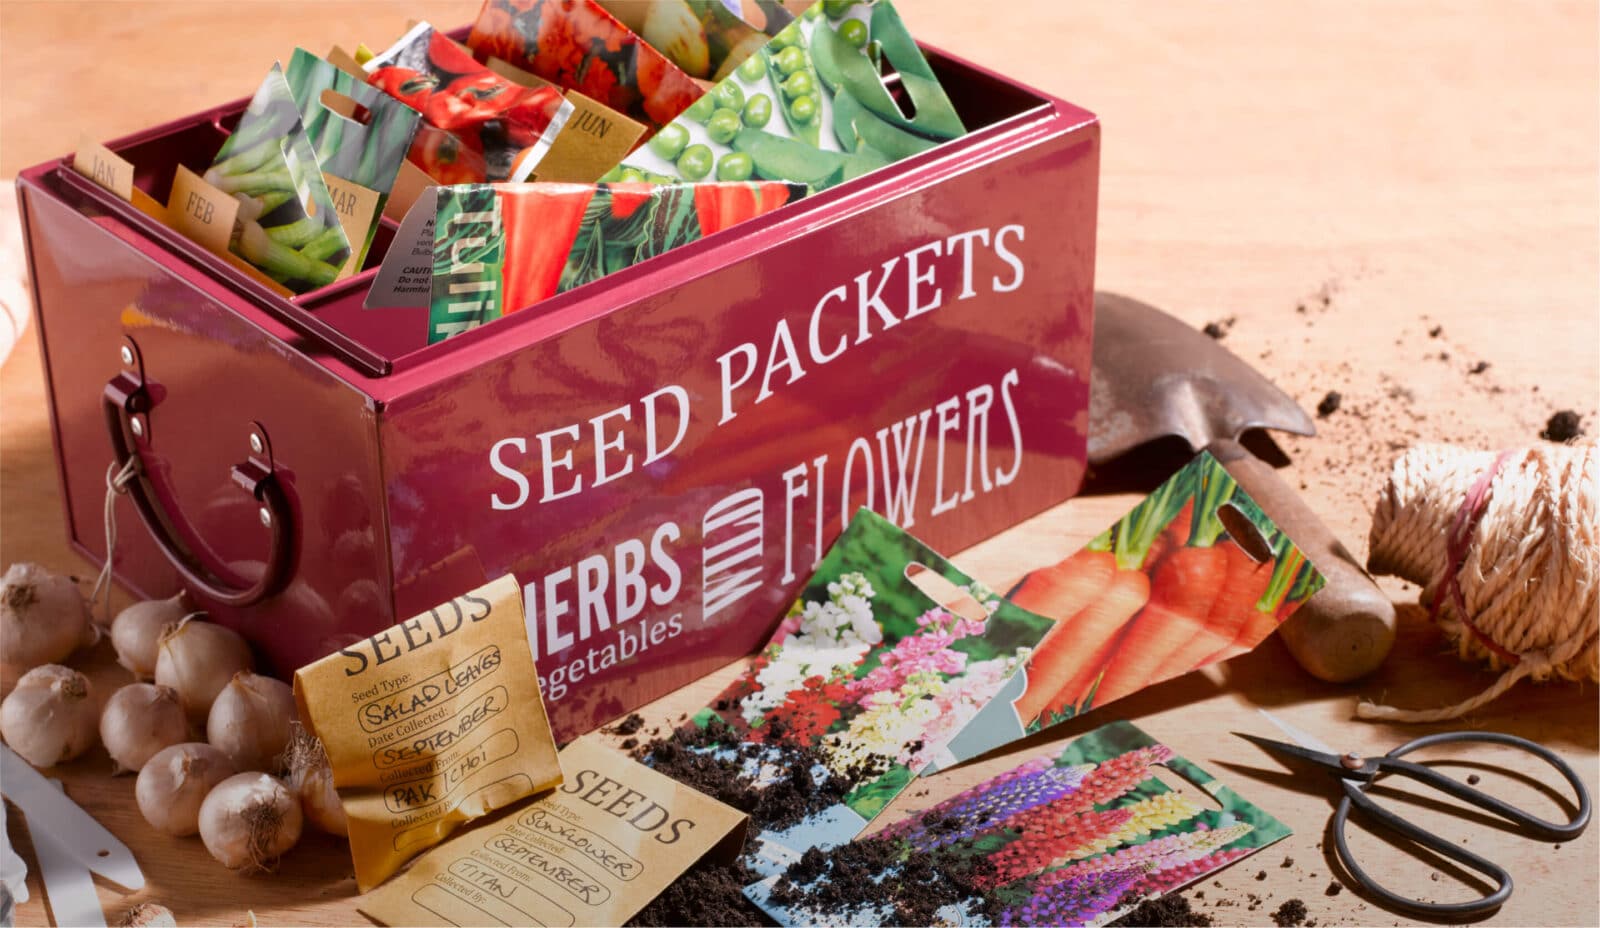
your go-to guide to seed starting for late starters
If the idea of starting seeds just crossed your mind, or you simply didn’t have the time to tackle this project earlier in the year, do not fear!
Because yes – contrary to popular belief, you absolutely CAN start your seeds in April. It’s not too late.
Especially if you’re into delicious late bloomers, like asparagus, beets, peppers, and even catnip (your furry friends will love you forever!).
let’s get started! but first…
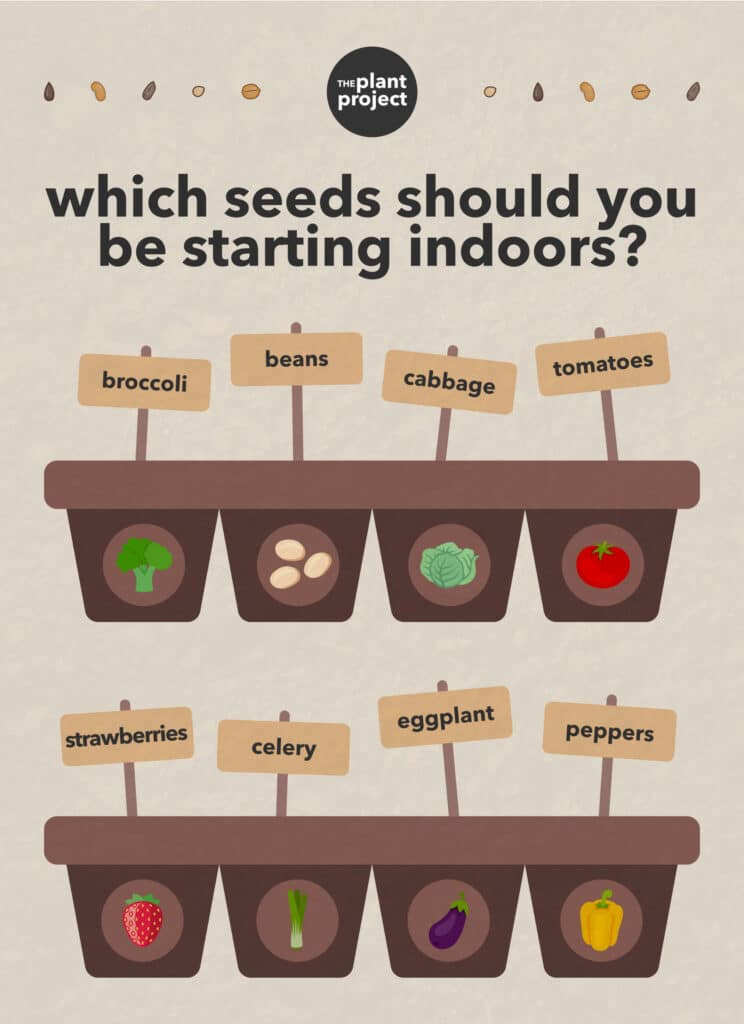
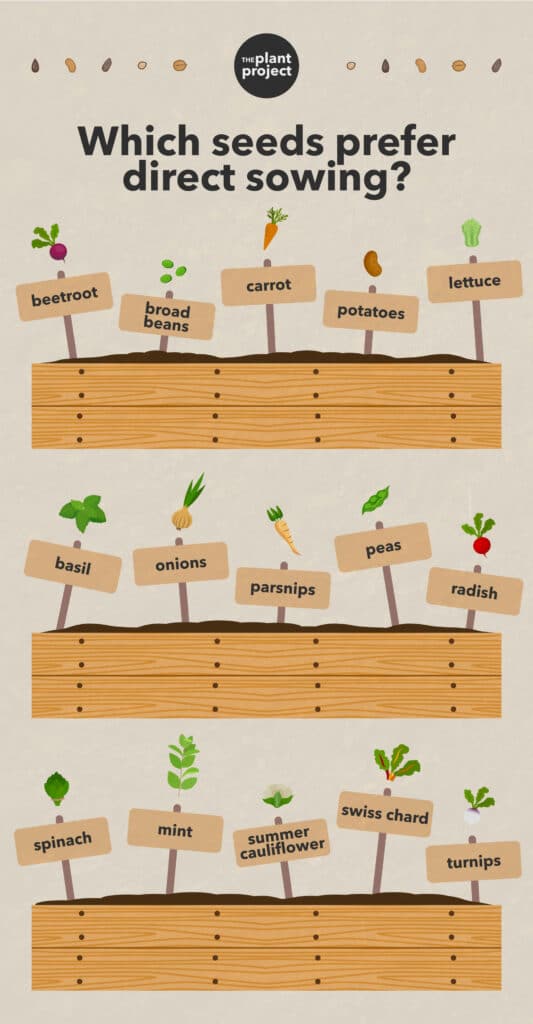
Check the last average frost date in your region with this helpful chart. It includes useful guides for which seeds you can start now, which seeds prefer direct over indoor sowing, and when the best time to transplant your indoor seedlings would be.
there are two ways to sow your seeds. Let’s get into them!
here’s what you need to get started:
- Your seeds
- Miracle-Gro® Seed Starting Potting Mix
- A seed tray
- A drip tray
- A heat mat
- LED or glow lights
- A plastic seed starting cover
- Stickers for labeling
1
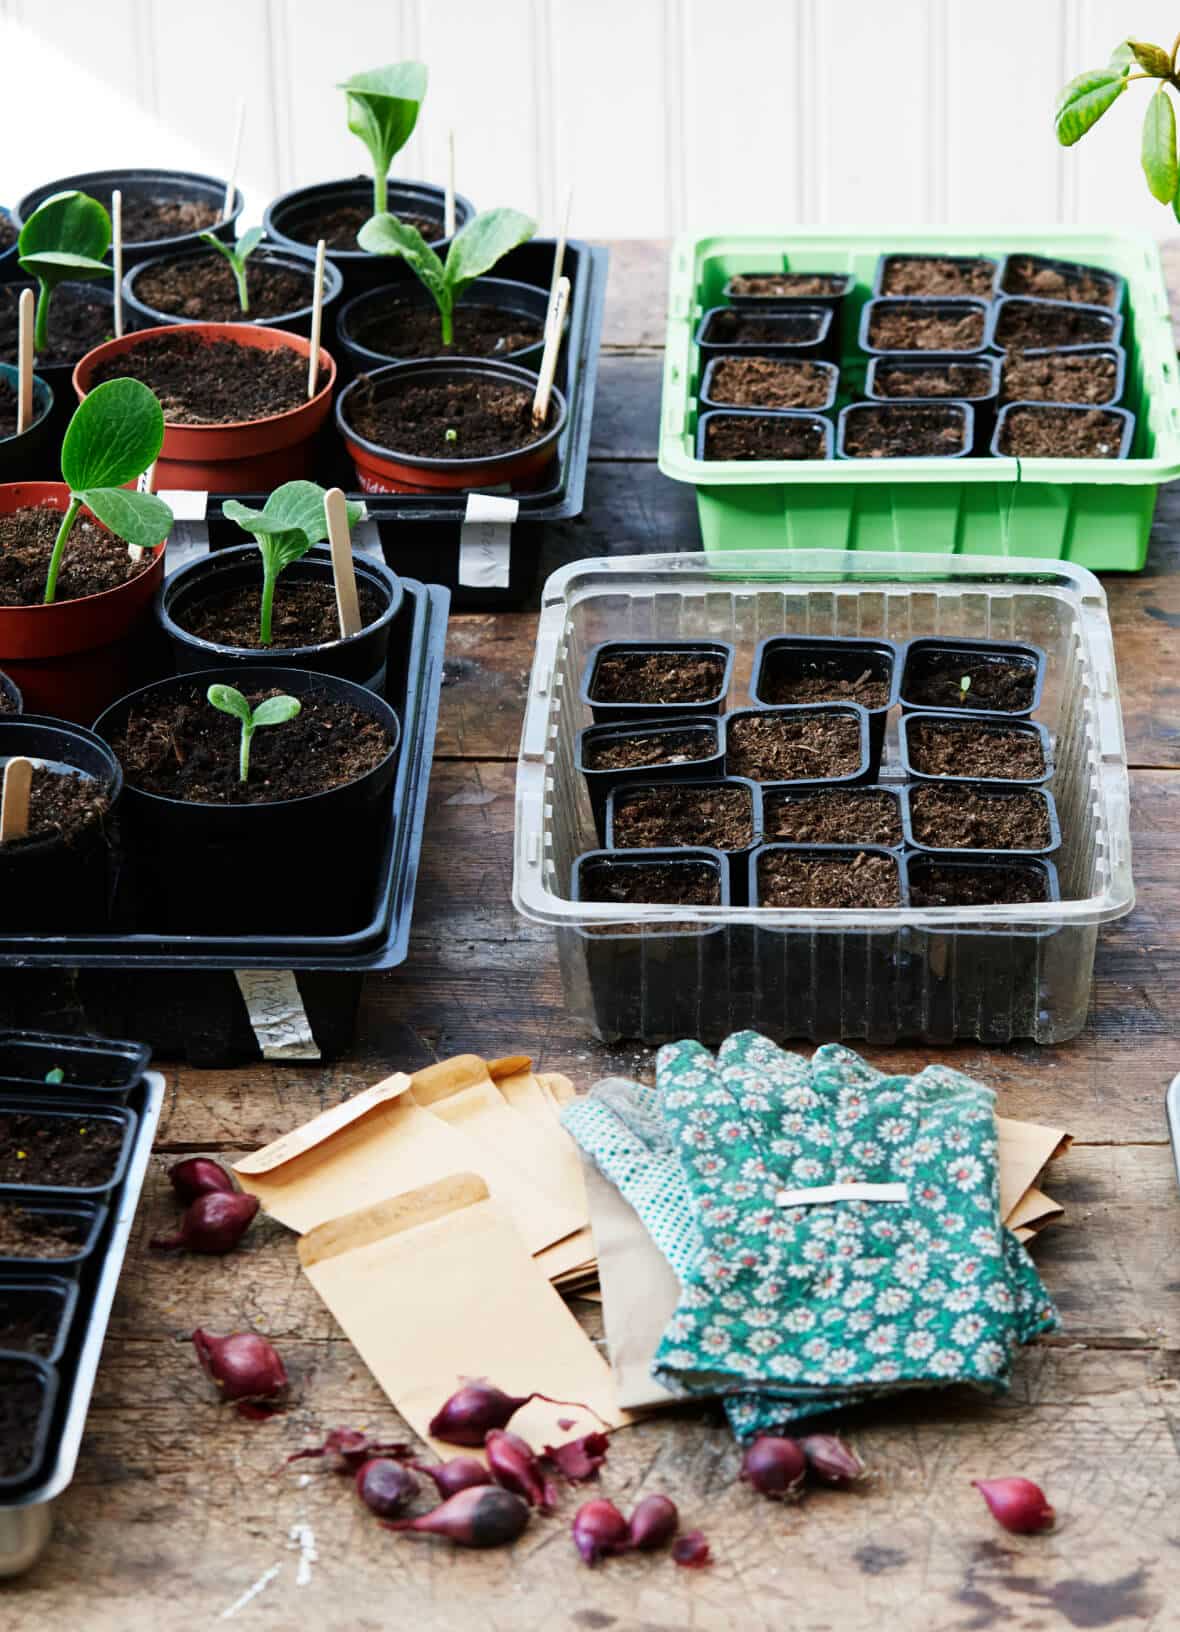
step 1: prepare your potting mix
Fill a large bowl with your potting mix, and add in a sprinkle of water to ensure even soil moisture.
2
step 2: prepare your seed tray
Place your seed tray inside your drip tray, and fill each cell with soil, just below the top of the cell.
3
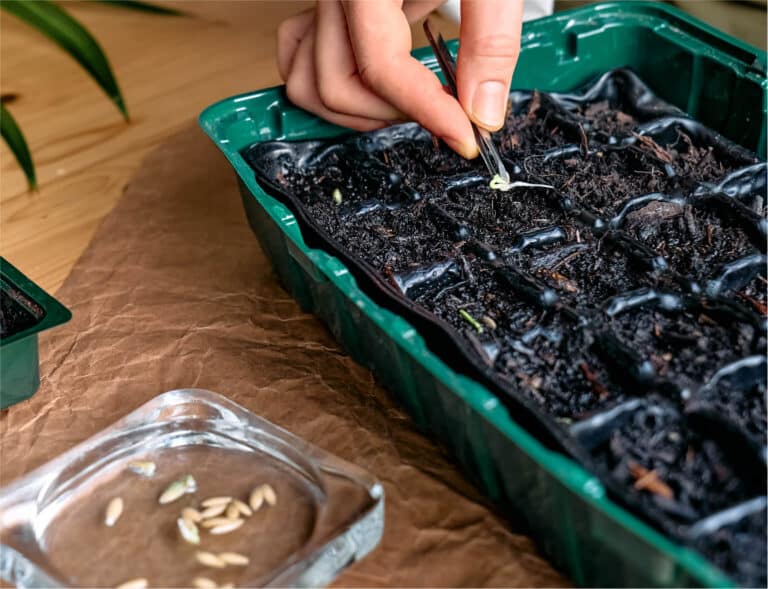
step 3: sow your seeds
The rule of thumb with seed sowing is: plant yours two to three times as deep as they are wide. So if your seeds are tiny, you can sprinkle a few over the soil. If they’re larger, you can push a couple of them into the soil in each cell, ensuring they’re covered by a layer of it. To better understand how deep you need to place your seeds, read the packaging they come in.
4
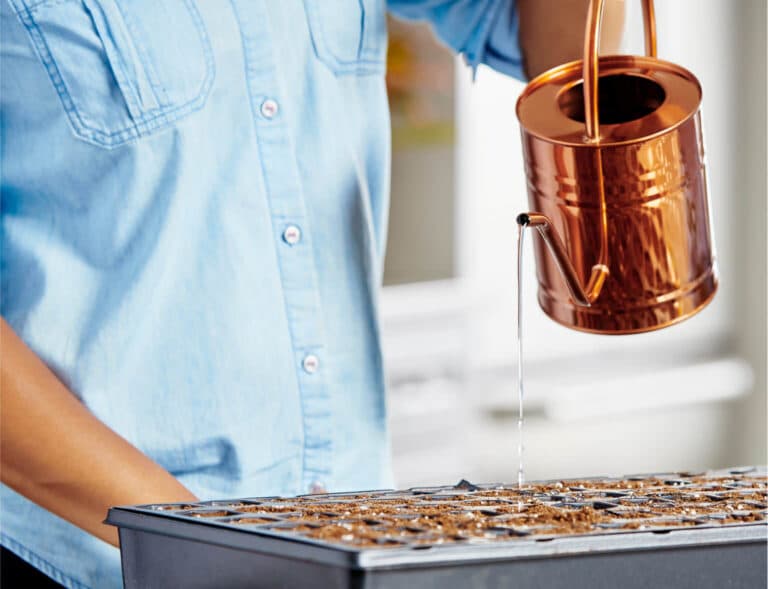
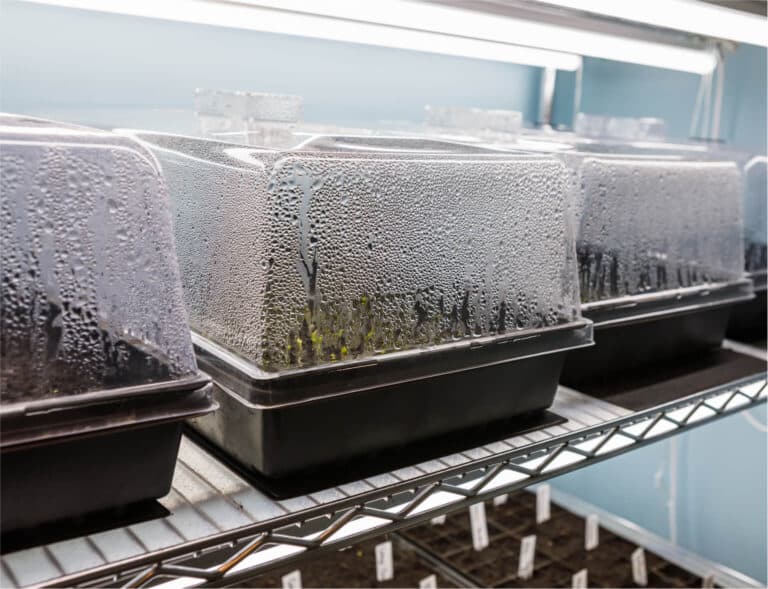
step 4: prepare for growth!
Add labels to each seed container. Then, place your plastic cover on top of your tray, and put it on the heat mat, under your LED or glow lights. Once your seedlings start growing, gradually expose them to the outside environment. Then, mid May or June, they’ll be ready to be transplanted.
option 2: direct sowing
This method involves planting your seeds directly into your garden or outdoor space, rather than sowing them indoors first, and then transplanting. While indoor sowing gives you more control over your seeds’ environment, direct sowing allows for the development of stronger, healthier plant roots.
here’s what you need to get started:
- Your seeds
- Craft sticks for labeling
1
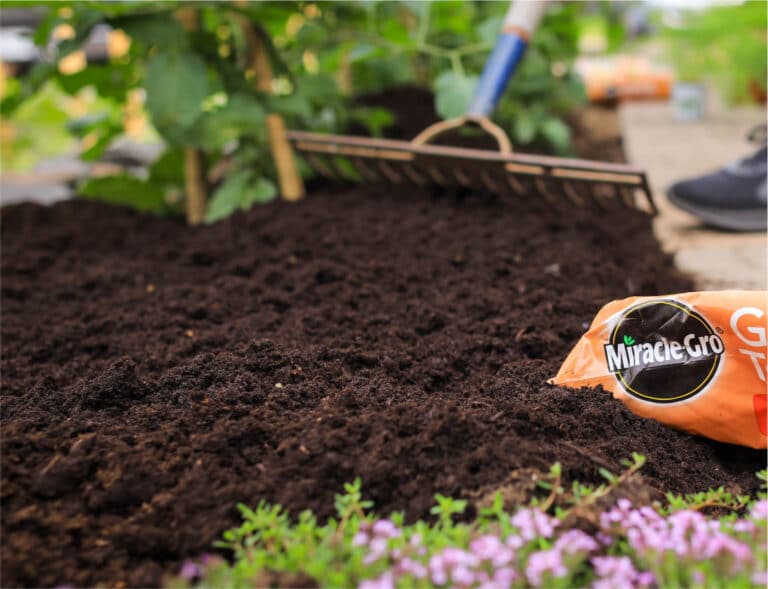
step 1: prepare your soil
Take the time to get your soil fully ready, by removing all the weeds, rocks, and debris. Then, loosen your soil with a garden fork, raking it until you have a level surface.

2
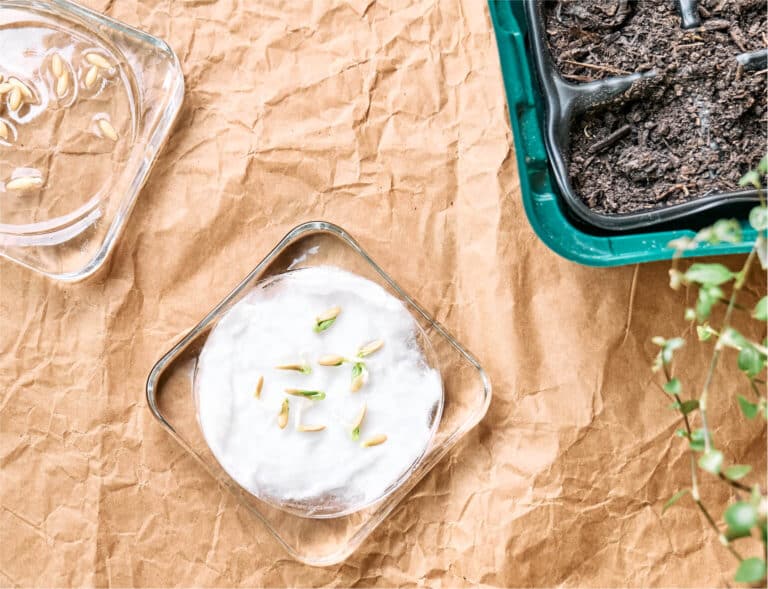
step 2: prepare your seeds
Depending on the type of seeds you have, you might need to manipulate them slightly before placing them in the soil. For example, some seeds need to be softened, by being soaked in water prior to planting. Others need to be scarified, by being rubbed against sandpaper to thin their hard shells. Read your seeds’ instruction packet to ensure you’re preparing them properly.

3
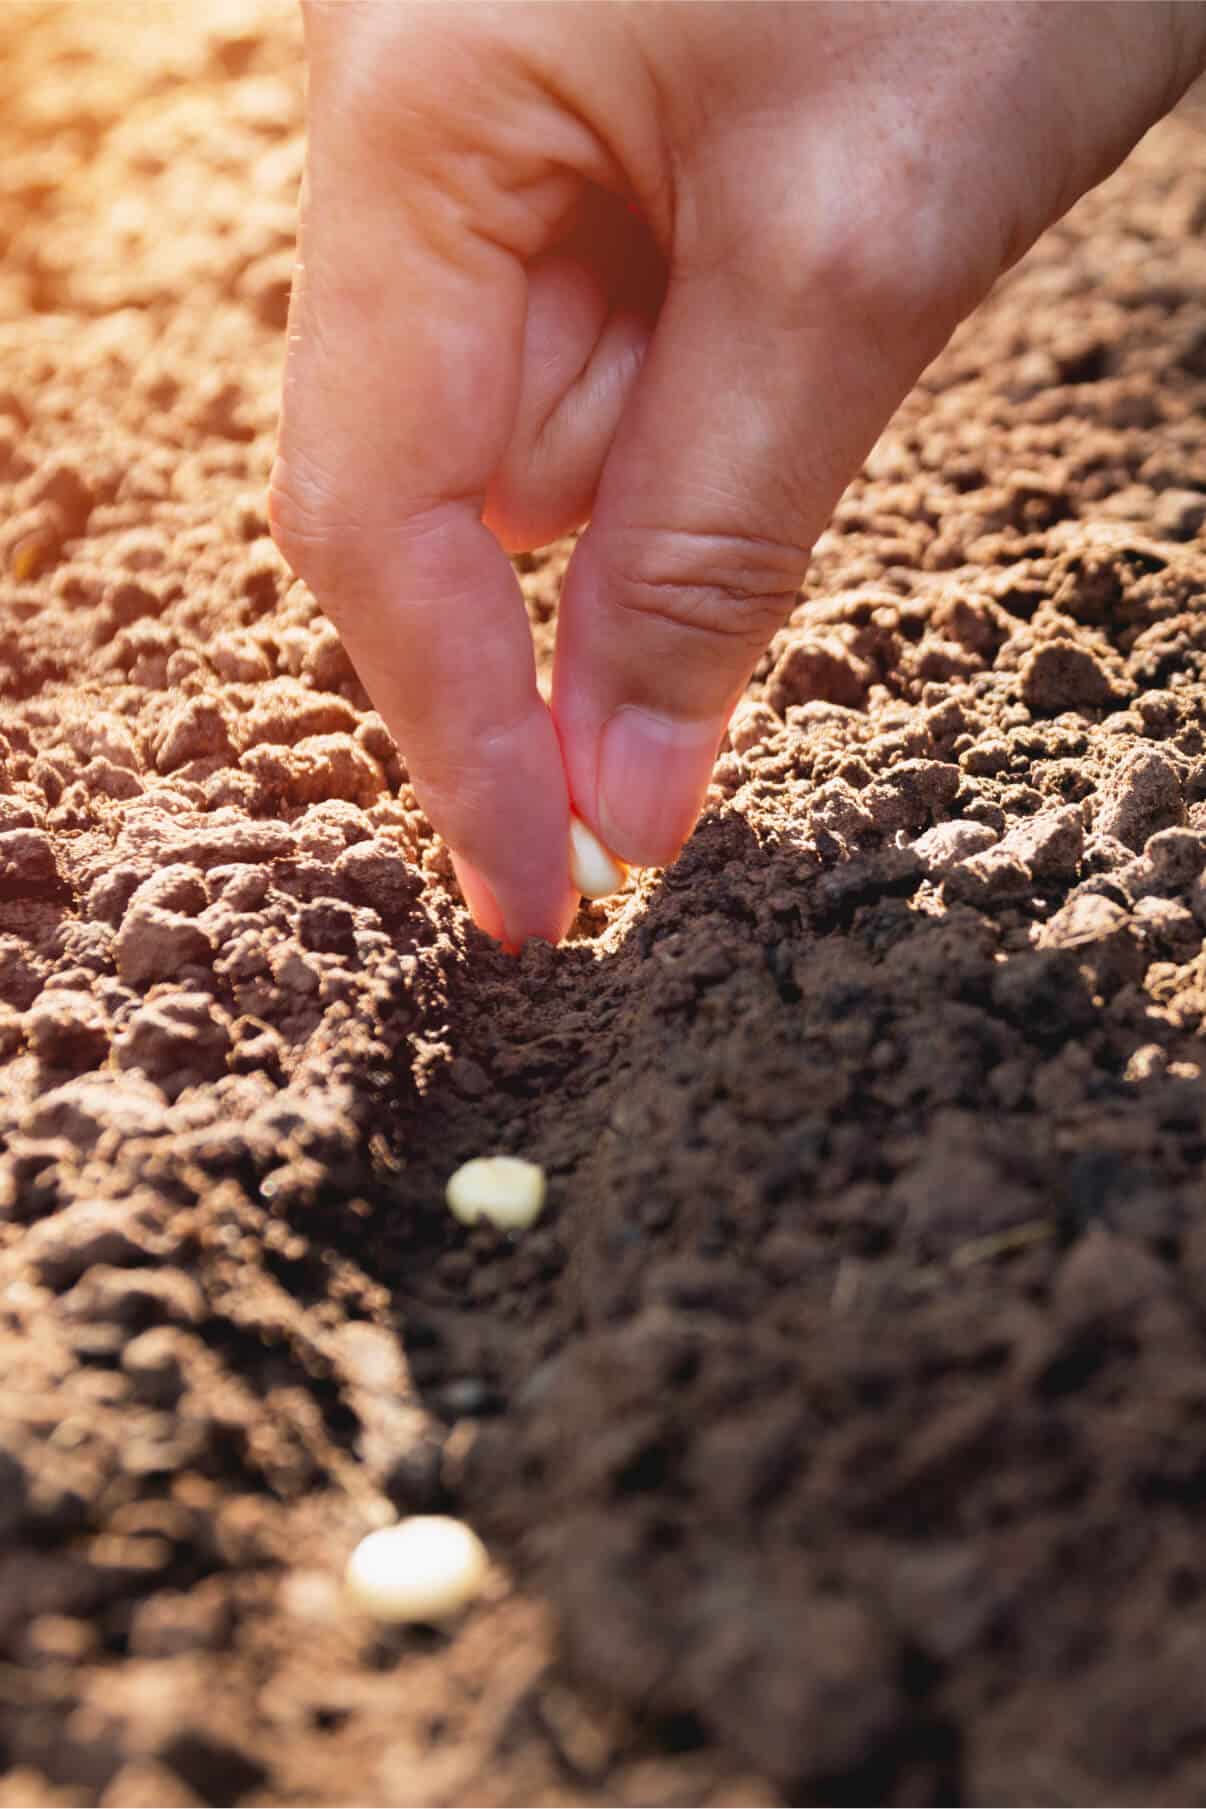
step 3: plant your seeds
Just like with indoor sowing, try to stick to the seed size-to-soil depth rule. The bigger the seed, the deeper you want to sow it. Tiny seeds can simply be sprinkled on top of the soil, while bigger seeds will need to be buried at a prescribed depth. But don’t stress! Seeds aren’t particularly picky, and will likely germinate regardless of soil depth.
4
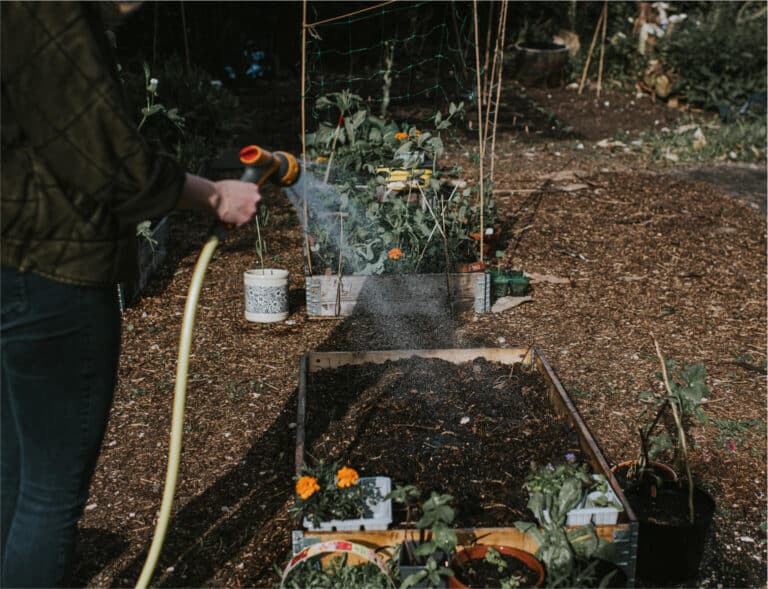
step 4: moisten your soil
Never – we repeat, NEVER- let your soil dry out fully after planting your seeds. Nothing gets in the way of seed growth more than dry soil. To give your seeds the best chance for success, gently water them using a light-pressure setting on your hose, and make sure to not leave any puddles – or you risk overwatering.

5
step 5: X marks the seeds
Use your labeled craft sticks to mark where you planted your seeds. This will help you keep track of their germination, monitor their growth, and not accidentally overcrowd them with new seeds or mistaken them for weeds.
Still got questions about the seed starting process? Let our experts help, by leaving a comment in our Plant Chat!
