Seed libraries thrive when passionate folks with green thumbs join forces. Connect with gardeners in your community and ask them to share their expertise (and their seeds) as you build your collection. You will also want volunteers to help you manage the library once you’re ready to go. If you have a local gardening club or society, that is a great place to source some support.
how to start a seed library
Do you want to build a community with like-minded gardeners, but you’re not sure where to begin? Starting a seed library can be the perfect way to meet some plant-loving friends. It’s also a fun way to grow your own food and encourage others to do the same.
So, what is a seed library? Think of it as a library, but instead of borrowing and returning books, you borrow and return seeds. And as a bonus––no late fines!
Setting up your own seed library takes a bit of thoughtful planning at the start, but once you get going, it’s fun and easy to maintain.
here are some tips to help you get your library off the ground:
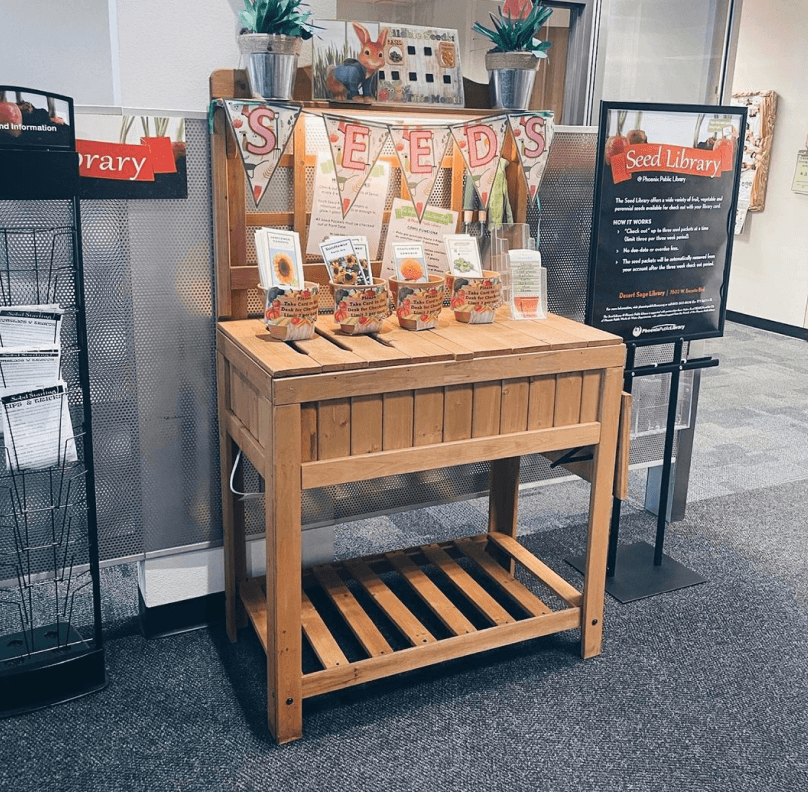
step 2. pick a spot.
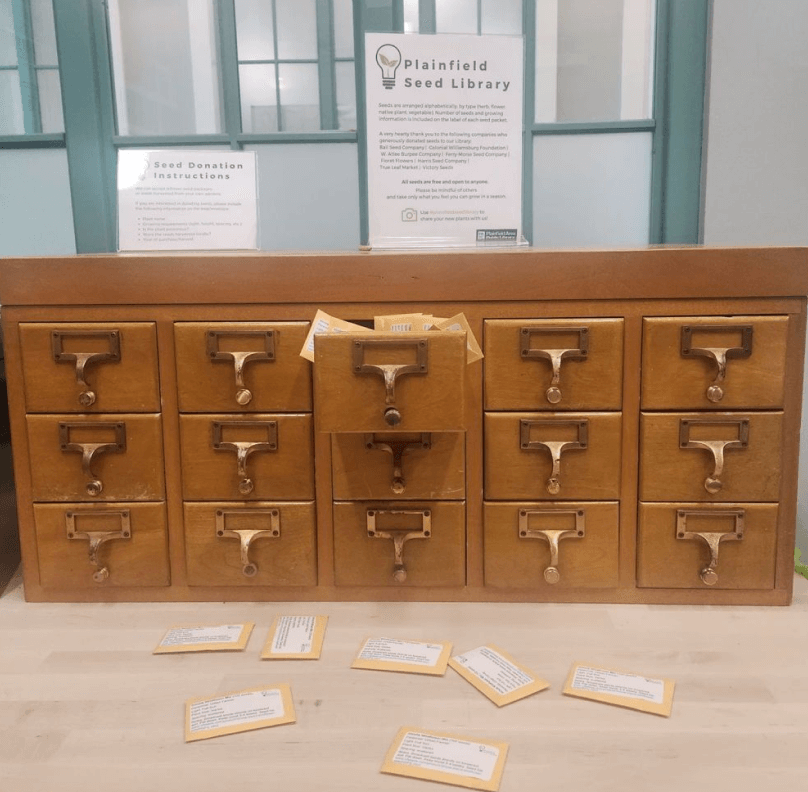
Find a nearby location that is convenient for borrowers to access. You might want to ask your local community centre or library (the kind with books in it) if they can house it. Seed libraries do not take up much real estate, so it’s a fairly easy sell. You can also set it up outside on your street, like the Little Free Libraries you see around your neighbourhood. It all depends on what vibe you are going for and how accessible you want it to be.
step 3. start building.
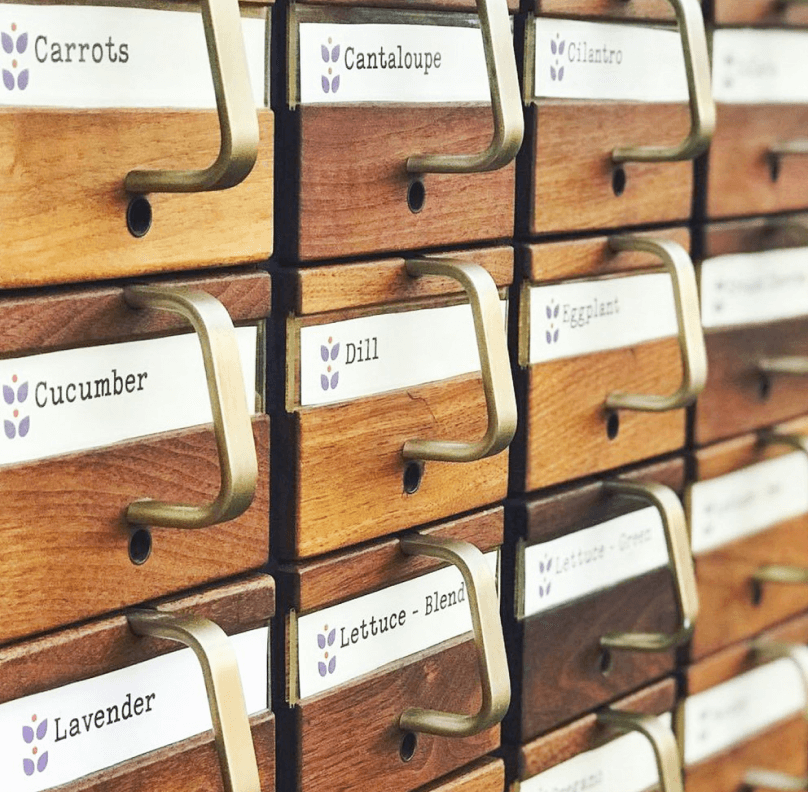
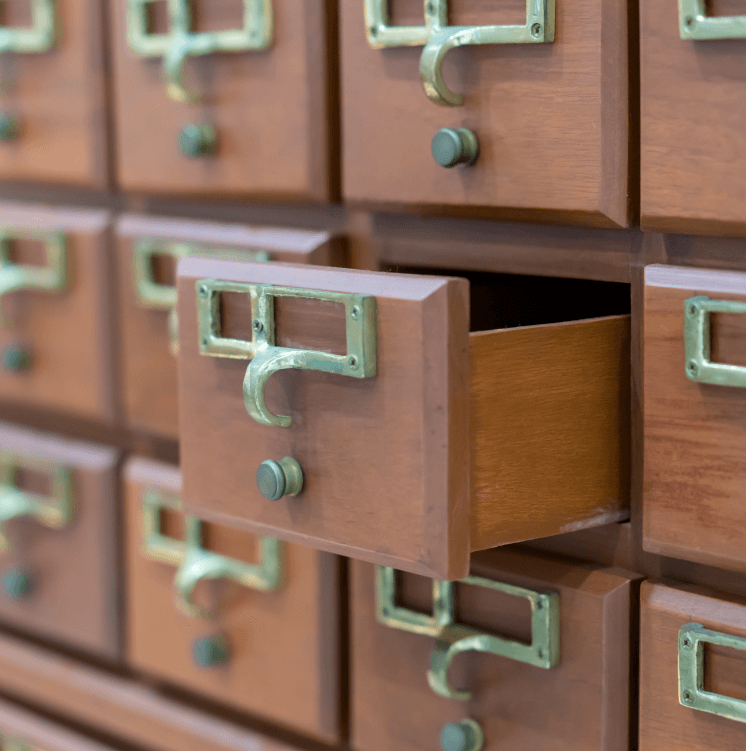
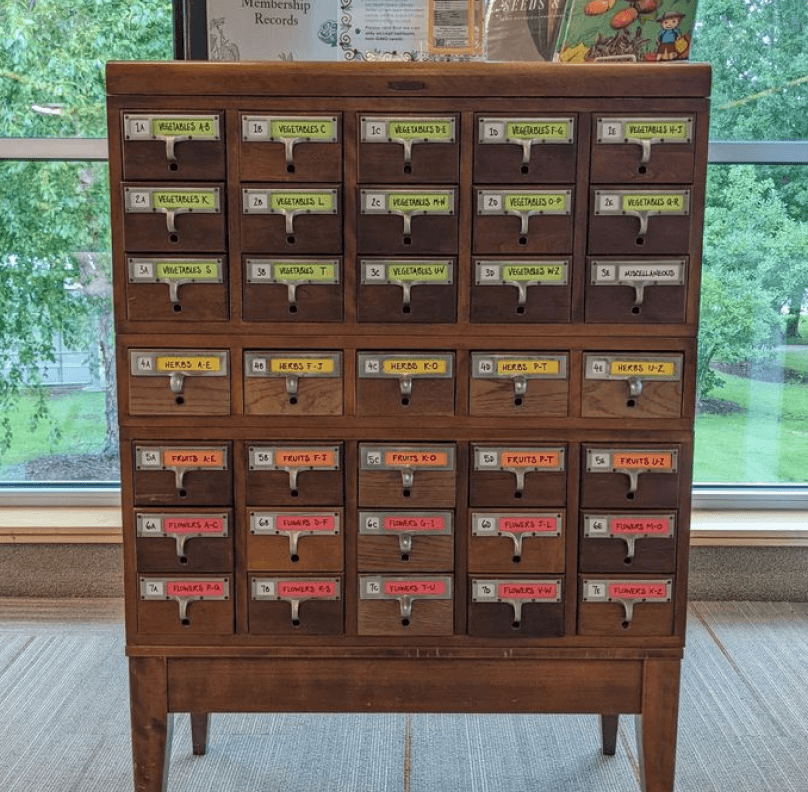
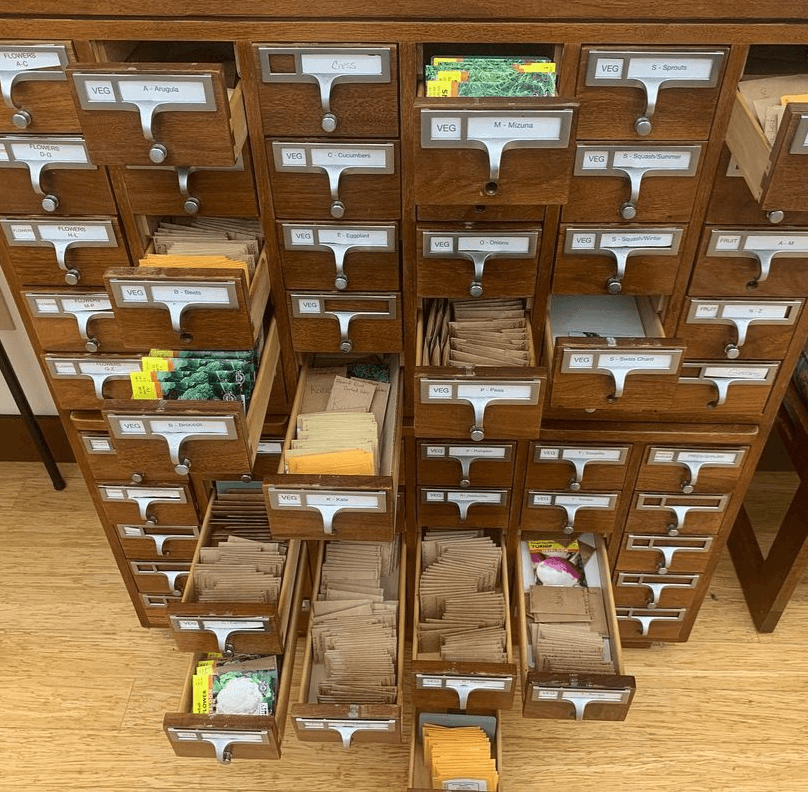
Put on your architect’s hat, because you will need to create some sort of structure to hold the seeds. But do not stress––you don’t need to get too fancy. A wooden apothecary cabinet with tiny drawers makes a great home for a seed library. Check out your favourite vintage store or browse your local buy/sell groups online and see what you can find. And if that sounds like too much work, any type of container or small box will do.
step 4. gather supplies.
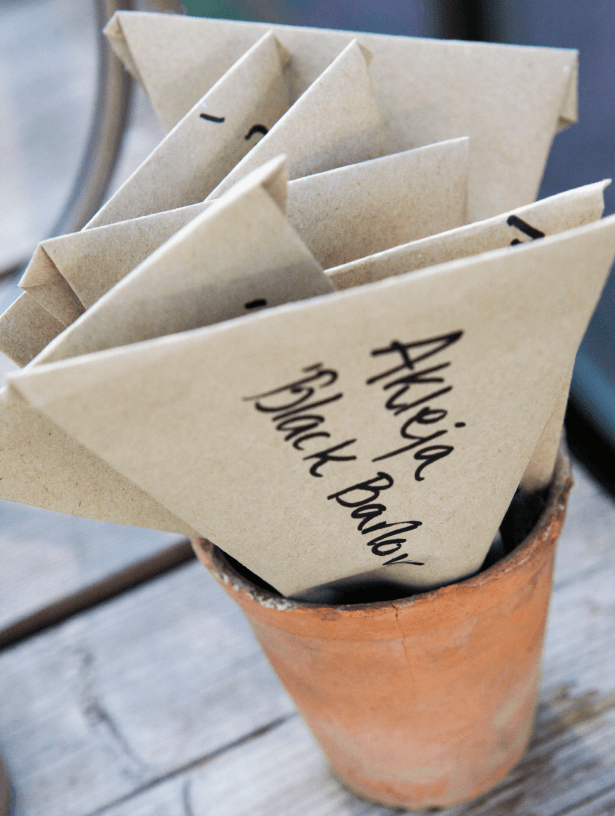
Collect the following materials:
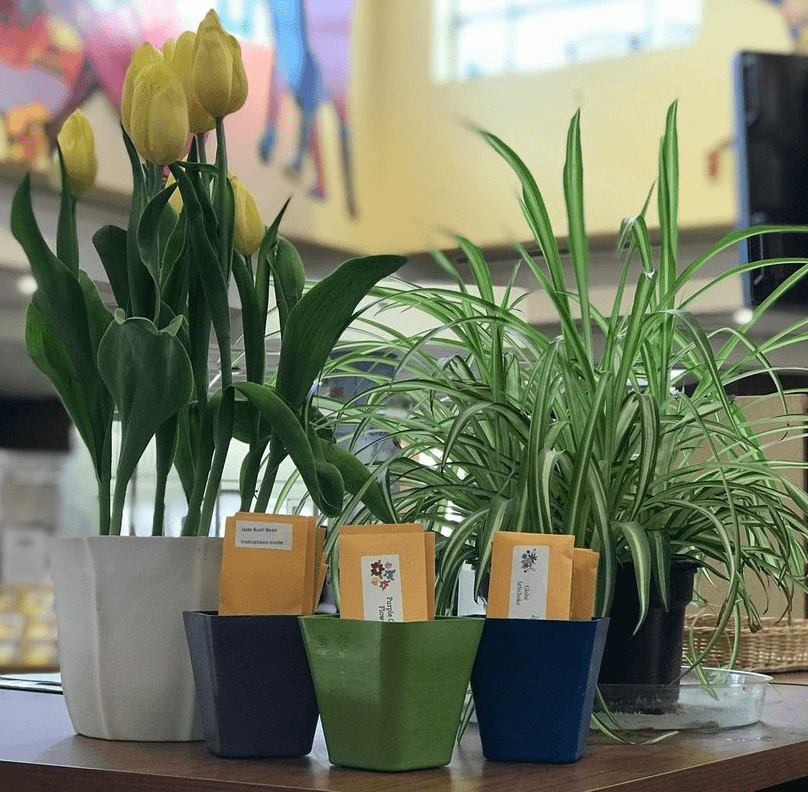
- Mini envelopes
- Labels
- Date stamp
- Pencils (for people to write helpful instructions for harvesting)
Again, no need to break the bank here. Hit up the dollar store for lots of low-cost options. You can even see if your local home and garden centre will donate supplies.
step 5. choose your categories.
A truly useful library is an organized one. To simplify the process for your borrowers and lenders, divide your library into different categories. You can choose to do this however you wish. Some options:
- Alphabetical
- Level of difficulty (easy to hard, or beginner to expert)
- Type of plant (veggies, herbs, flowers, etc.)
step 6. tell people how this all works.
For your library to really thrive, you need a steady stream of people contributing to the flow of seeds coming in and going out. If your neighbourhood is part of the Nextdoor app, make sure to post there, or in any other relevant social groups. And don’t forget good old-fashioned word of mouth––tell your neighbours, your friends, your kid’s school council, and anyone you think might be interested in popping by.
And just like that, yYour seed library will be bustling and blooming before you know it! Don’t forget to share your progress with our community in the Plant Chat.
#happygardening
instagram.com/missphoenixaz
