- A good potting mix (for this project we recommend Miracle-Gro® Cactus, Palm and Succulent Potting Mix)
- Activated Charcoal
- Your choice of terrarium-friendly plants: like succulents, air plants or miniature cacti
- Pebbles for drainage
- A spray bottle for watering
- Battery operated mini string lights
- A glass container for your terrarium plants
- Decorative or polished stones
- Crystals, small gnomes, or other mini decorations you want to add
build a dreamy terrarium lamp – in 5 simple steps!
There’s something magical about terrariums. They take up so little space, and yet, house an entire ecosystem within them. If you’re reading this article, you’ve likely seen countless Pinterest boards of beautiful, tiny terrarium creations made to resemble small towns, wild forests, or other stunning locales.
But while terrarium inspo-pics are fun to look at, they can also spark that dreaded impostor syndrome within us. The thought of “can I really make something like this?” holds so many of us back from even attempting to start.
The truth is: terrariums are much simpler to create than most people think! All you need are a few base ingredients to start, and the courage to get creative.
ready to make your own world within a glass jar?
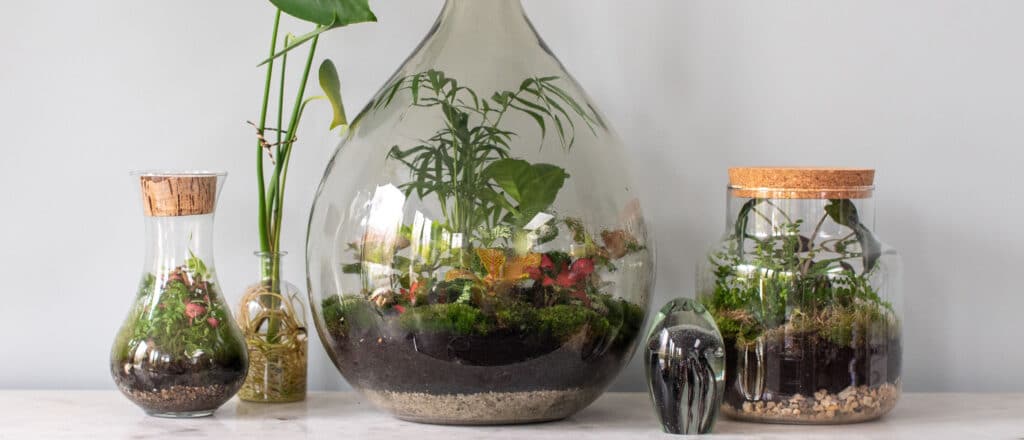


step 1: choose your terrarium “home”
Before you begin, think about the style of your terrarium and the type of plants you want to put in it.
The answers to these questions will determine whether you should opt for an open or closed terrarium.
If you want tropical plants that thrive in humid conditions, a closed terrarium is ideal. On the other hand, if you opt for small cacti or succulents, an open terrarium is the best solution.
step 2: build your base
Got your perfect terrarium container? Great! Now, the real fun begins.
Start by adding a 1-1.5 inch layer of pebbles, followed by a thin layer of charcoal. The pebbles act as drainage holes, while the charcoal helps reduce the amount of bad bacteria that might start developing as your plants grow.
Once you’re done, add about 2.5 inches of your potting mix. Make sure you have enough soil for your plants’ roots to fit.
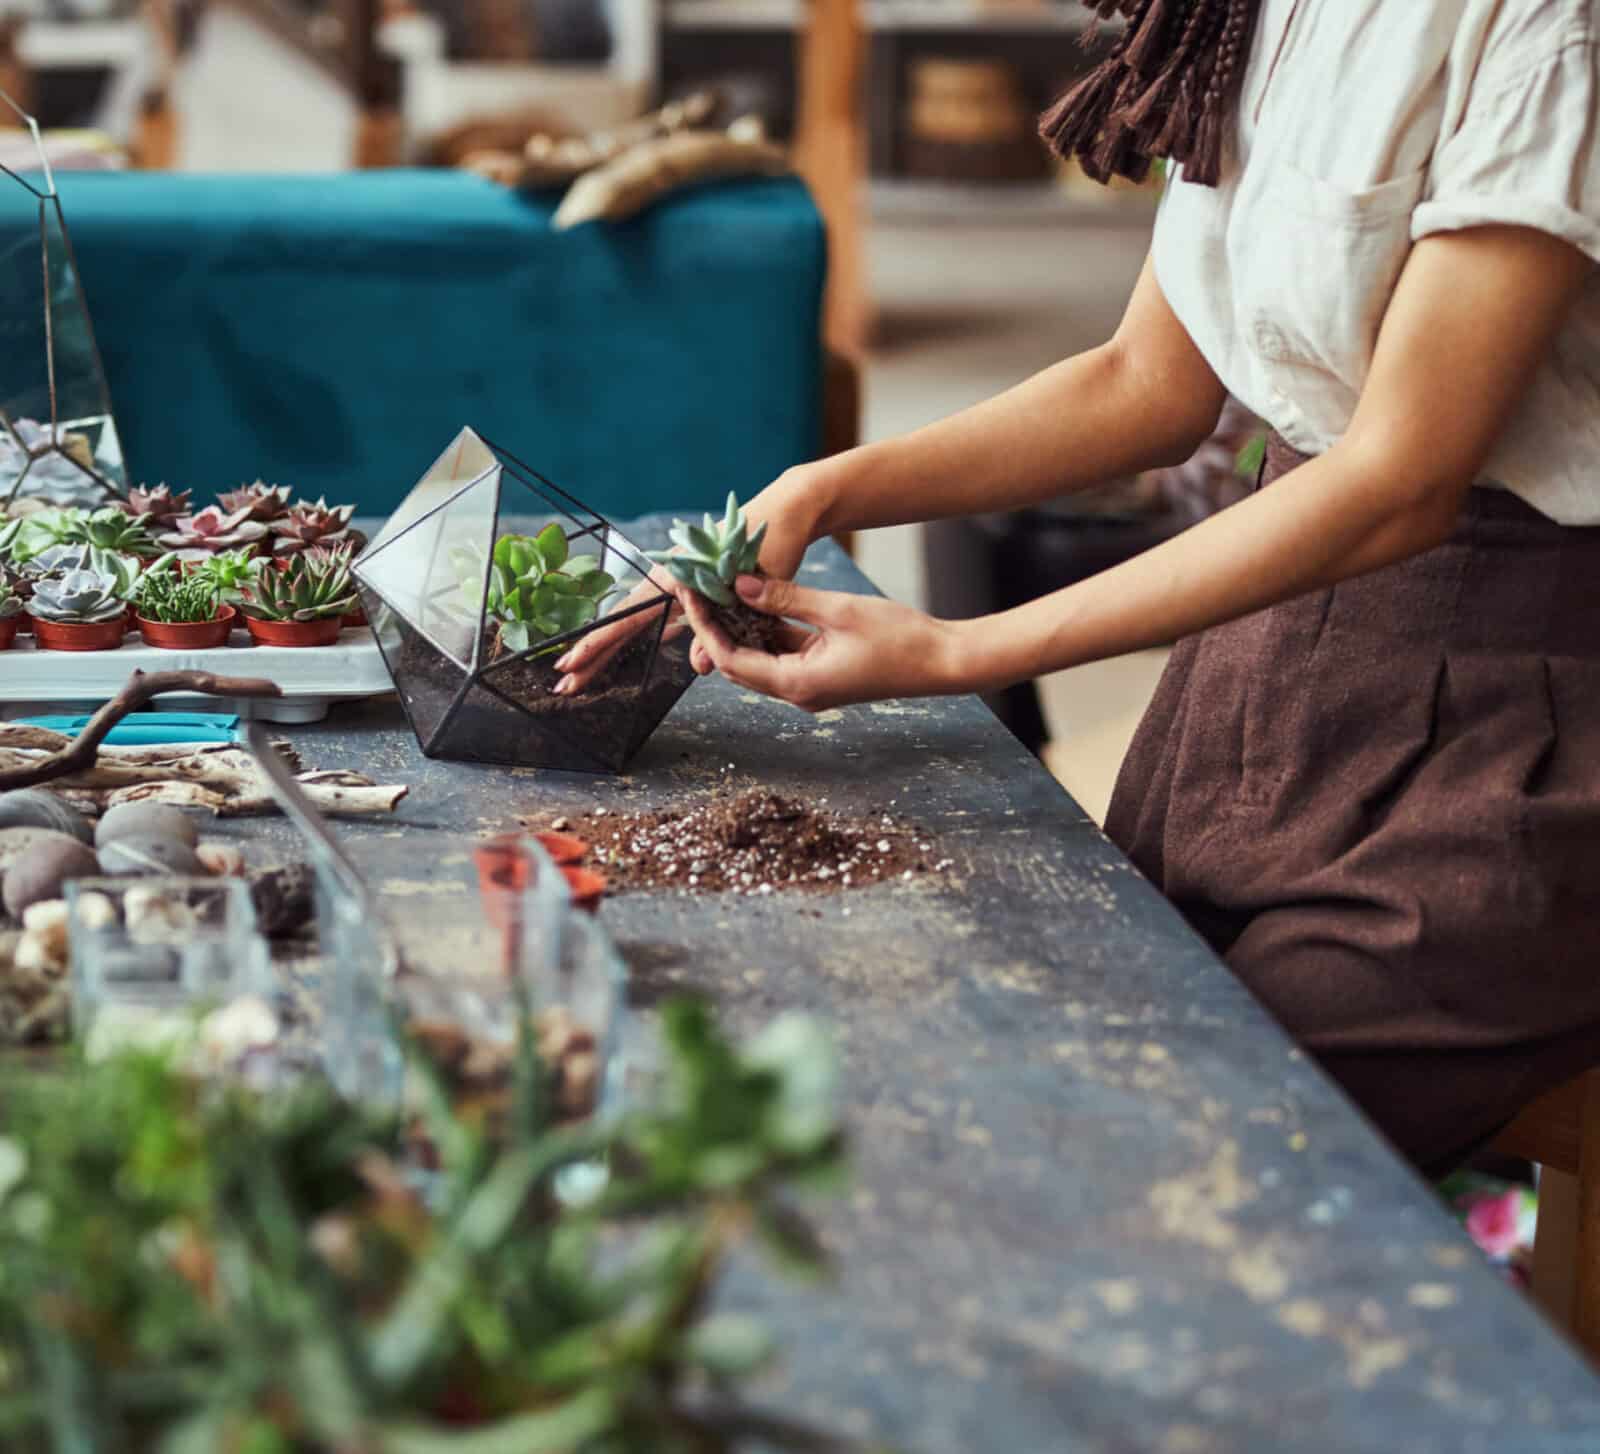
step 3: add your plants
Remove your plants from their original pot. Gently massage their roots to get rid of excess soil, and create small holes in your terrarium for your plant roots before carefully placing them inside.
We recommend starting with the bigger plants
step 4: have fun with it!
Now comes the best part – decorating your terrarium.
You can add polished stones, crystals, small figurines, or any other miniature decorations to make your terrarium unique to you.
Bring out your inner child, and don’t hold back!
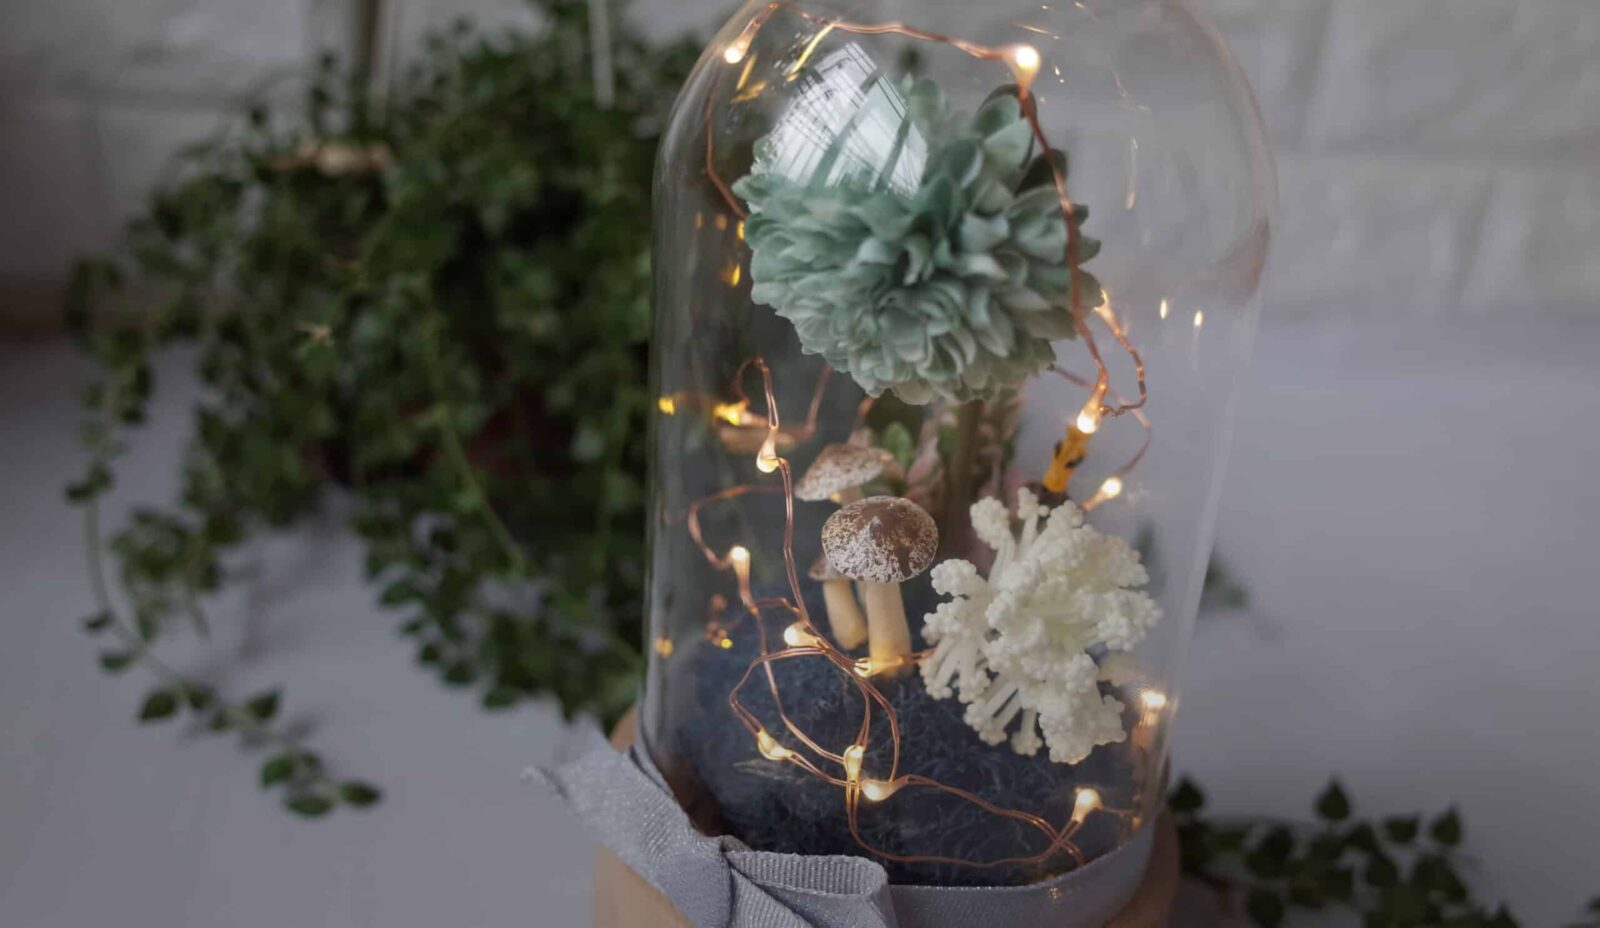
step 5: light it up
Carefully weave your string lights into your terrarium, making sure that they’re not getting in the way of your plants. Place your battery pack somewhere easily accessible.
Once you’re all done, turn on the lights – and watch your terrarium come to life.
Not only do string lights add a touch of mythical beauty to your creation, they also provide much needed artificial lighting to the plants inside.
step 6: feed your ecosystem
Terrariums need very little upkeep to stay alive and thriving. But the amount of water they require depends on the type of terrarium you have.
Water evaporates faster in open terrariums, so they typically require a few sprays of it every couple weeks. Closed terrariums, however, retain water for much longer, so you only need to water them about twice a year.
