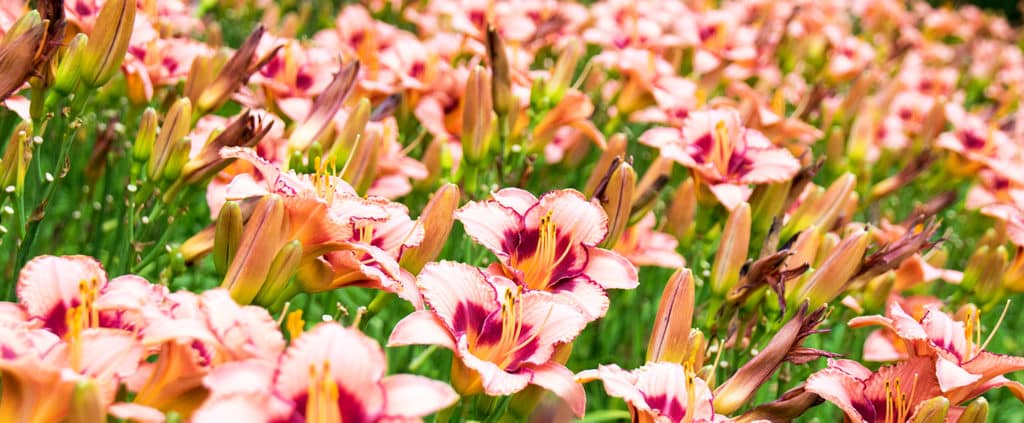
Those roadside attractions of clustered daylilies are proof that they are sturdy and strong. To optimize their flower power, plant daylilies in sunny spots that get at least six hours of full sun rays daily. Soil that isn’t constantly soaked in water is best. For a dramatic floral display, sow seeds generously as they know how to put on a group ensemble show! If you are looking to add a splash of colour around your house exterior or wish to fill out a sparse perennial garden, daylilies are perfect.

all day every daylilies
Why do gardening pros and newbies alike pick daylilies? They are easy to grow and easy on the eyes, for starters. They are also perennial and drought-tolerant, making them low maintenance flowers for your garden.
be choosey
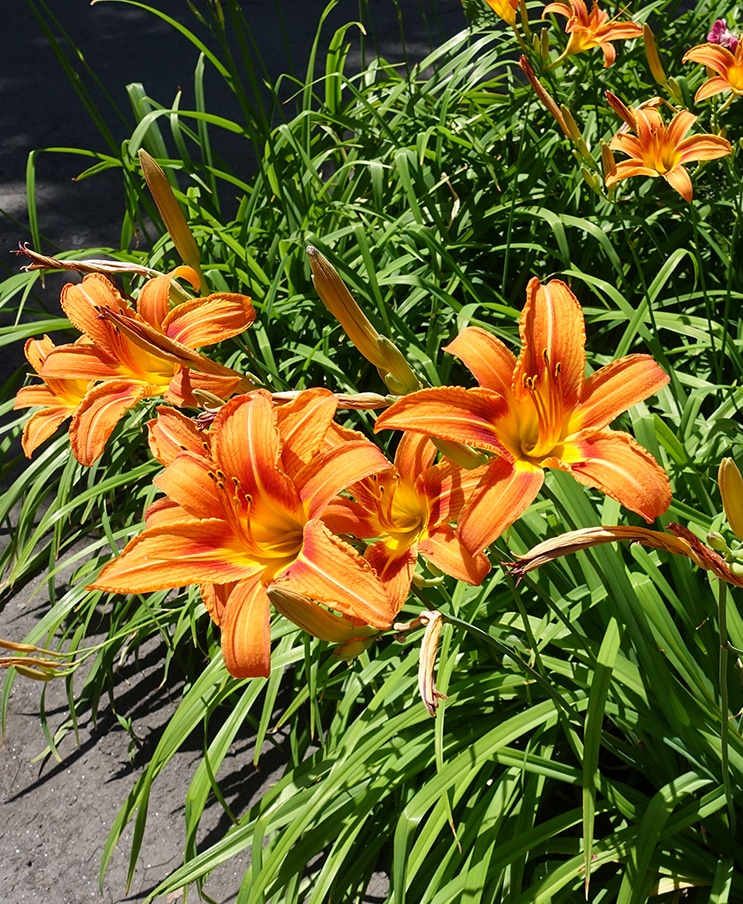
Daylilies come in a vast variety, including small yellow plants in landscaping to towering orange ones growing wild by the side of the road. From purple petals to ruffled fringes, part of the fun of daylilies is deciding which ones to grow. To enjoy flowers all season, plant a mixture of early-, mid-, and late season bloomers and look out for re-blooming varieties.
it’s all in the timing
Late spring or early fall is best for planting these pretty perennials. If you find a flowering friend in your garden store in the summer, transfer it to the ground right away. It will need some extra TLC so water it frequently during this summer transition but with attention it should grow to be tough like its shoulder-season counterparts.
prep your daylily bed
Knowing how to prepare soil for daylilies properly is key. Adaptable to an astonishing variety of soil, planting daylilies in well-drained, slightly moist soil will render the best blooms, especially if you use fortified organic matter like Miracle-Gro® All Purpose Garden Soil mixed in the planting areas. Mix 3 inches of the garden soil with the native soil, or in individual planting holes in a 50:50 ratio.
finding a home
The daylilies will start in two ways, usually as container-grown plants but sometimes clumpy bare-root plants that have roots and a growing stem. Either type can be planted by digging a hole that should measure twice as wide as the plant’s root system and just as deep.
Container daylily plants must be gently settled in the hole, nestling the soil around the roots. Bare-root daylilies should be planted by making a mound with some of the soil mixture in the planting hole. Spread out the roots on top of the mound, surround them with soil. Make sure When the daylily is planted, ensure its crown (where the roots meet the stem or leaves) lies slightly above the soil line. Plants must be watered well, and pro tip: hug mulch around them to keep soil moist.
thirsty daylilies
The first few weeks from planting, your daylilies should be watered every couple of days. After a few weeks you can reduce watering once or twice a week. Unless you are experiencing a drought, which is classified as 4-plus weeks without measurable rainfall, natural precipitation will water them for you. Once daylilies are established, magnificent daylilies are drought-tolerant.

daylilies get hangry
Give your daylilies their best lives by feeding them with Miracle-Gro® Shake ‘n Feed® Ultra Bloom® Plant Food. Introduce it about a month after planting to fortify these flowers. Its natural ingredients nourish plants from root to bloom. Follow the package directions to know how much to use and how often.
dead heading, it’s a snap
Daylilies are named after the fact their flowers only last for one day. To keep plants neat and healthy, you’ll have to dead head your blooms by snapping off the dead flowers in the morning. If the flowers are blooming on a stalk, level it to the ground and if foliage withers midway through summer, give it a trim.
