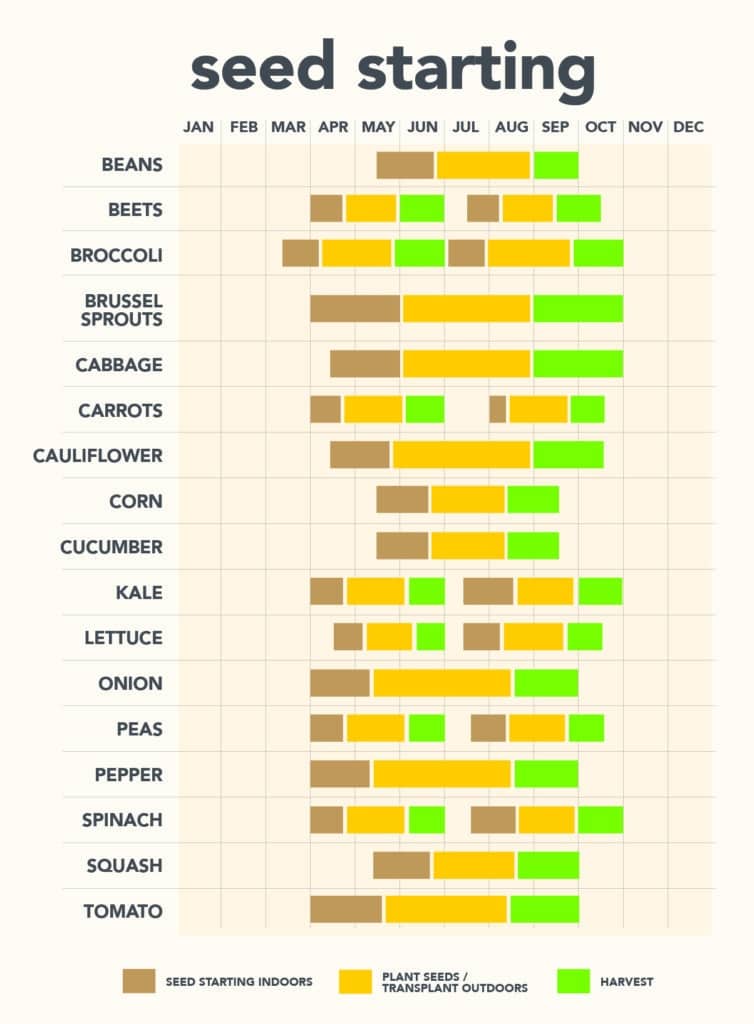
Air plants usually grow on other plants, creating intriguing patterns and visual interest. They look wonderful on their own or grouped together! We love seeing them displayed in things like terrariums, wall planters, and driftwood.
If you haven’t got on board with the air garden trend, it’s time for you to turn a new leaf. Easy to care for and uniquely beautiful, air plants are a way to brighten your home with green, no soil required.
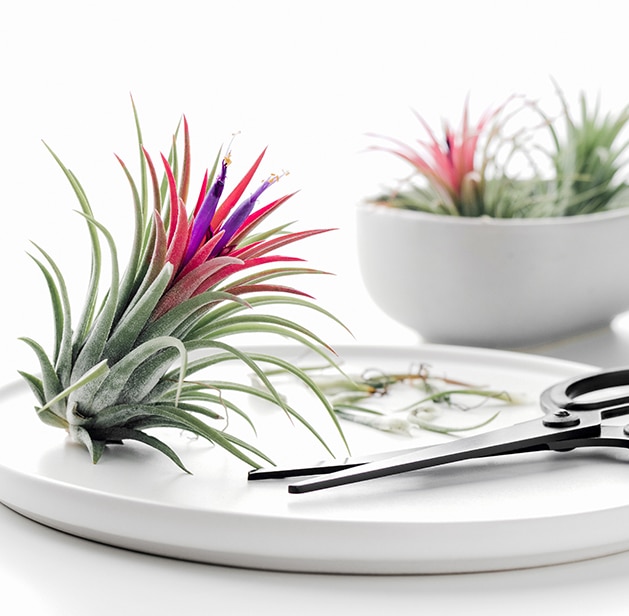
flowering air plants?
Their rosette style of growth, meaning new growth stems from the middle of the plant, make these plants fascinating to watch grow and even flower.
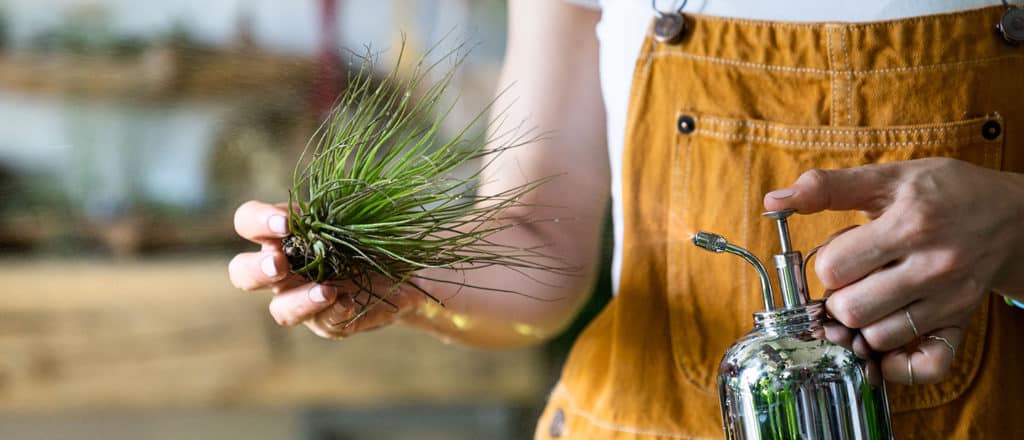
caring for your air plants
As easy as air gardens are to care for, your air plants require the right amount of light and room temperature. Bright, indirect sunlight is best. Since they originate from warmer clients, your air plant babies like a cozy home, so keep the thermostat at least 8 ℃ (46℉) so they don’t get cold. Unlike other houseplants, air plants do not have roots. This means you should soak them at least one a week in a jar for about 30 minutes, then turn upside down gently to drain.
all set!
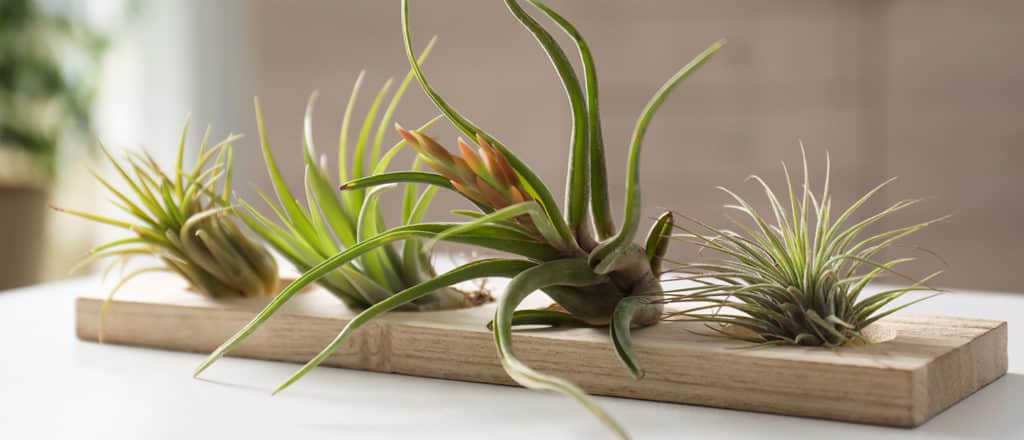
They can be placed in terrariums or attached to anything from magnets to driftwood for creating your own interesting displays—just use a bit of hot glue or translucent fishing line to create a floating look!
#easypeasy
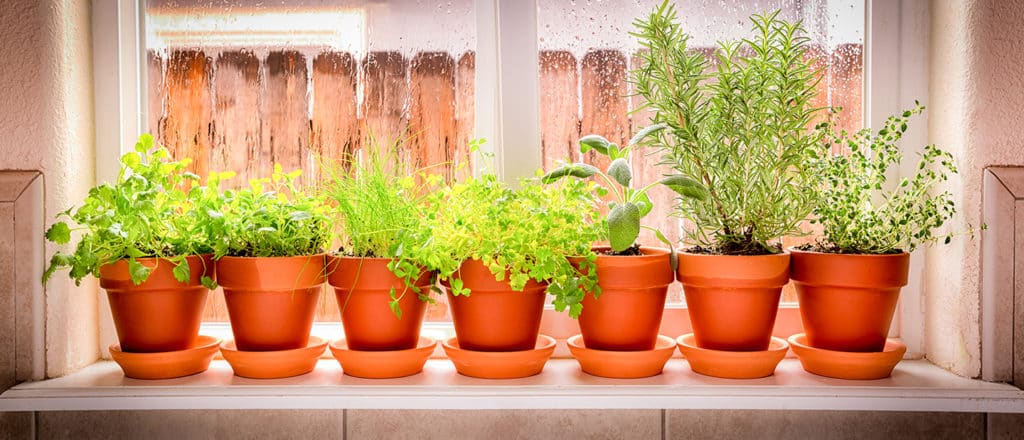
Say goodbye to dried herbs and swap them for their fresh counterparts. More flavourful and healthy, you can even enjoy fresh herbs in winter by growing them indoors. We show you how.
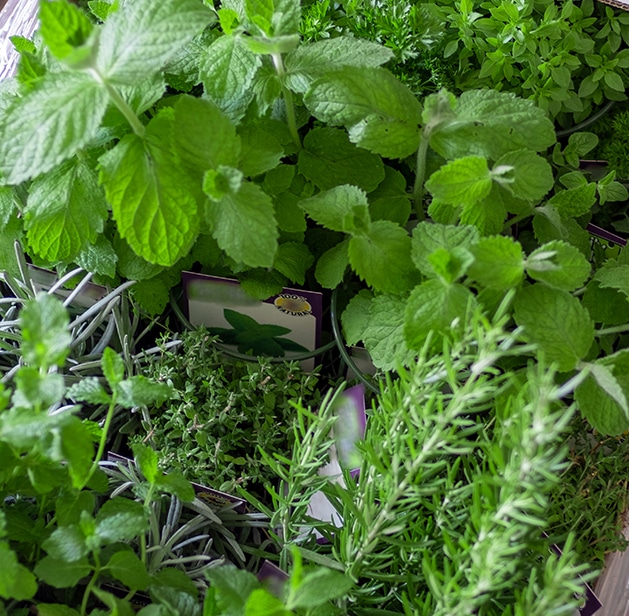
quality soil produces quality herbs
Just as we require fresh food for optimal health (but you already knew that, since you’re here to grow your own fresh herbs!) plants require quality soil.Call us biased but the best results come from using Miracle-Gro® Potting Mix, designed for proper nutrient absorption and drainage.
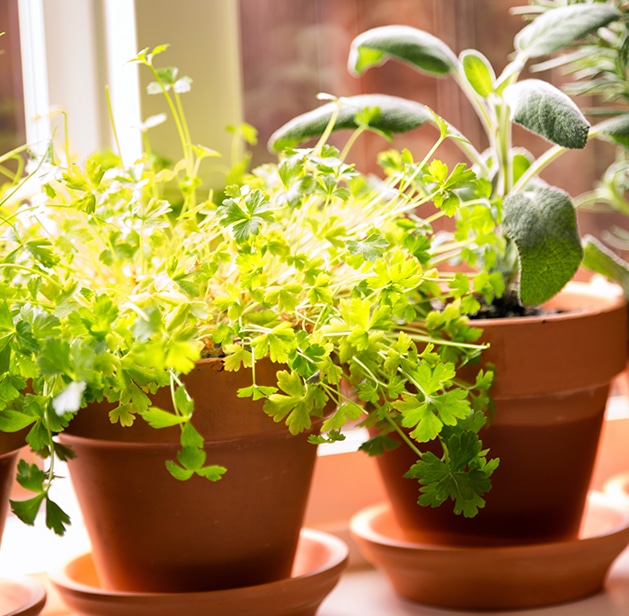
sunny side up
Put it this way, the more sunshine your herb babies get, the more they’ll grow up healthy and abundant. Choose a south-facing window to place your indoor herb garden, avoiding a north-facing windowsill, although east- or west-facing windows are alright, too.
seedy side of the sill
Just as sunlight makes a world of difference, so do the seeds you choose. Small containers work best with denser, smaller seeds. Using a seed starting mix like Miracle-Gro® Seed Starting Potting Mix, sprinkle your herb seeds over the soil and cover not too tightly, or plant your herb seeds an inch or so deep.
talkin’ ‘bout my germination
After you plant the seeds, cover the container with a loose-fitting item like a plastic bag or dome-shaped vessel. Place them in a warm damp spot away from direct sunlight which will allow the seeds to germinate. Once they do, you can remove them and place them in a sunnier spot.
TLC for transplanted herb plants
Your herb babies can undergo shock from dramatic light changes, so adjust them slowly. This means it’s best not to take them directly from a sunny area to a dim one. Allow them to acclimatize by gradually exposing them to lower light conditions. For example, start them in a spot that receives indirect sunlight for two weeks, then to a shadier area for another week or two, until finally moving them to their new indoor home.
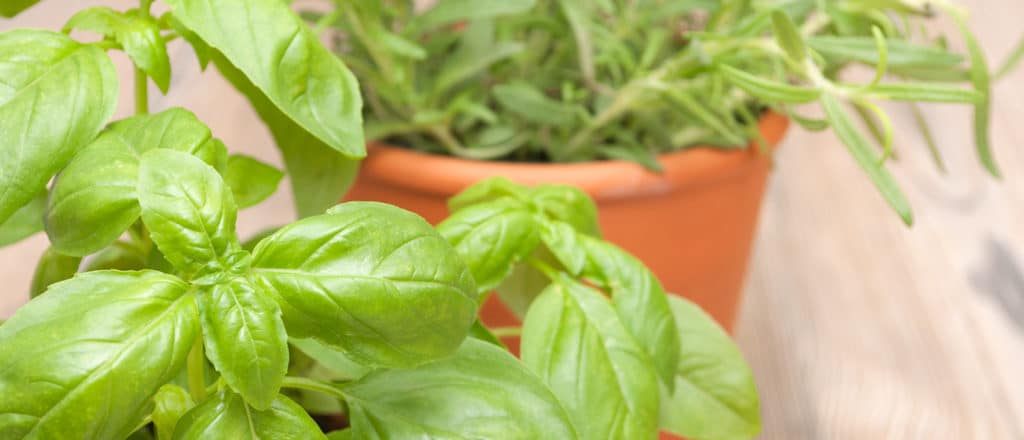
water, but not too much
Your potting mix should dry a bit before the next watering. The best way to check is simply sticking your index finger into the soil and if it’s dry, gently water. Liberal waterings can be a recipe for disaster so avoid over-watering your herbs. A good method is to see water coming out of the bottom of the container but not flooding. Check out the Miracle-Gro®’s line of herb feeding products for a healthy herb harvest.
keeping herbs happy
Like most plants, regular pruning of your herbs enables them to stay compact and grow new leaves and shoots. Herbs are easy to prune since you are likely gently pulling them to add to your cooking or salads. Pruning can even extend your herbs’ growth periods. Flowers might look pretty but they affect flavour and tenderness of the herbs, so be sure to prune them below the bud immediately.
#easypeasy
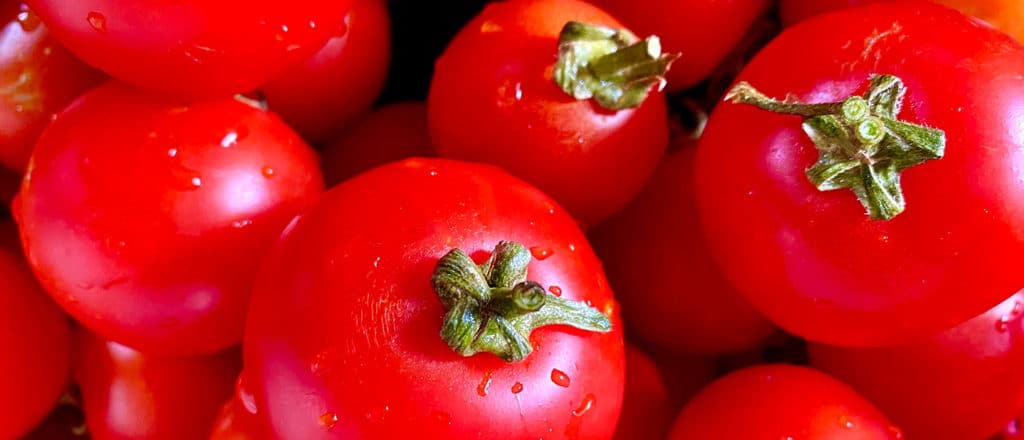
Why wait for tomato plants at the garden centre? Take your tomato game to the next level and sprout your own seeds indoors.
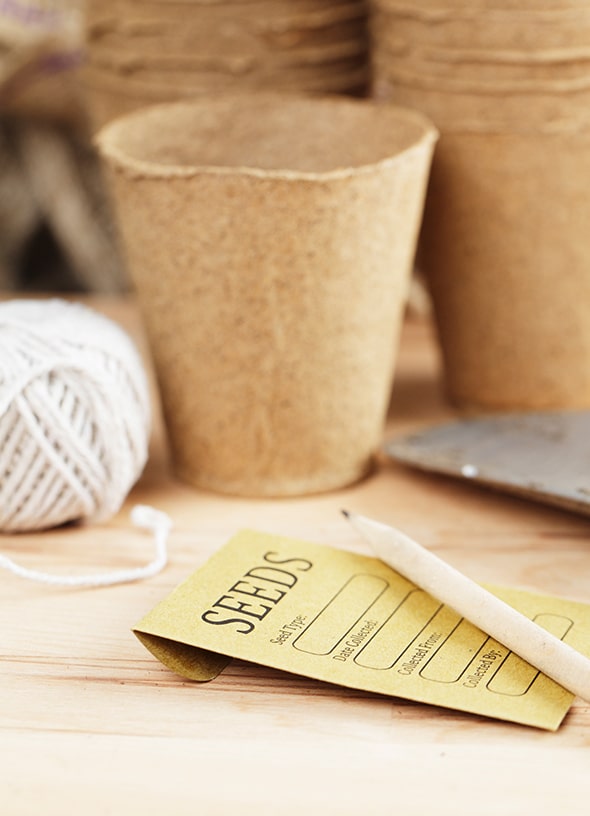
here’s what you need to get started:
- Tomato seeds (opt for ones that are less than one year old)
- Miracle–Gro® Seed Starting Potting Mix
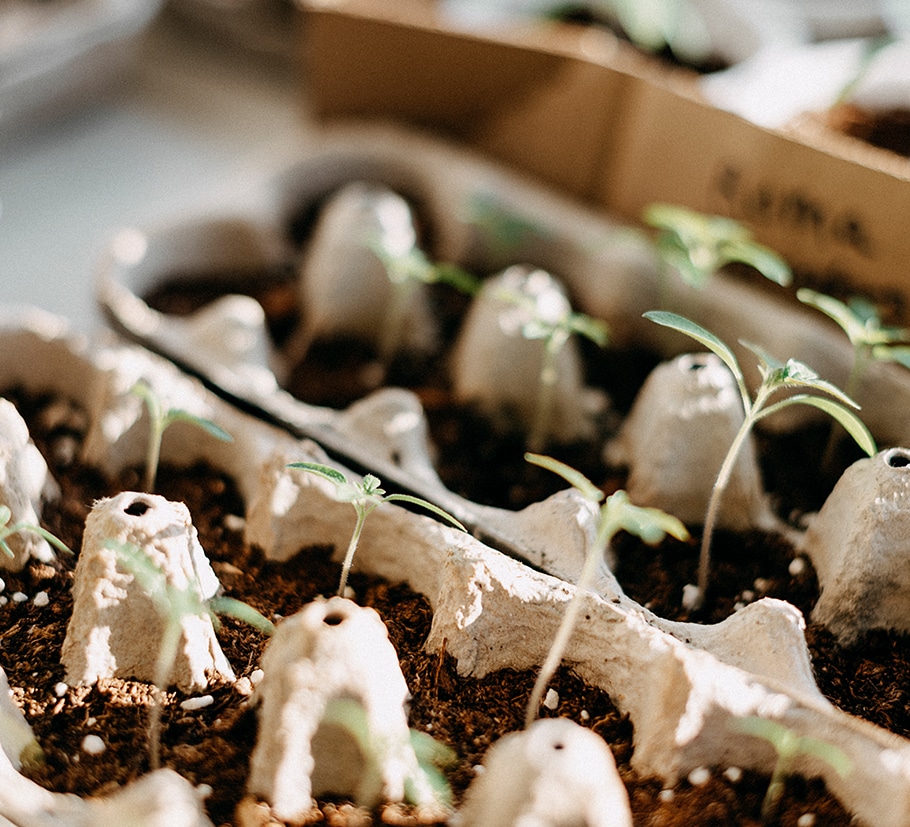
- Seed-starting pots (we recommend recycling egg cartons as an eco-friendly option, but you can also purchase pots.)
- Water bottle for misting
- Plastic wrap
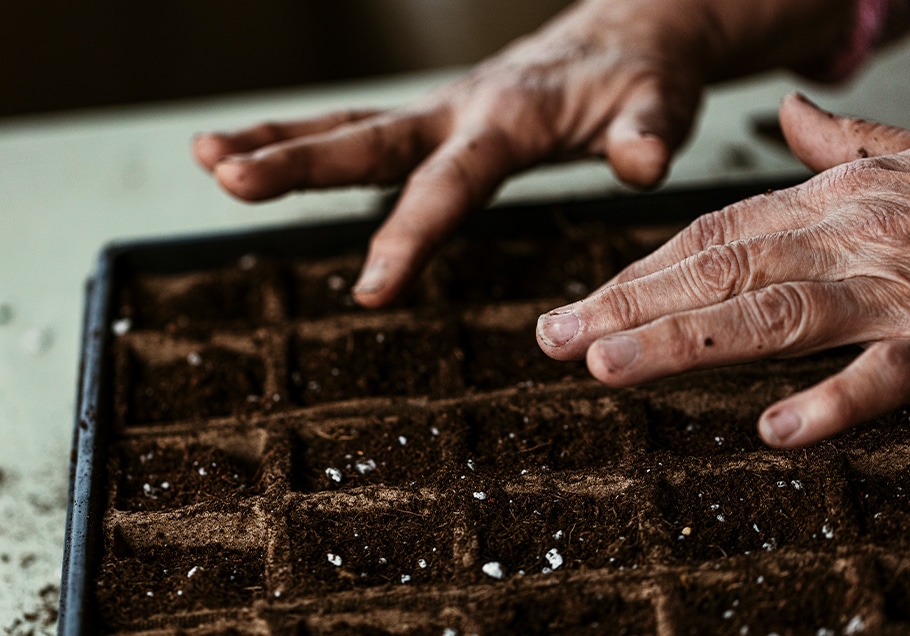
step one.
Add Miracle-Gro® Seed Starting Potting Mix to the seed pot, about a quarter of the way filled. Gently pat it down but do not make it too compact.
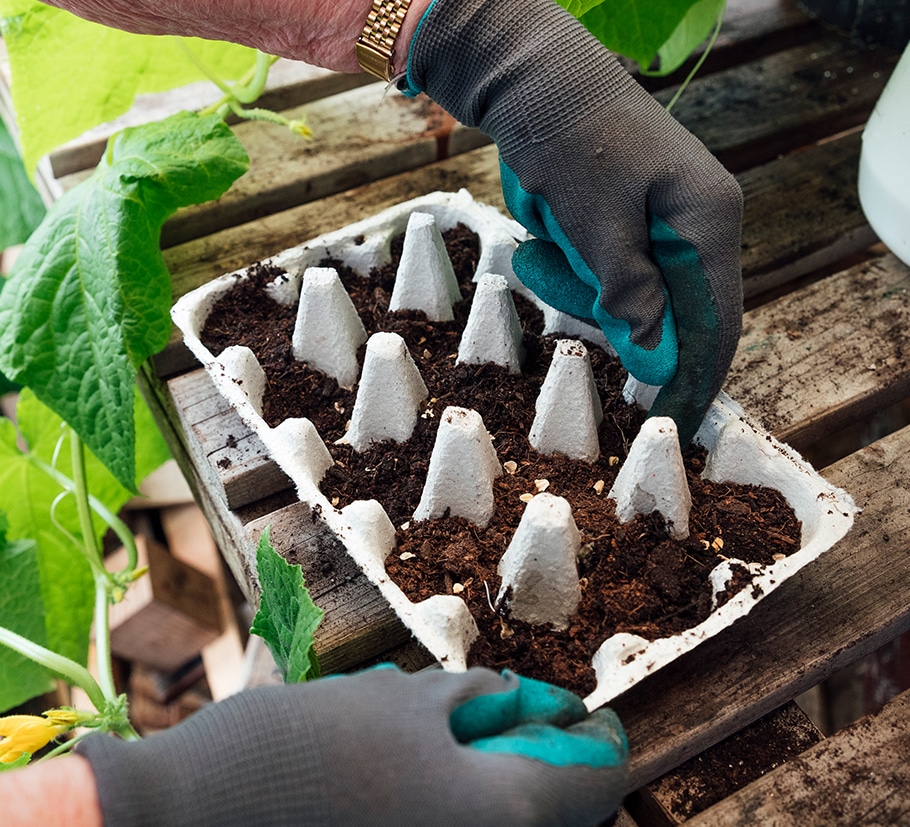
step two.
Place 2 to 3 seeds in each pot, covering with a small amount of additional mix.
step three.
Moisten the top layer (enough to cover the seeds) with your spray bottle.
step four.
Find a warm, dark place to keep your seed babies. Don’t forget to cover them in plastic wrap.
step five.
Checking in on your seed babies daily, ensure the soil is always wet but not soaked.
step six.
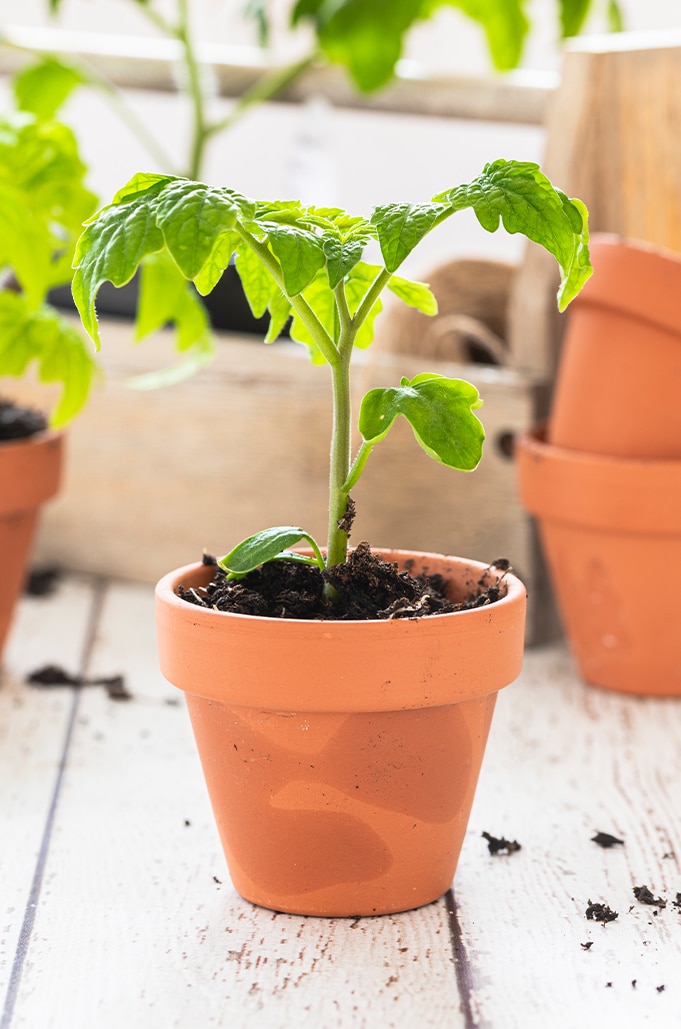
When you see sprouts emerge, move them to a sunlit window or use an indoor growing light.