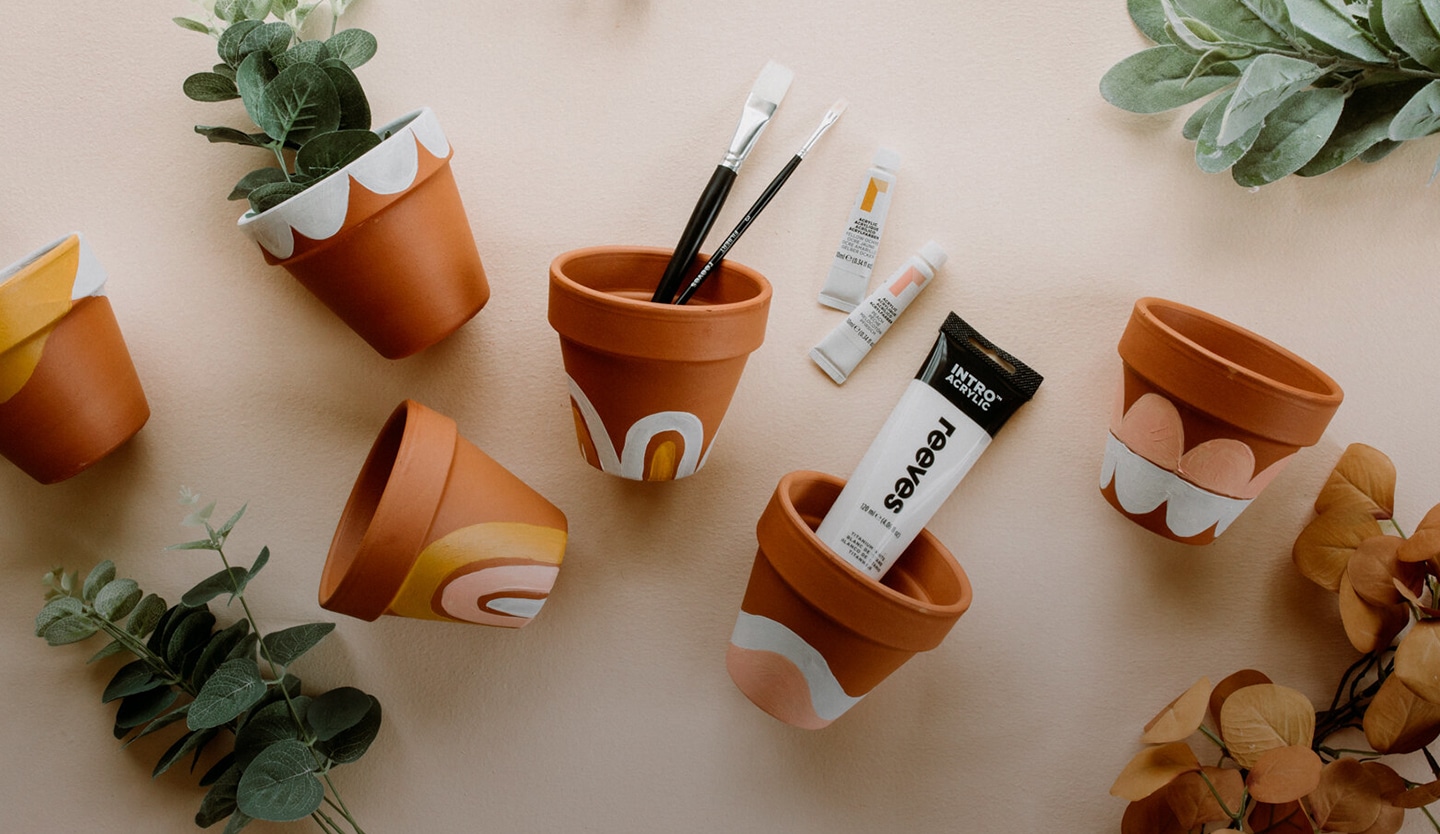
- Terracotta pots
- Foam paint brushes
- Acrylic paint in your preferred colours
- Newspaper
- Matte or gloss sealing spray
- Pot cleaning brush (optional)
- Disposable plate (optional)
- Water (optional)
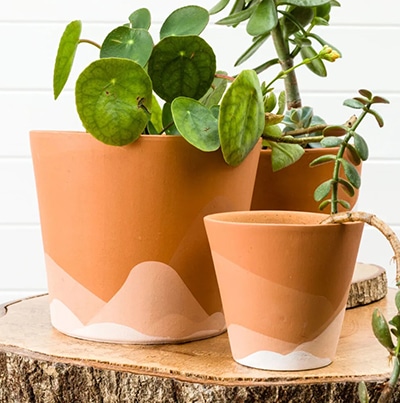
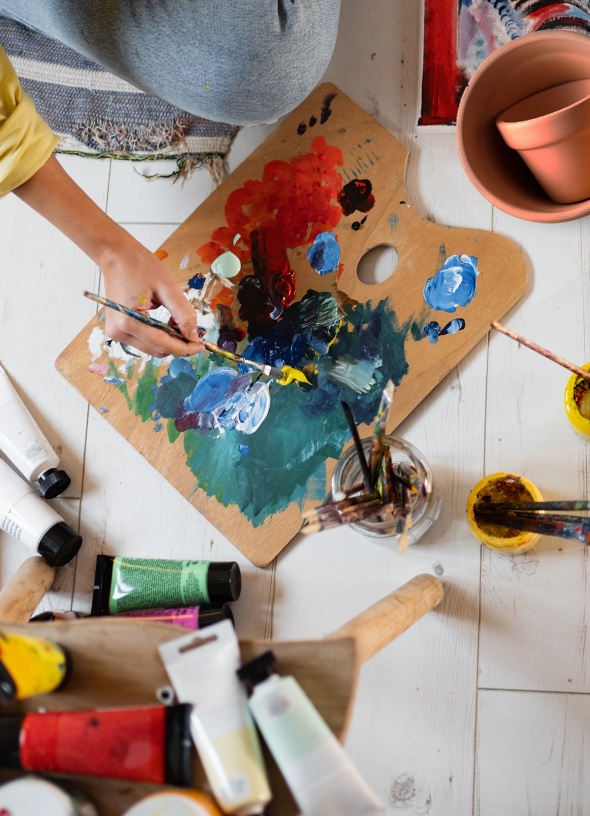
painted planters: art meets the art of gardening
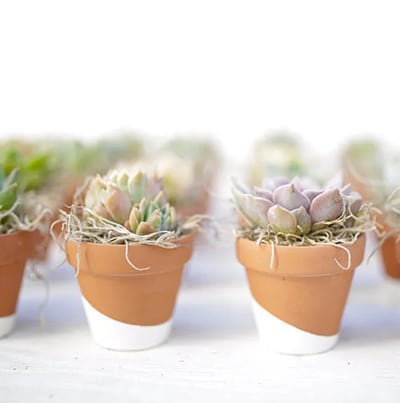
Upcycle the ubiquitous terracotta plant pot. With these easy tips, you can bring those boring pots from drab to fab in a day
step one.
using pencil, sketch out the basic shapes of the type of plant you want to label: an elongated oval for peppers, rounded triangles for strawberries, circles for tomatoes, and so on. write out the name of the plant in pencil as well. use your best handwriting or get creative with fonts!
step two.
Clean your pot, whether it’s new or used. Your scrub brush can help you remove any dirt. Make sure that the pots are completely dry, which can take a couple hours or a couple days depending on their size.
step three.
If needed, thin the paint by squirting a good amount on the plate and adding a few drops of water and mix. Clay or terracotta pots are absorbent so thinned paint allows a more even coat of paint.
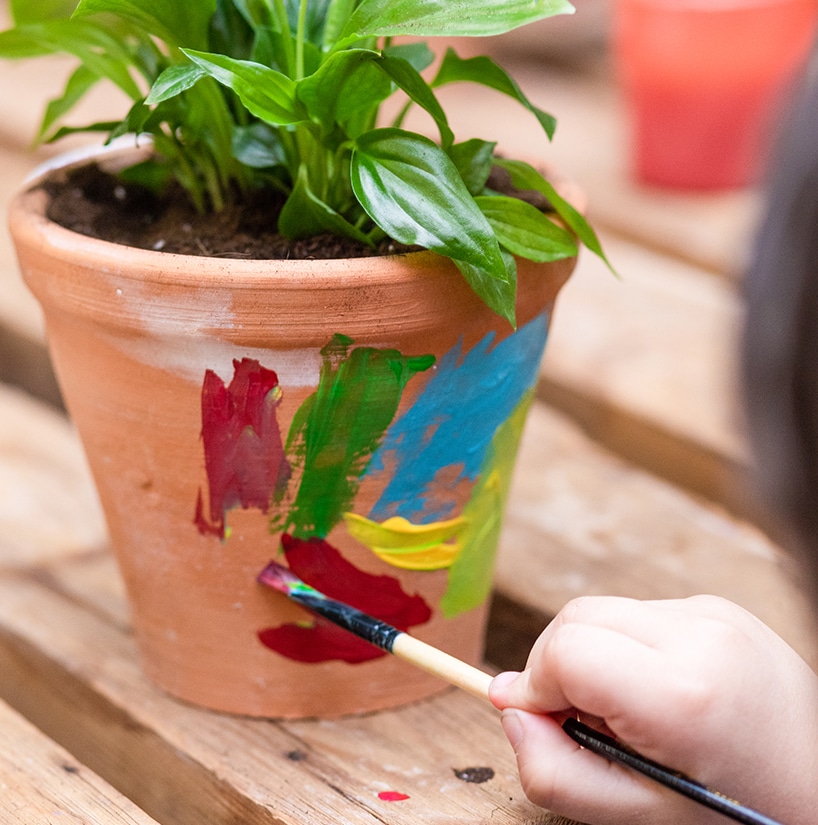
step four.
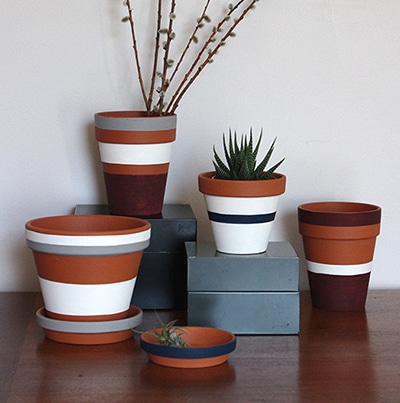
Get painting! Desired coverage might require two or three coats. You may wish to paint the top interior that is exposed above the soil.
step five.
Personalize your pots by adding designs, lettering or adhesive decals. Your plant babies deserve a pretty home all their own.
step six.
Allow paint and decorations to dry. Since these pot materials hold moisture, it may take longer than you expect to dry. Yes, we want our pots to be moist or our plants, but their painted surfaces!
step seven.
Seal the deal. Select a glossy or matte finish and spray the pot evenly in a well-ventilated area