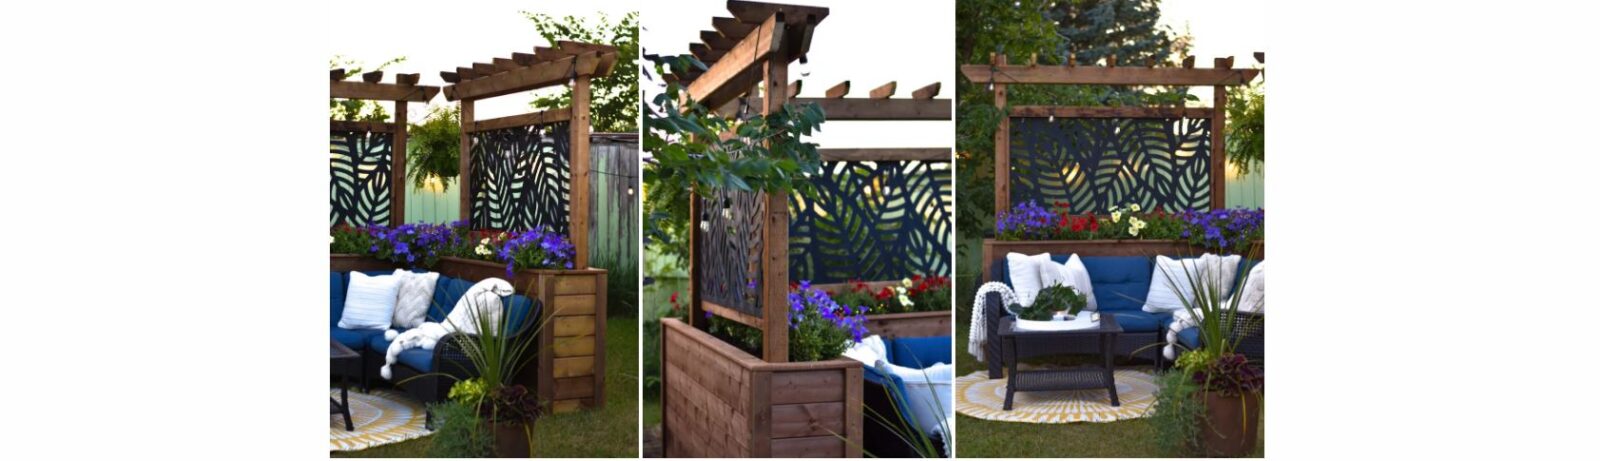
Hello Everyone! My name is Shavonne, and my social media channels are called Once Upon a
Bungalow! I’m here on Plant Project Canada’s webpage with instructions on how to build this
stunning planter and privacy wall. I hope you enjoy creating this project as much as we did!
This was built for my cousin’s house. We thought her pool’s seating area could use some flair, so
this is what my husband, Stuart and I came up with. We couldn’t be happier with how this turned
out, and they love it so much! Check out the reel for this project on Instagram here.
Here we go!…
These planter boxes are ideal for many different foliage and flowers as they have an 8” depth of
soil, which is ample soil space for your plants to thrive.
The instructions below will build two planter boxes and the privacy wall portion. To form the
90-degree look hugging my cousin’s sectional, one finished planter box will be 18” W x 38” H x99” L and the other planter box will be 18” W x 38” H x 80” L. Her sectional measured 76” L x 76” W and 32” H. If the furniture you are building this for has different dimensions, you may want to alter the cuts and measurements to customize it to your needs, but you still can follow the steps below for the assembly process. I used pressure-treated pine to create my planters. This can be substituted for any ideal preferred type of wood. However, I recommend pressure-treated wood as it is worth the investment because the wood won’t need a stain for the first few years.
Here’s what you’ll need:
Material list:
– 5” Deck Screws
– 3” Deck Screws
– 2” Deck Screws
– 1” Screws
– Pressure-treated Pine Deck Boards (5/4ths Deck Boards at 8’-0” long)
– Pressure-treated Pine Fence Boards (1” x 6” x 8’-0” long)
– Pressure-treated 2×4’s (at 8’-0” long)
– Pressure Treated 2×6’s (at 8’-0” long)
– Pressure Treated 4×4’s (at 8’-0” long)
– Drill bits
– 2 Acrylic Privacy Panels (67 3⁄4” x 34”)
– Landscaping Fabric
– Pencil
– Saftey Glasses
– Ear plugs / headphones
– Mask
– Work Benches
– Clamps
– 8 Bags of Miracle-Gro Garden Soil
Tools:
– Table Saw
– Mitre Saw
– Power Drill
– Tape Measure
– Multi-tool
– Jigsaw
– Reciprocating Saw
– Speed Square
– Staple Gun
– Scissors
Building the frame of the first (larger) planter box.
Note: Follow these exact instructions to make the second (smaller) planter box. Instead of cutting
96” pieces, replace this measurement with 80.” The instructions below will take you through the
process of building the larger box.
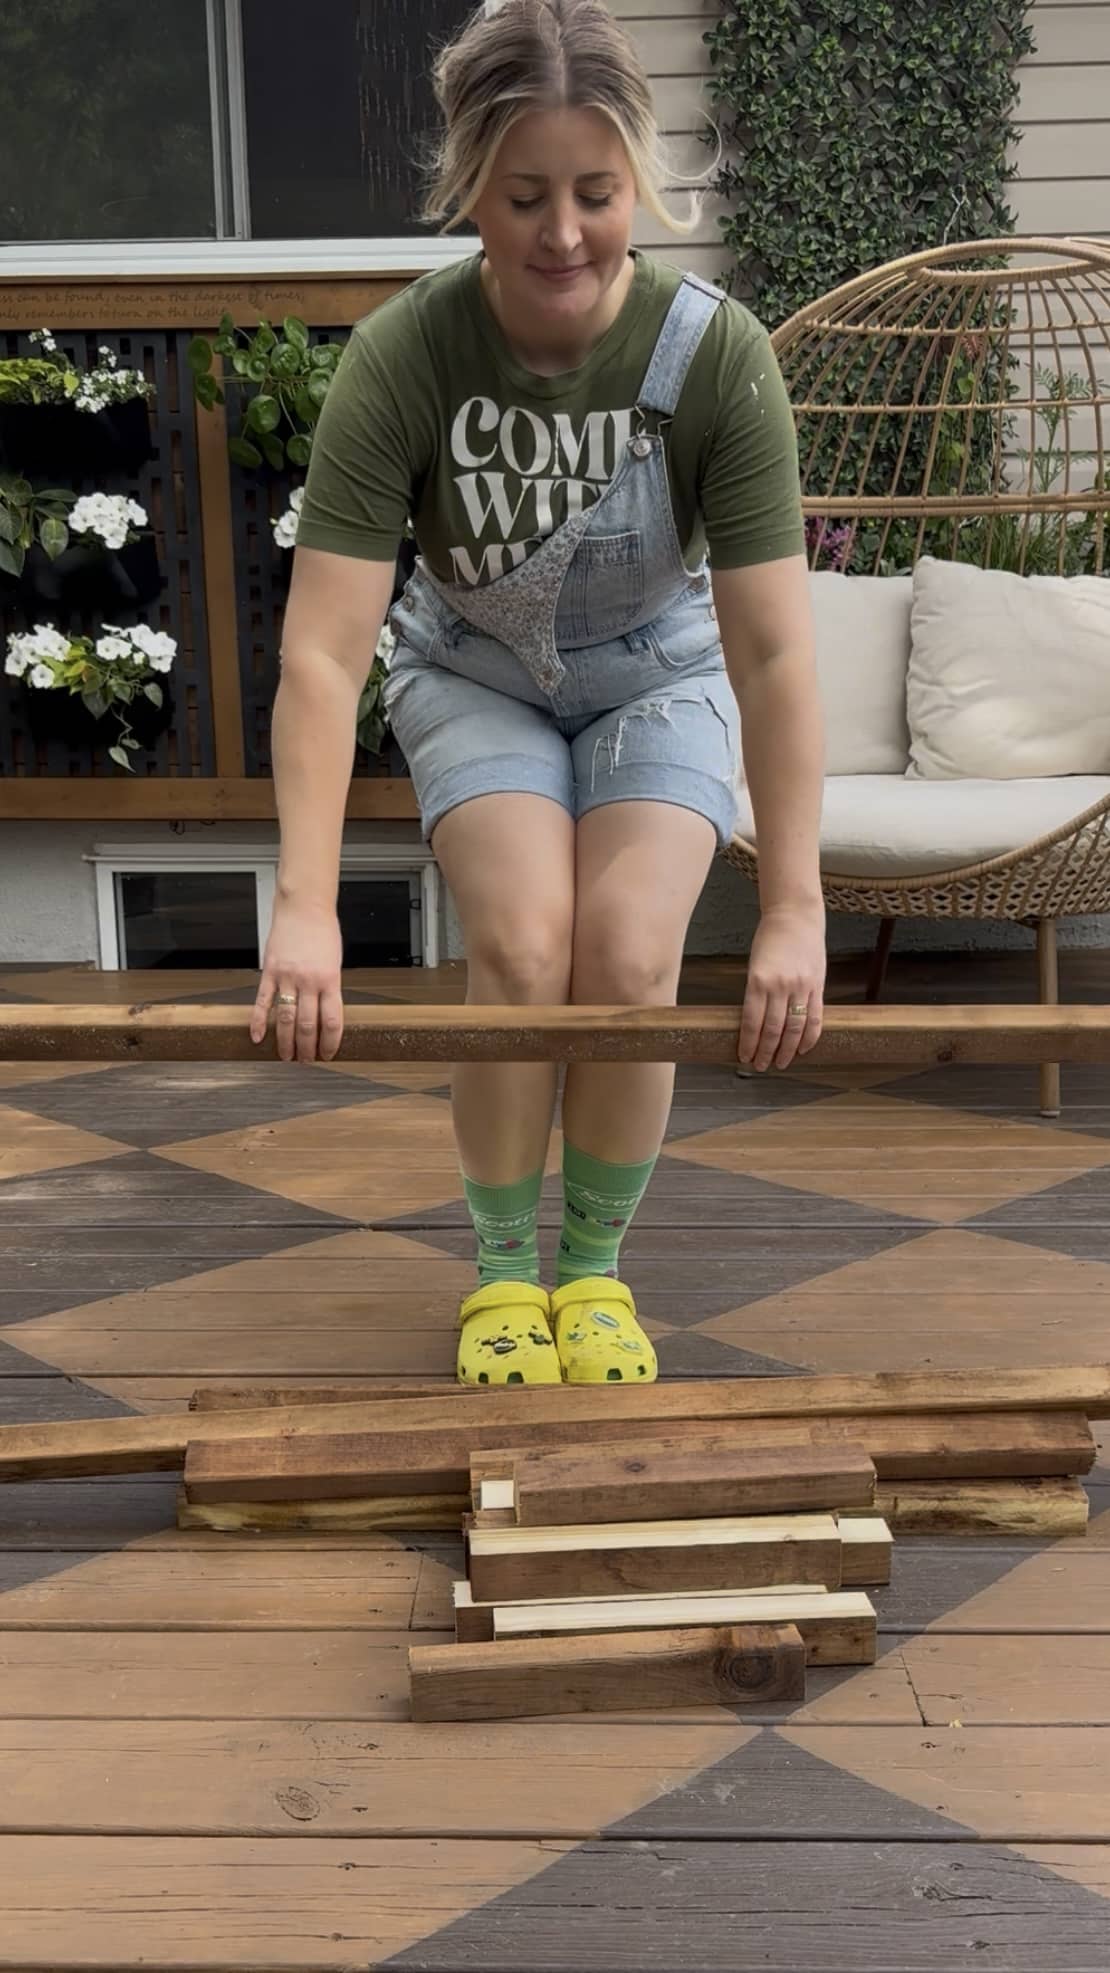
Step One: Cutting the pieces
Using a table saw, cut six 2”x 4” pressure-treated pine in half so that you have 1” x 2” strips.
Next, cut the strips made into eight 33” pieces, twelve 12” pieces, and six 96” pieces using a
mitre saw.
The cut list for the first frame is as follows:
- Six at 96”
- Eight at 33”
- Twelve at 12”
Step Two: Building the frame of the two long sides of the planter box
Lay the materials on a flat surface. Two 96” pieces on the bottom and top, and four 33” inch
pieces on either side and two in the middle. Using a power drill, pre-drill holes at the bottom of
the 96” piece upwards into the 33” pieces. Use 3” screws to secure the to end pieces in place.
Space the two middle 33” pieces evenly. I chose to space mine 27 3⁄4” in from each side. Pre-drill holes at the bottom of the 8’-0” piece upwards into the 33” pieces and secure with 3” screws. Next, using 2” screws, toenail those screws from the 33” pieces into the 96” pieces making the frame extra secure. Repeat this process to end up with 2 frames. Refer to the images below.
Step Three: Adding the deck boards to the frame
Starting at the top, attach the 8’-0” deck boards to the frame by pre-drilling holes with a power
drill and then using 2” screws to fasten the boards to the frame. Use 2 screws at each frame
location (where the “studs” are located). Six full-width decking boards will fit on this frame. The
seventh decking board will have to be cut to size using a table saw. To measure what is needed to
cut off, place the board on the frame and trace using a pencil where it hits the top of the frame.
Cut that portion off with a table saw and use the same steps as above to secure it to the planter’s
frame. Repeat this process on both frames created in step two. Refer to the images below.
Step Four: Attaching the 12” pieces
On a flat surface lay one of the planter sides created in the previous step, flat, with the inside of
the frame facing upwards. Begin to attach the 12” pieces created in step one perpendicular to the
frame. Attach one 12” piece to each of the four corners, four 12” pieces on the top and bottom in
line with your frame, and four 12” pieces going across the center.
For the center 12” pieces, measure down 8” from the top of the planter and place those pieces there. These middle pieces will provide your planter with more support, but will also be the future frame for the bottom of the soil area. Using 3” screws toenail each 12” piece on two different sides into the frame making sure they are square and at a 90-degree angle. Refer to the images below.
Step Five: Attach the other side of the planter
Take the side of the planter that was just completed in step four and flip it over on to the other
side of the planter that does not have 12” pieces with the inside of this side facing up. Make sure
it is aligned as square as possible. Once the side with the 12” pieces already attached has been
placed face down on top of the side without 12” pieces, begin using 3” screws to toenail the 12”
pieces to the other side of your planter. Two screws per 12” piece. Refer to the images below.
Step Six: Creating the bottom of the soil area
Because this planter is so large, there isn’t a need for soil to go all the way to the bottom of the
planter. Before closing up the sides of the planter with more decking boards, install the bottom of
the soil area. Place two 96” decking boards in the planter and mark the sides of the wood where
these boards hit the inside frame. Measure how deep the notches will need to be cut. Remember,
this doesn’t need to be perfectly tight to the frame, as drainage is important for healthy plants, so
a little bit of imperfection is a good thing for this step.
Using either a jigsaw, multi-tool, or reciprocating saw, cut the marked notches out of the 8’-0” decking boards. Slide these into the planter from the sides and make sure they fit correctly around the frame of the interior. The two full-size decking board pieces will go on either side, and for the middle of this soil area, use the scrap wood that was cut off in step three. It should be a good fit here, allowing for movement between the boards and water drainage. Refer to the images below.
Note: Follow these exact instructions to make the second (smaller) planter box. Instead of 96”
pieces, replace this measurement with 80.”
Building the privacy wall/backdrop & assembling the structure together
If the design is the same “L” shape design we created, make two of these. The instructions are to
create one. If you are creating the same design as we did, proceed to make two of the following.
Step One: Making the cuts
Cut two 2×4’s at 67 5⁄8”. Cut two 1 1⁄2” x 1” pieces at 31 1⁄2”. These 31 1⁄2” pieces are cut from a
2×4 cut in half lengthwise on a table saw. The cut list for the privacy wall is as follows:
- Two 2×4’s at 67 5⁄8”
- Two 1 1⁄2” x 1” pieces cut at 31 1⁄2”
- Two 4×4’s left as is at 8’- 0” long. Ensure they are the same height.
Step Two: Assembly of the black panel frame
Lay two 4x4s flat on the ground. Place the 67 5⁄8” piece flat and at a 90-degree angle between the
two 4×4’s. The bottom of this piece of wood should be 42” above the bottom of the 4×4. Toenail
3” screws from the 67 5⁄8” pieces into the 4x4s from the top and bottom.
Next, place the 31 1⁄2” boards perpendicular up from the 2×4 that was just attached. Secure the 31 1⁄2” piece to the 4×4 by pre-drilling and then securing with 2” screws to the top and bottom. Next, add the other 67 5⁄8” piece to the top of these two boards, toenailing this piece to the 4×4 on the top and bottom of the piece. This is the frame created for the black acrylic panels.
Next attach the black privacy screen to the frame that was created using 1” screws. This will be the back of your privacy wall. Refer to the images below.
Step Three: Cutting and assembling the top piece of the “pergola” privacy wall
This is the step that will add the top part of the “pergola” style of this privacy wall. First, take
two 8’-0” long 2×6’s and add a 45-degree angle to their ends. Measure 1 1⁄2” down from the top
of the board and use a speed square to mark a perfect 45-degree angle with a pencil.
Using a mitre saw, cut the 45-degree angle to match the pencil marking. Repeat this process on both
2×6’s. Next, attach one of these to the 4×4. Attach this 2×6 3 1⁄2” down from the top of the 4×4. There should be 10 3⁄4” measurement on either side of the 2×6 from the edge to the start of the 4×4, making this piece centred on top.
Pre-drill holes first, and then attach with three 3” screws. Flip over the privacy wall, and repeat these steps on the opposite side of the privacy wall. Refer to the images below.
Step Four: Attaching the two planters together
At this point in the project, we transported the planters and privacy walls to my cousin’s
backyard to assemble the rest of it there.
…..
Place the larger garden box at the back of the project, and the smaller garden box perpendicular
to the face of the larger one. Attach by pre-drilling, then using 3” screws through the interior of
the smaller planter into the larger planter to secure these together. Insert the privacy wall structure into the planter boxes and push it to the far side of each planter to ensure that they do not overlap or intersect at the top. Anchor the 4×4’s in to the planter by pre-drilling, then using 5” screws.
Using a jigsaw, cut out a 4” x 4” spot for the 4×4 to go through the base of the soil area. After everything is attached and anchored properly, add one layer of landscaping fabric to the base of the planter, securing the fabric with staples. Refer to the images below.
Step Five: Add the top pergola pieces
Cut fourteen 2×4’s at 18” long. Then, measure 1” down from the top of the 18” 2×4” piece on
either side and mark this with a pencil. Using a speed square, mark a 45-degree angle on both sides. Using a mitre saw, cut this 45-degree angle. Place the seven pieces on each privacy wall, space them out evenly on top. They will be placed about 14 1⁄2” apart. Secure these to the top by toenailing these top pieces onto the structure up through the 2×6 into the 2×4 pieces. Refer to the images below.
Step Six: Add the Trim
To make the top trim: Using a table saw, cut the 5/4” deck boards at 3 1⁄2” width. To form the trim
around the top, measure the length and width of the planter, and then cut these at a 45-degree
angle. Pre-dill, then attach with 2” deck screws.
To make the side trim: Using a table saw, cut the 1”x6” deck boards in half using a 45-degree
angle lengthwise. Cut the boards into 36” pieces and attach these to the sides of the planters,
creating a mitered joint on the outer, and inner corners, concealing the raw edges of the planter
boxes. Attach by pre-drilling, then using 2” deck screws. Refer to the images below.
Step Seven: Add the soil and plants
Using Miracle-Gro Garden soil, fill the planters that have been lined with landscaping fabric.
This all-purpose planting mix helps grow plants twice as big and helps plants develop strong,
healthy roots. I purchased purple, red, and yellow petunias for the planters and make sure to give
them a good trim after planting them in the planters. This will help encourage new blooms to
grow. I wanted something that would continuously bloom in her yard all summer. It’s
recommended to fertilize with Miracle-Gro Water Soluble, All-Purpose plant food as well. Refer
to the images below.
Step Seven: Add the soil and plants
This project was so much fun to complete with my husband, Stuart. My cousin and her family
are so happy with the result, and we think it looks amazing in their yard. Check out the before
and after shots below. What a difference!
Be sure to check out the reel of this project here. If you make a project inspired by ours, be sure
to tag @PlantProjectCanada and @OnceUponaBungalow so that we can see your project!
Until next time,
Happy gardening!
Shavonne.
#happycreating!