


100% pure bone meal, free of synthetic additives, and feeds your carrots for up to 2 months.
Packed with phosphorus and calcium, it supports strong root development and improves resistance to disease.
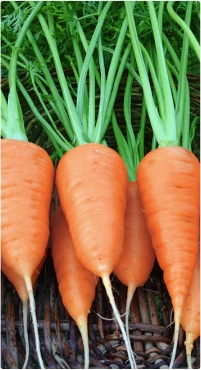
Carrots

How to Care
for Carrots in Canada
Carrot AKA
Daucus carota subsp. sativus
Colour
Orange, purple, yellow, white
Sun Exposure
Full sun
Family
Apiaceae (Umbelliferae)
Native Areas
Europe, Southwestern Asia
Common Name
Carrot
Scientific Name
Daucus carota subsp. sativus
Plant Type
Biennial (grown as an annual)
Mature Size
6–12 inches (root length)
Soil Type
Loose, sandy, well-drained
Soil PH
6.0–6.8
Bloom Time
Does not bloom in the first year (flowers in the second year if left to grow)
Hardiness Zones
3–7 (Canada)
Native Areas
Non-toxic to humans and pets

Types & Variations
of Carrots
Nantes

Imperator

Danvers
Chantenay

Mini \ Baby Carrots

Purple, Yellow and White Carrots
Planting Carrots
-
Light
Carrots need at least 6–8 hours of sunlight daily. Partial sun will work, but it might take a little longer for your carrots to grow.
-
Soil
Loose and sandy soil that can drain well.
-
Water
Keep the soil evenly moist but not soggy. Water your carrots about 1–2 times a week. Remember, shallow watering won’t cut it because their roots grow deep!
-
Temperature & Humidity
Carrots grow best in temperatures between 13(0)C and 24(0)C. Temperatures above 29(0)C can cause less growth and a bitter taste. Carrots prefer moderate humidity levels, around 50-70% so the soil stays moist but isn’t waterlogged.
Pro Tip: Add a thin layer of mulch (like straw or dried grass clippings) around your carrot tops. It keeps the soil cool and moist while protecting those tops from sunburn.
-
Fertilizer
Carrots are low-maintenance when it comes to fertilizer. Avoid overly nitrogen-rich fertilizers (you’ll grow bushy leaves instead of juicy carrots). Stick to a balanced organic fertilizer with potassium and phosphorus for healthy roots.
How to Care for your Carrots
-
Soil Preparation and Requirements
In-ground: Carrots need depth to grow those long, beautiful roots. In a garden bed, it’s essential to loosen the soil at least 12 inches deep and remove any rocks or debris that could block root growth.
Raised beds: These allow you to control the soil quality, ensuring it’s loose, well-draining, and rich in organic matter. Raised beds are especially helpful for preventing waterlogging, which carrots dislike. They also warm up faster in the spring, giving you a head start on planting!
-
Planting Techniques
- Sow Seeds Thinly: Space the seeds out evenly. Aim for around 1-2 inches between seeds to reduce thinning later
- Plant at the Right Depth: Sow seeds about ¼ inch deep. Cover lightly with fine soil or compost and gently pat down.
- Thinning Is Key: If you planted seeds densely, thin the seedlings once they’re about 5cm (2 inches) tall, leaving 5cm of space between each plant. Crowded carrots = smaller yields.
-
When to Plant
Timing is everything when it comes to carrots. They thrive in cool weather, so spring is perfect for planting! Here’s a breakdown based on Canada’s zones:
- Southern Canada (e.g., Ontario, BC, parts of Quebec): Late April to early May.
- Northern Canada & Frost-Prone Regions (e.g., Manitoba, Alberta): Mid-May to early June.
Pro Tip: Carrots can tolerate light frost, but planting after the last hard frost ensures success.
Companion Planting
-
Good Companions
- Onions & Leeks: Repel pests like carrot flies.
- Radishes: Grow fast but loosen the soil for your slower-growing carrots.
- Lettuce: Its shallow roots don’t compete with carrots, plus it shades the bed lightly in hot summers.
- Herbs like Dill & Rosemary: Repel pests while boosting garden biodiversity.
-
Avoid
- Dill (in large amounts) can stunt carrot growth.
- Parsnips attract similar pests, increasing the risk of contamination or infestation.
-
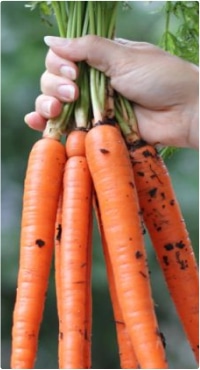
How to Harvest

When Are Carrots
Ready to Harvest?Most carrot varieties are ready about 60–80 days after planting. Look at the shoulders of the carrot peeking out of the soil. They’re ready when they’re about 1.5-3cm in diameter (depending on the variety).
-
Essential Tools for Carrot Harvesting

Essential Tools for
Carrot Harvesting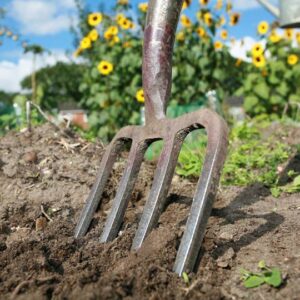 Garden Fork:
Ideal for loosening the soil in garden beds without cutting or breaking the carrots.
 Trowel:
Useful for raised beds or tight spaces where forks may be too large.
 Garden Gloves:
Protect your hands from soil and reduce the risk of cuts while digging.wi
-
Step-by-Step Harvest Guide

Step-by-Step Harvest Guide
1. Prepare for Harvest- Check Maturity: Carrots are usually ready to harvest 60–80 days after planting, depending on the variety. You’ll know they’re ready when the tops peek out of the soil and are about 1.5 to 2.5cm wide.
- Time It Right: Harvest carrots in the morning when it’s cooler for the best flavour and less stress on the plant.
- Moisten the Soil: Water the carrot bed a day before harvesting to soften the soil. This reduces the risk of breaking the roots while pulling them up.
Gather Your Tools- Collect essential tools such as a garden fork, trowel, garden gloves, and a bucket or basket for collecting your carrots.
3. Loosen the soil- Use a Garden Fork: Insert the fork into the soil a few inches away from the plant to avoid damaging the roots. Gently lift and loosen the soil around the carrots.
- For Tight Spaces: If you don’t have room for a fork, use a trowel to loosen the soil around individual carrots.
4. Pull up the Carrots- Grip the Tops: Grasp the carrot tops firmly where they meet the root. Pull straight up with steady pressure to avoid breaking or damaging the carrots.
- Check for Resistance: If the carrot doesn’t release easily, loosen the soil further with your garden fork or trowel before trying again.
5. Trim the Tops- Immediately after harvesting, use pruning shears or scissors to cut the leafy tops about 1 inch above the root. Leaving the tops can draw moisture away from the carrots, reducing their shelf life.
Clean your carrots- Shake Off Excess Soil: Gently shake off the loose dirt while in the garden.
- Rinse (Optional): If you prefer, lightly rinse the carrots with a garden hose or in a bucket of water. Be gentle to avoid bruising or scraping the roots.
7. Inspect your harvest- Separate any damaged or imperfect carrots from the healthy ones. Damaged carrots should be used first, as they won’t store as well.
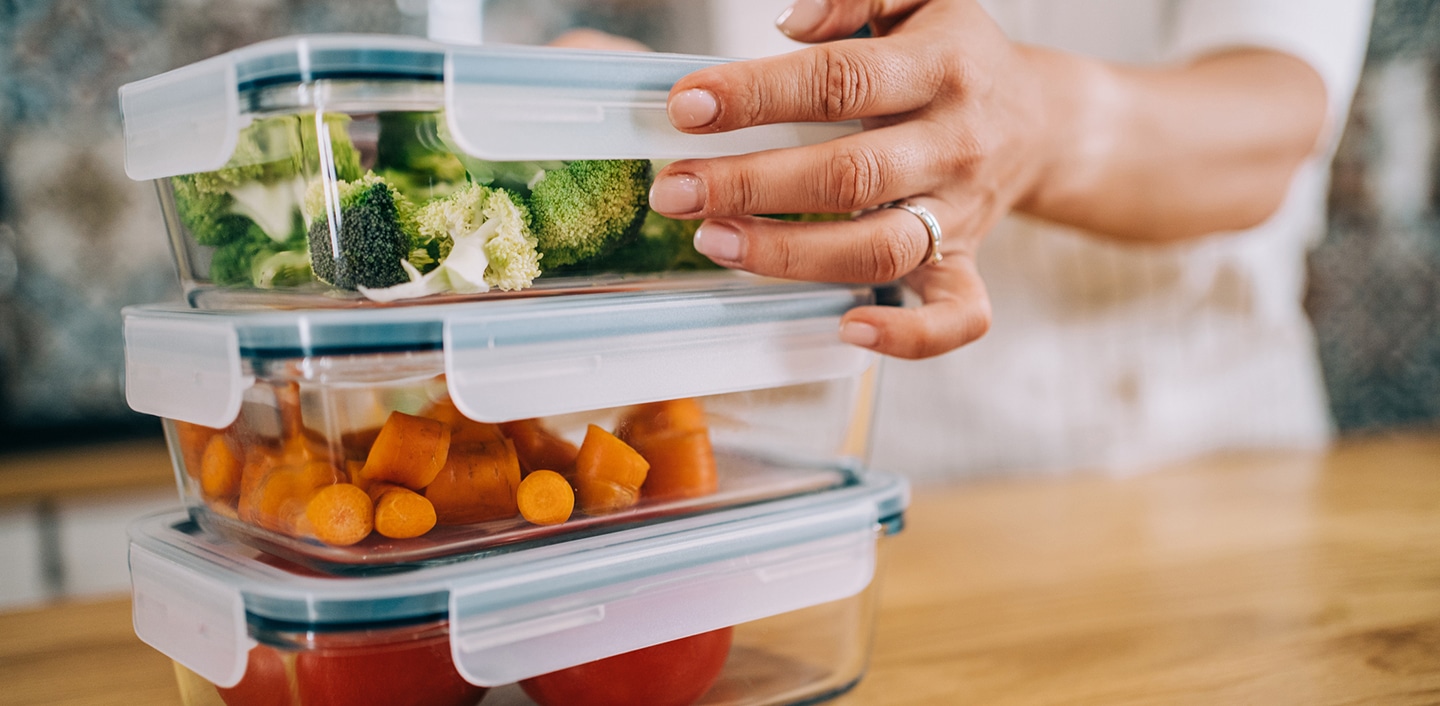
8. Store your carrots- Dry Them: Allow carrots to air-dry completely before storing.
- Refrigerate or Store in Sand: For short-term storage, place carrots in plastic bags with ventilation holes. For long-term storage, layer them in sand or sawdust inside a cool, dark, and humid area like a root cellar.
9. Clean up the Garden bed- Remove any leftover plant debris to prevent pests and diseases from overwintering in the soil.
- Consider planting a cover crop or mulching the area to prepare for future planting.
Pro Tip: Carrots left in the soil longer will keep growing sweeter, but don’t leave them too long, or they might split.
Essential Supplies for Growing Carrots


Provides essential nutrients to promote a bountiful harvest and boost carrot strength from root to tip.

Specially formulated to send nutrients directly to the roots
when your carrots need them most. This soil helps improve water absorption and moisture retention—essential for the consistently damp environment carrots thrive in.
when your carrots need them most. This soil helps improve water absorption and moisture retention—essential for the consistently damp environment carrots thrive in.
