– Formulated to provide a nutrient-rich environment for your tulips to thrive.
– Helps improve soil structure and drainage for root development
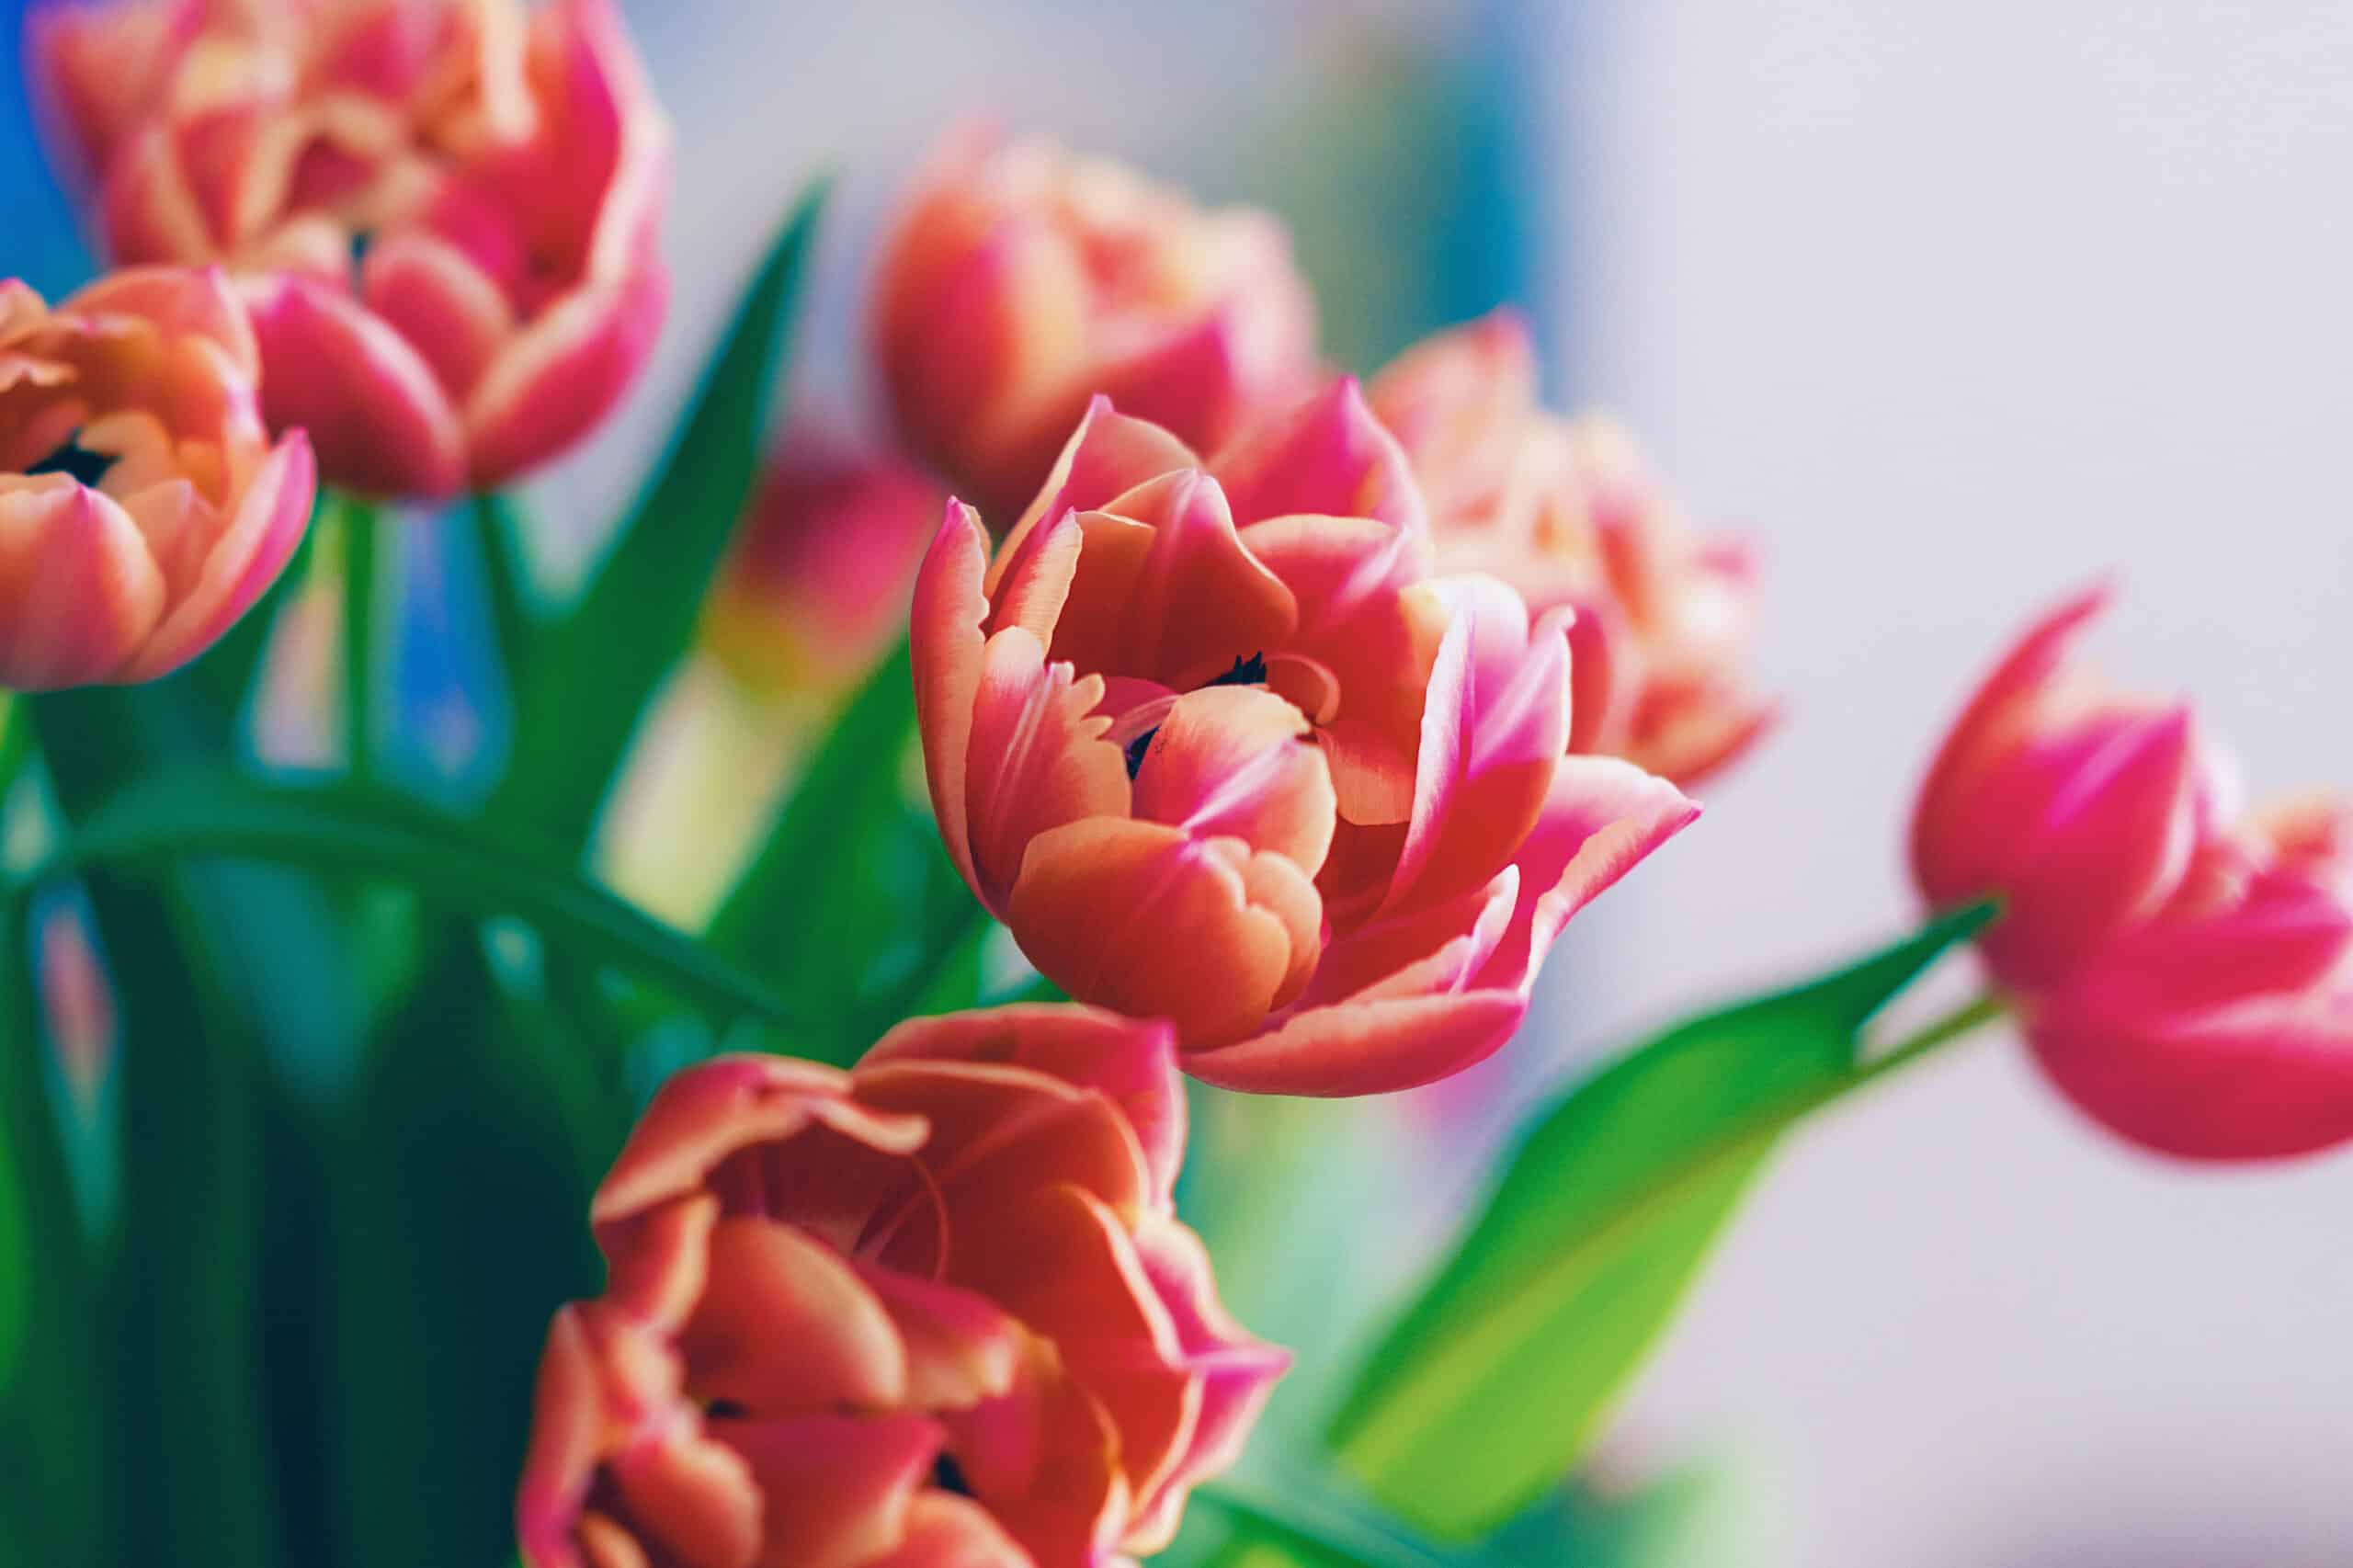
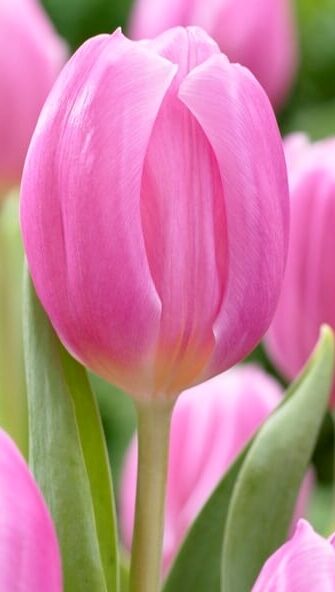
Tulips
How to Care for Tulips in Canada
Tulip AKA
Tulipa gesneriana
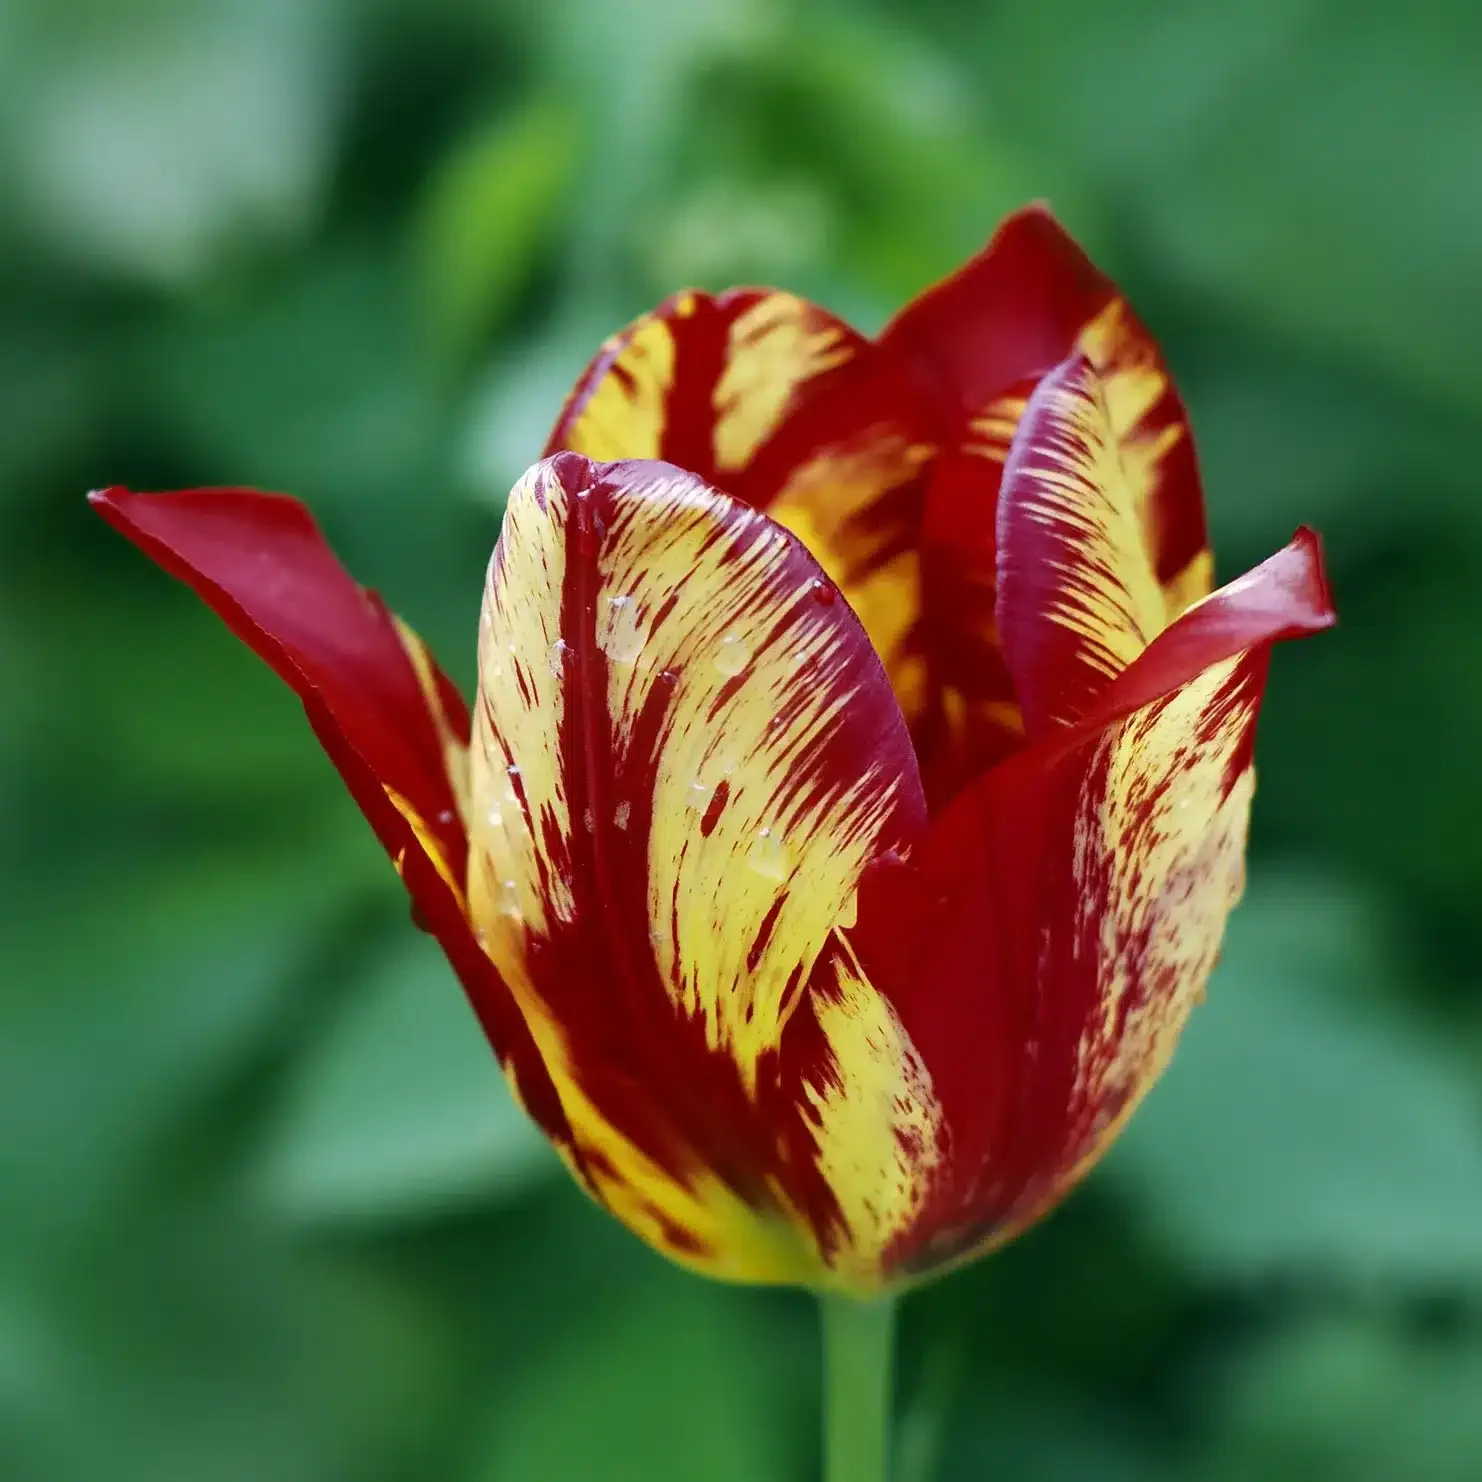
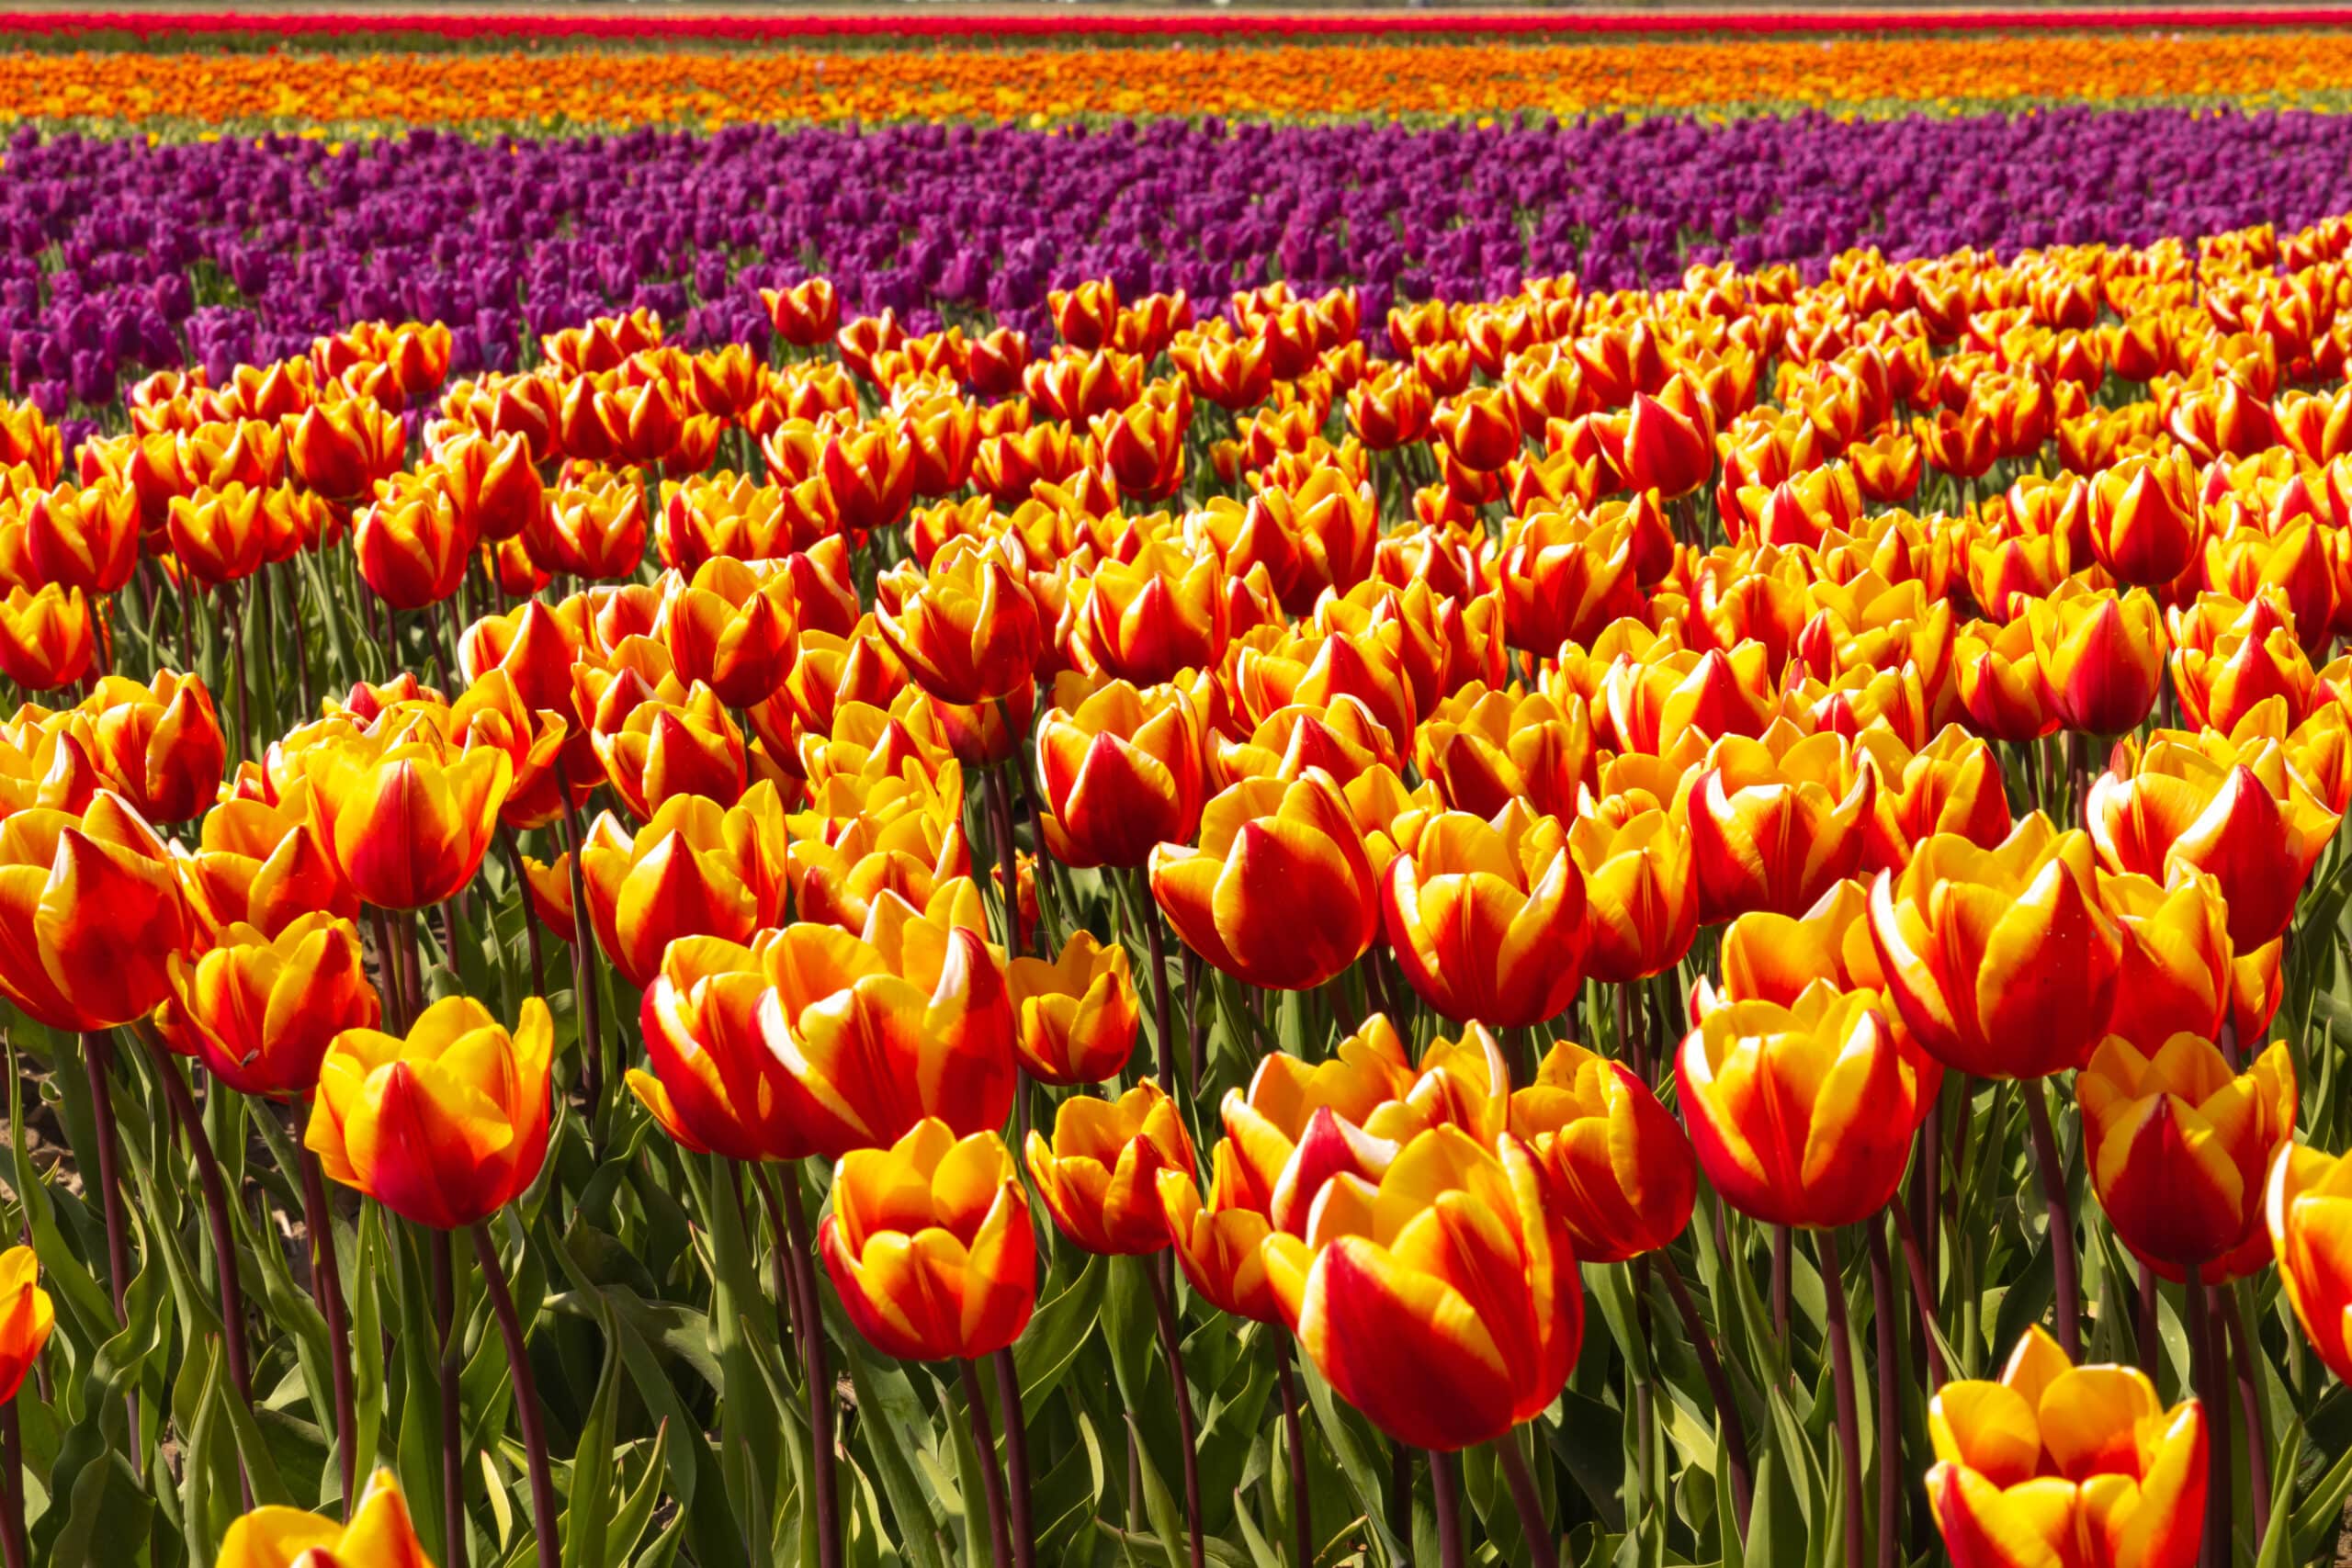
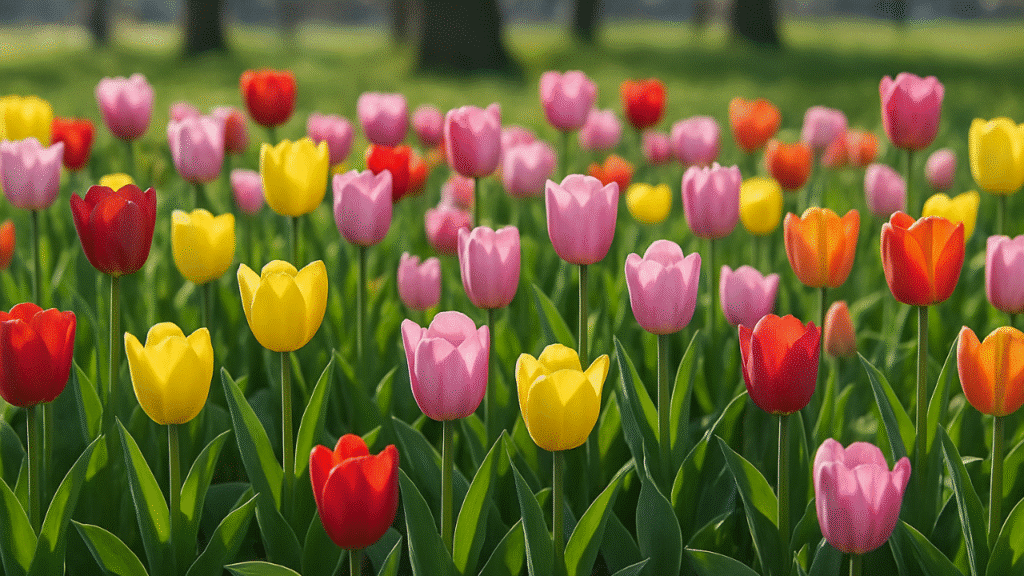
Colour
red, yellow, pink, orange, purple, white, and even near-black shades of maroon
Sun Exposure
Full sun
Family
Liliaceae
Native Areas
Central Asia, the Middle East, parts of southern Europe, and North Africa
Common Name
Tulip
Scientific Name
Tulipa gesneriana
Plant Type
perennial
Mature Size
10 to 30 inches
Soil Type
rich, well-draining soil with a slightly acidic to neutral pH
Soil PH
6.0 – 7.0
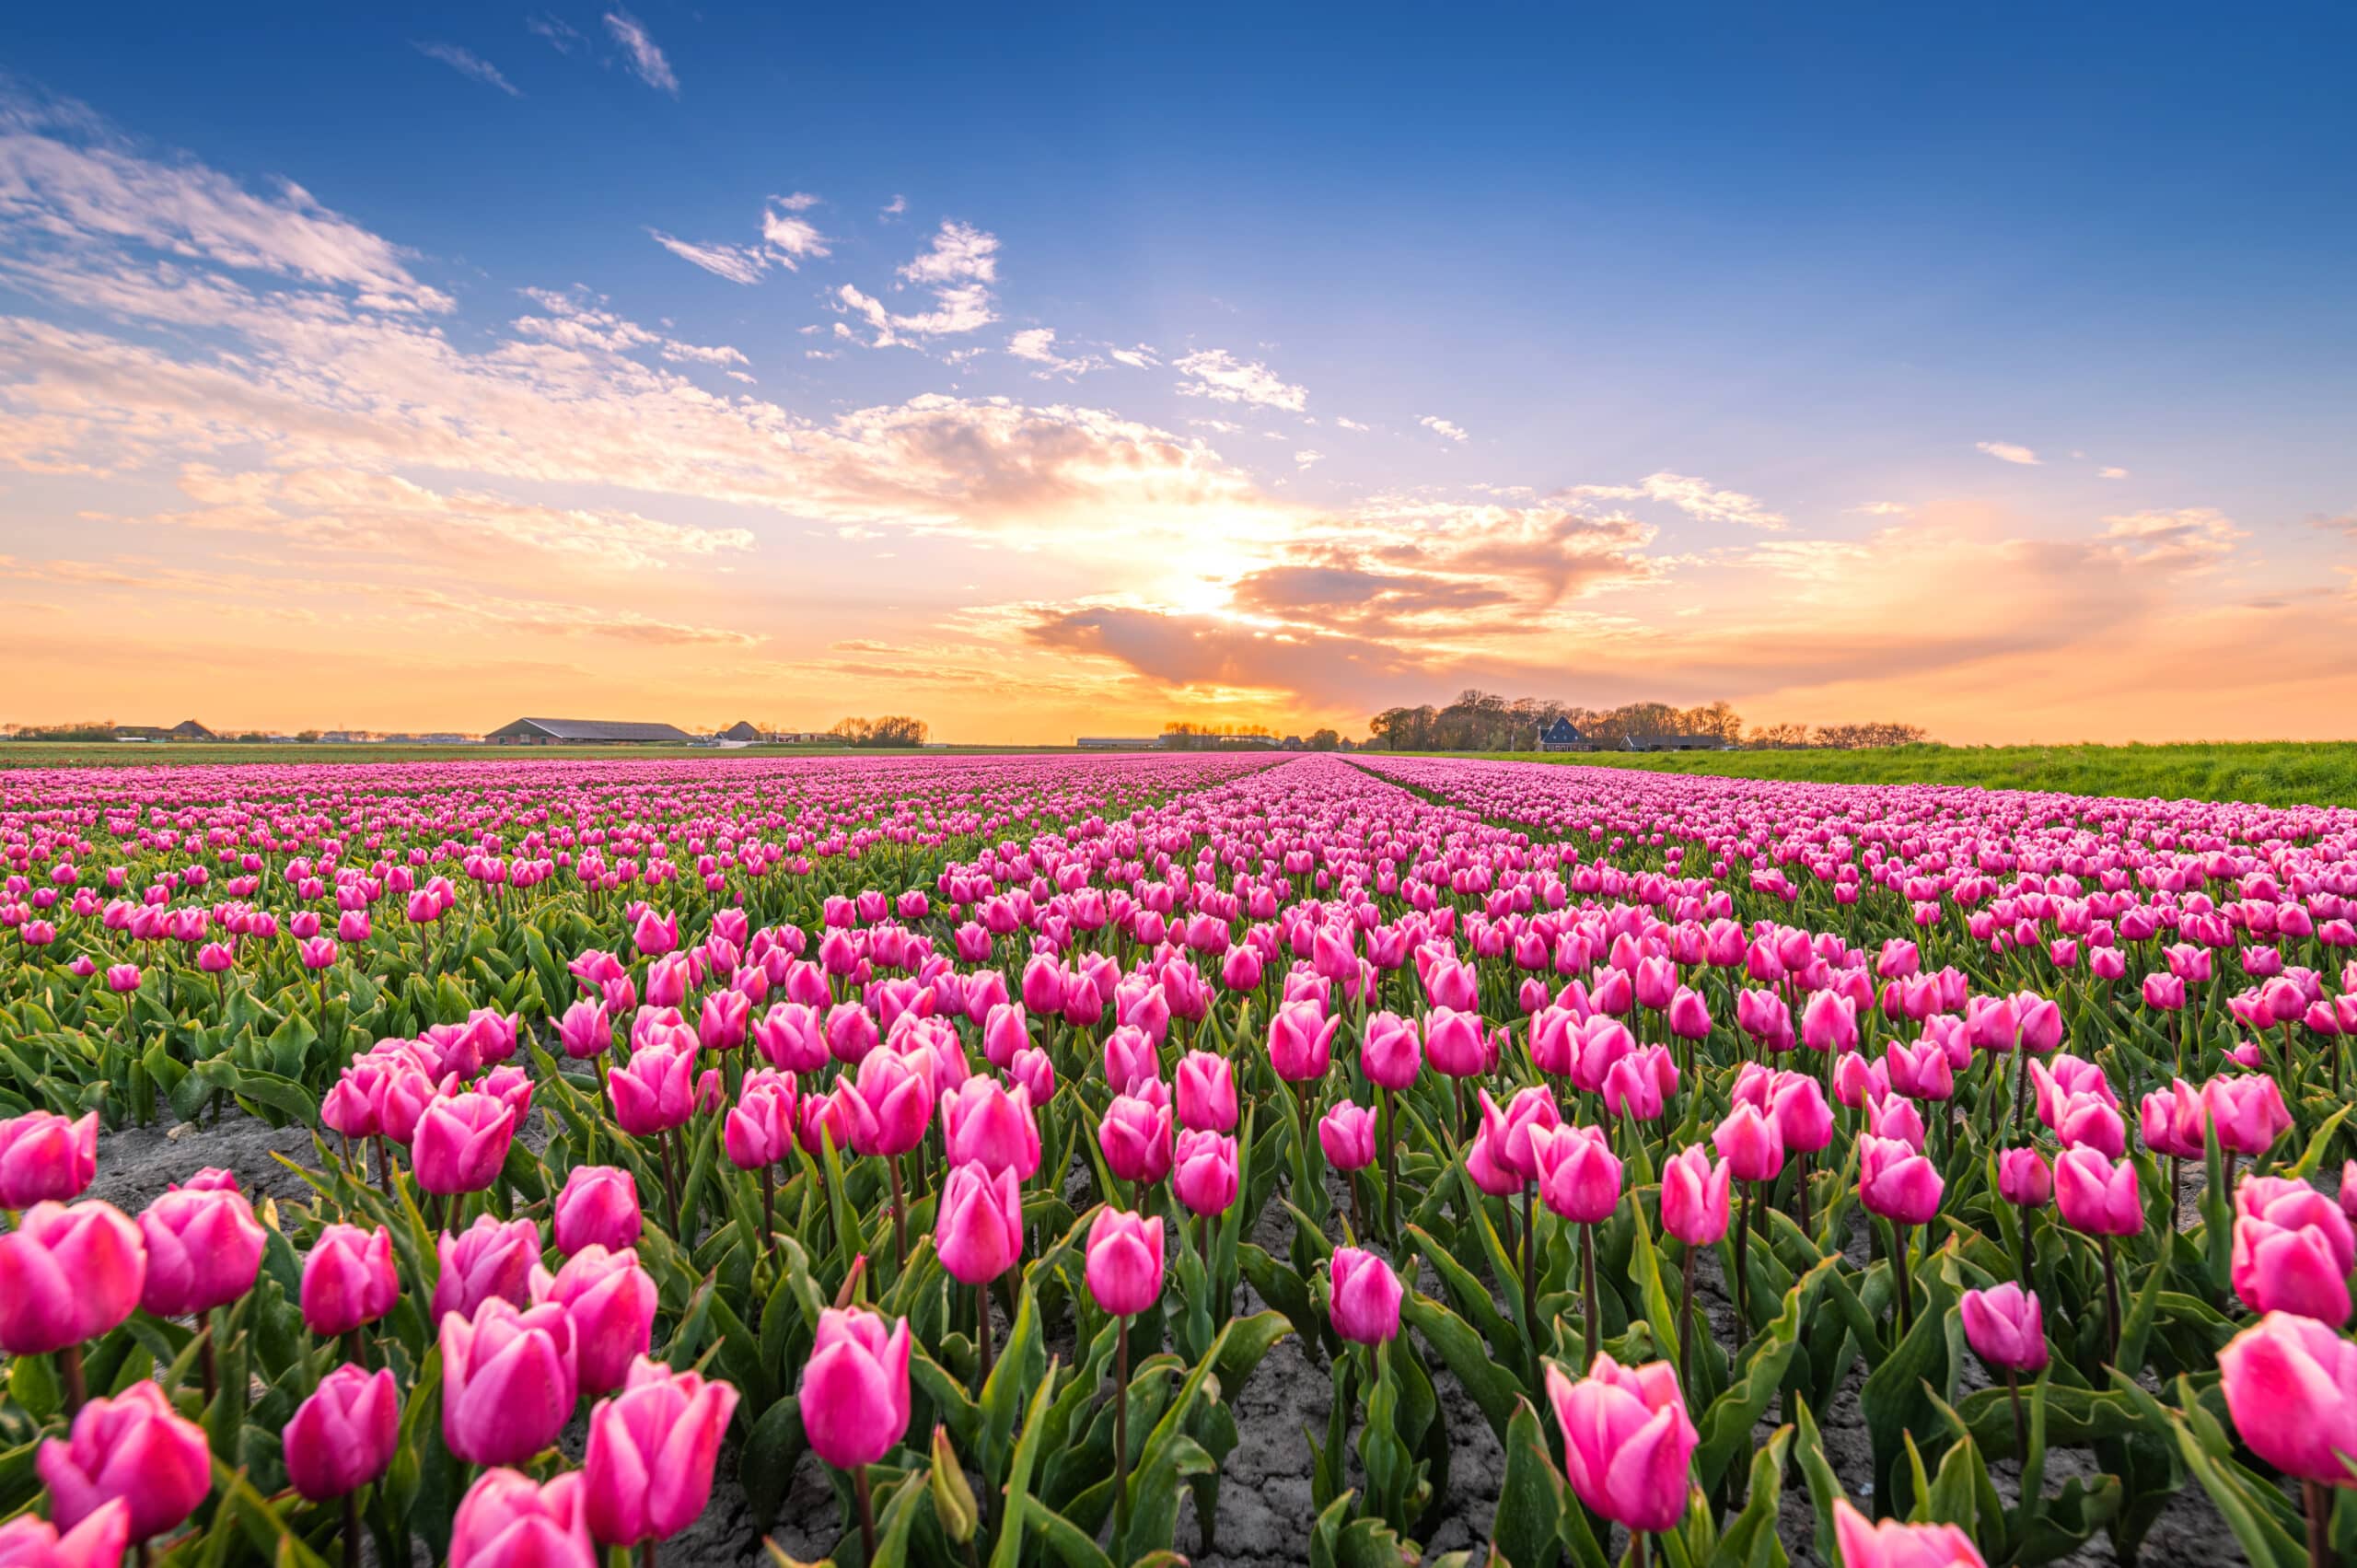
Bloom Time
March to May
Hardiness Zones
3–8 (Canada)
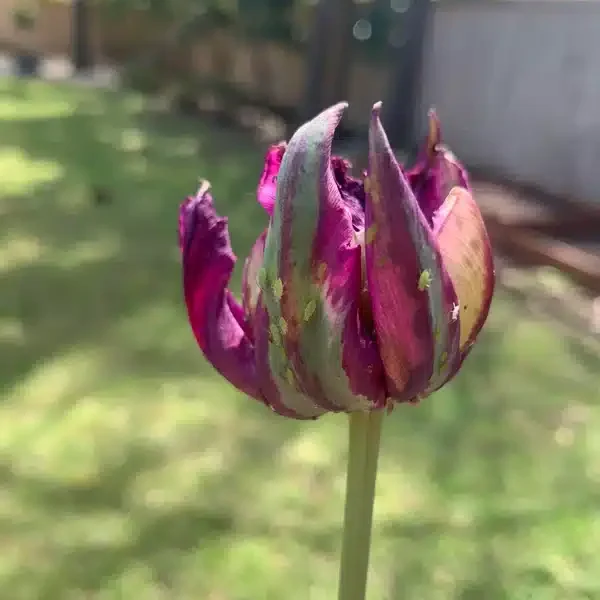
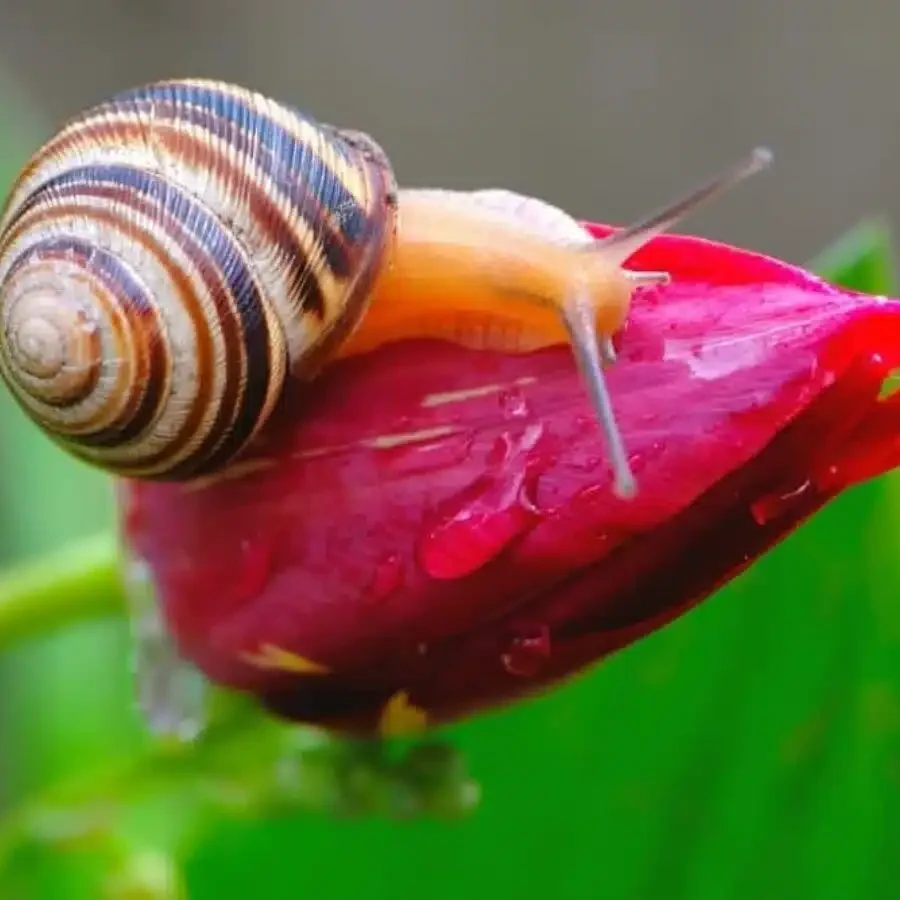
Toxicity
contain the compound tulipalin, which can cause skin irritation (“tulip itch”), stomach issues, and other symptoms in both humans and animals
Types & Variations
of Tulips
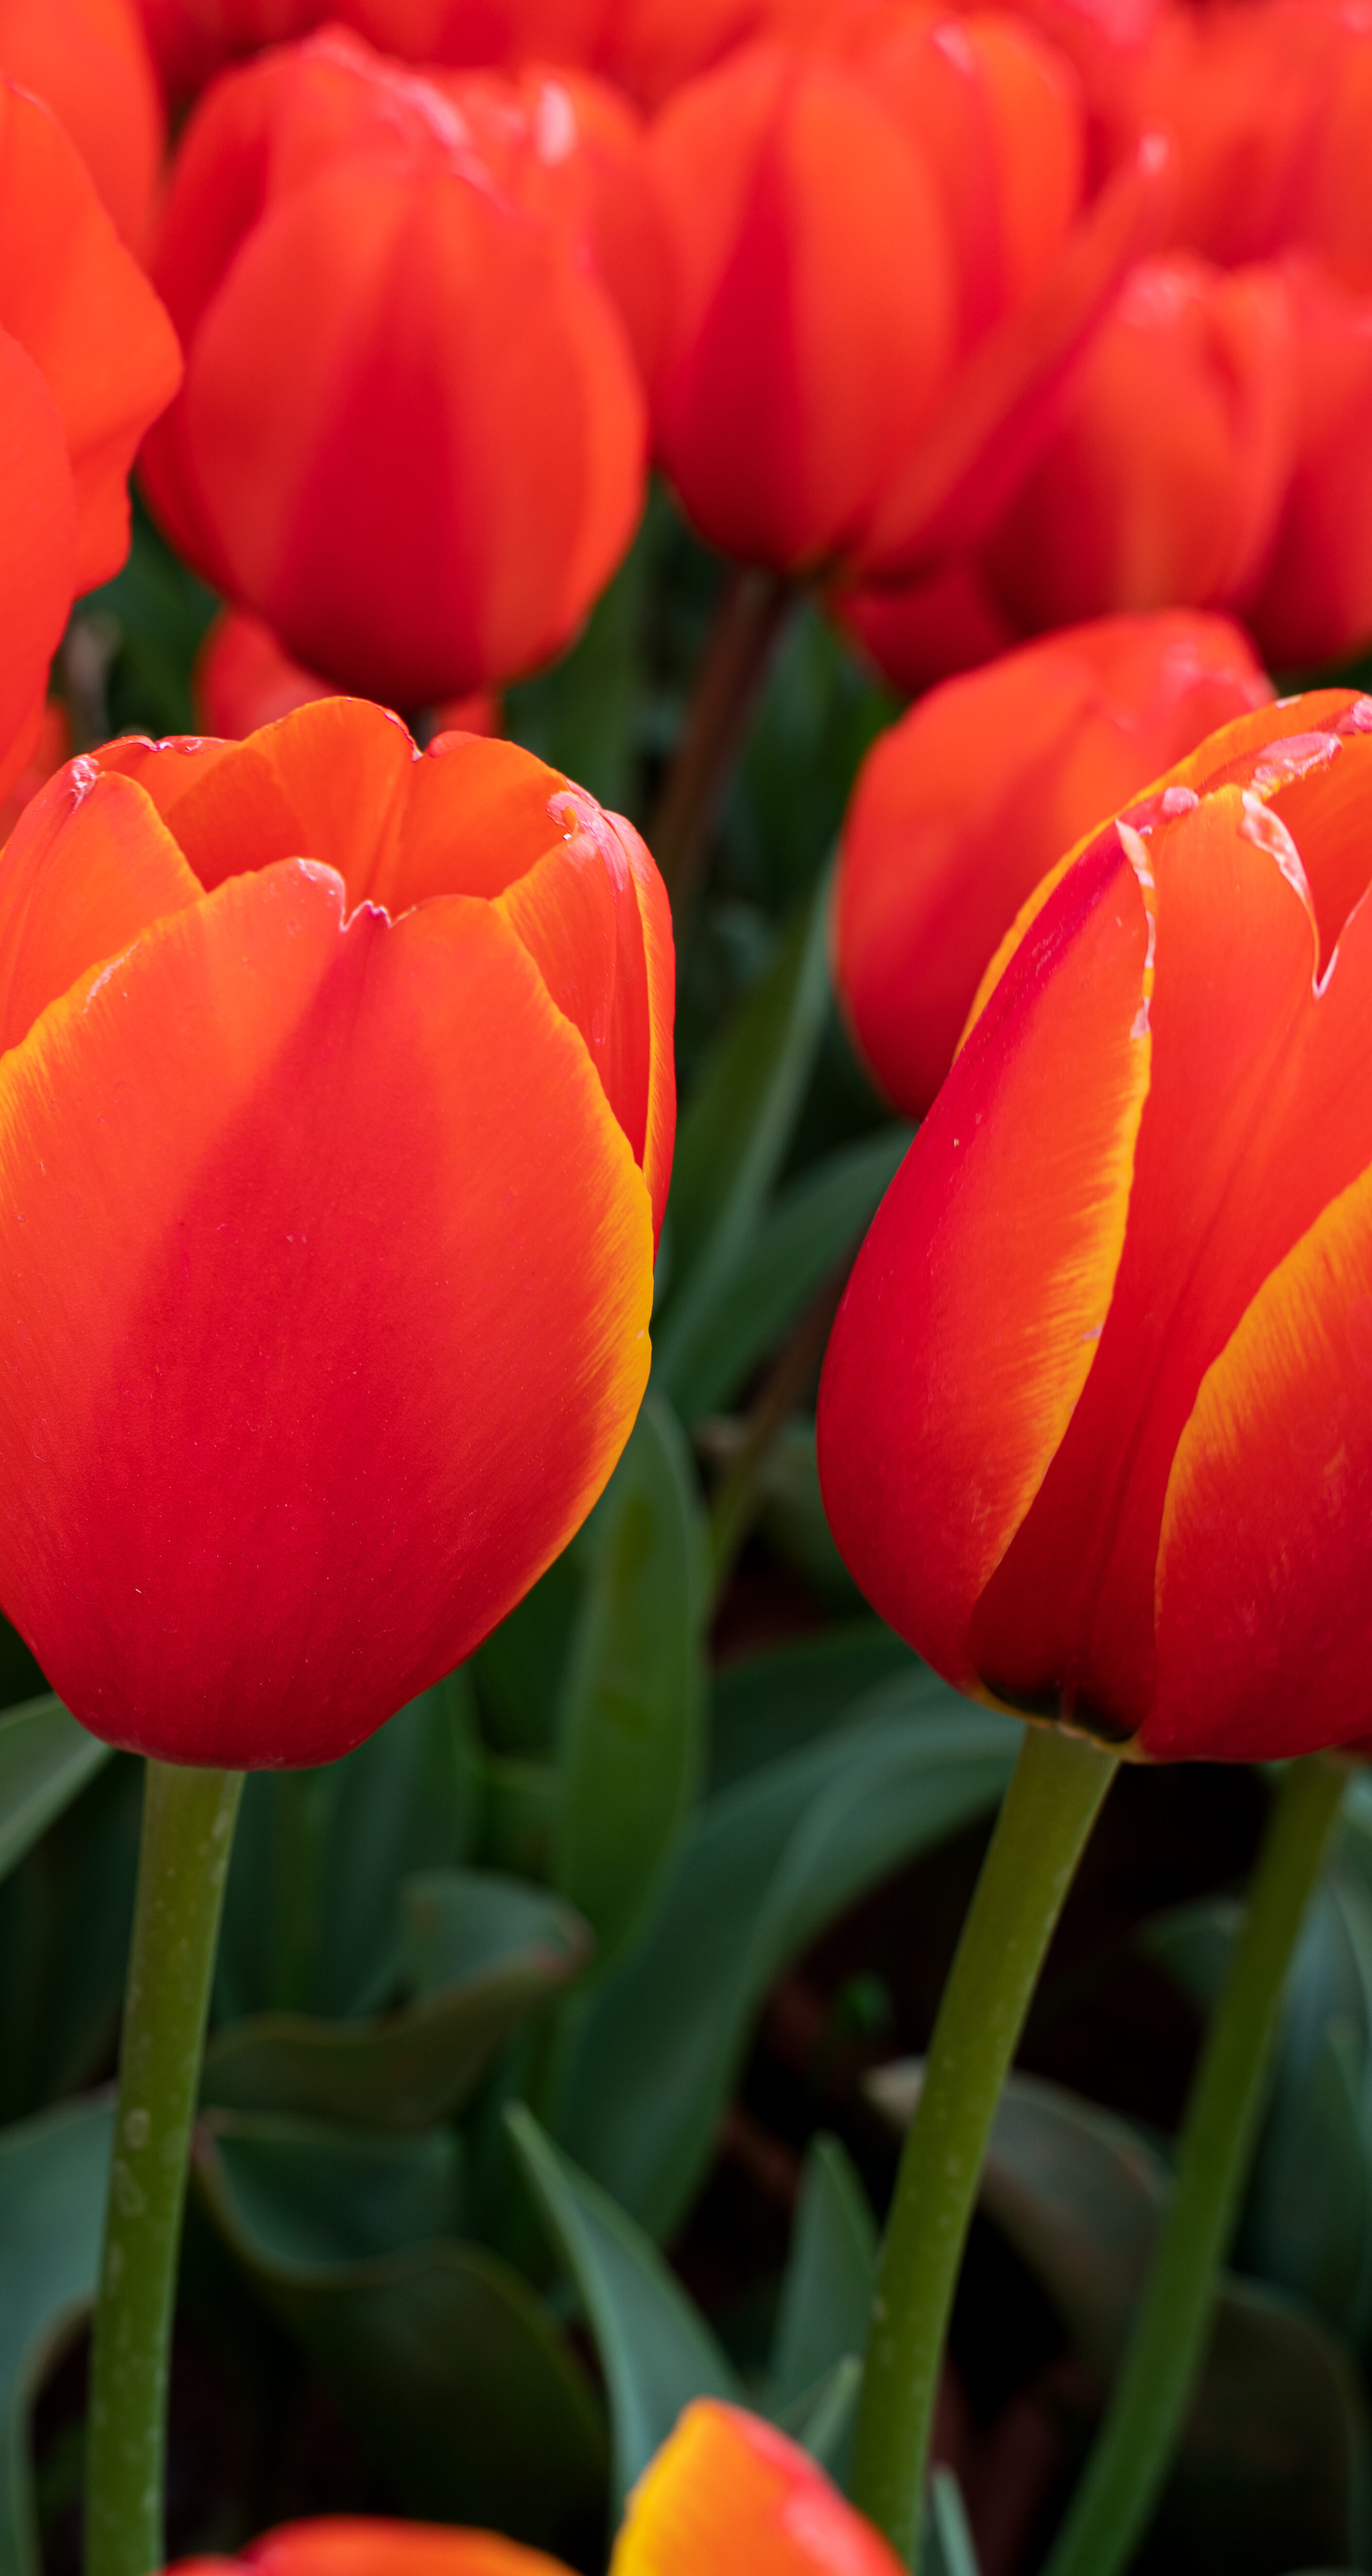
Darwin Hybrid Tulips

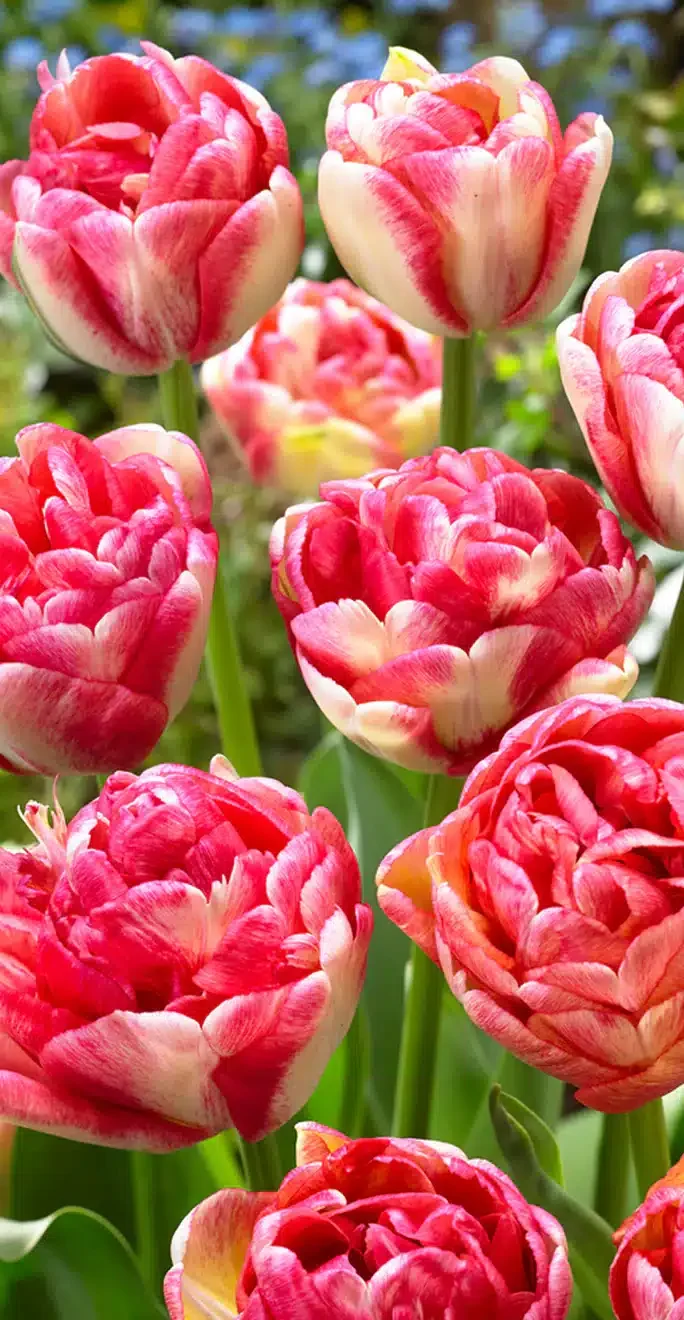
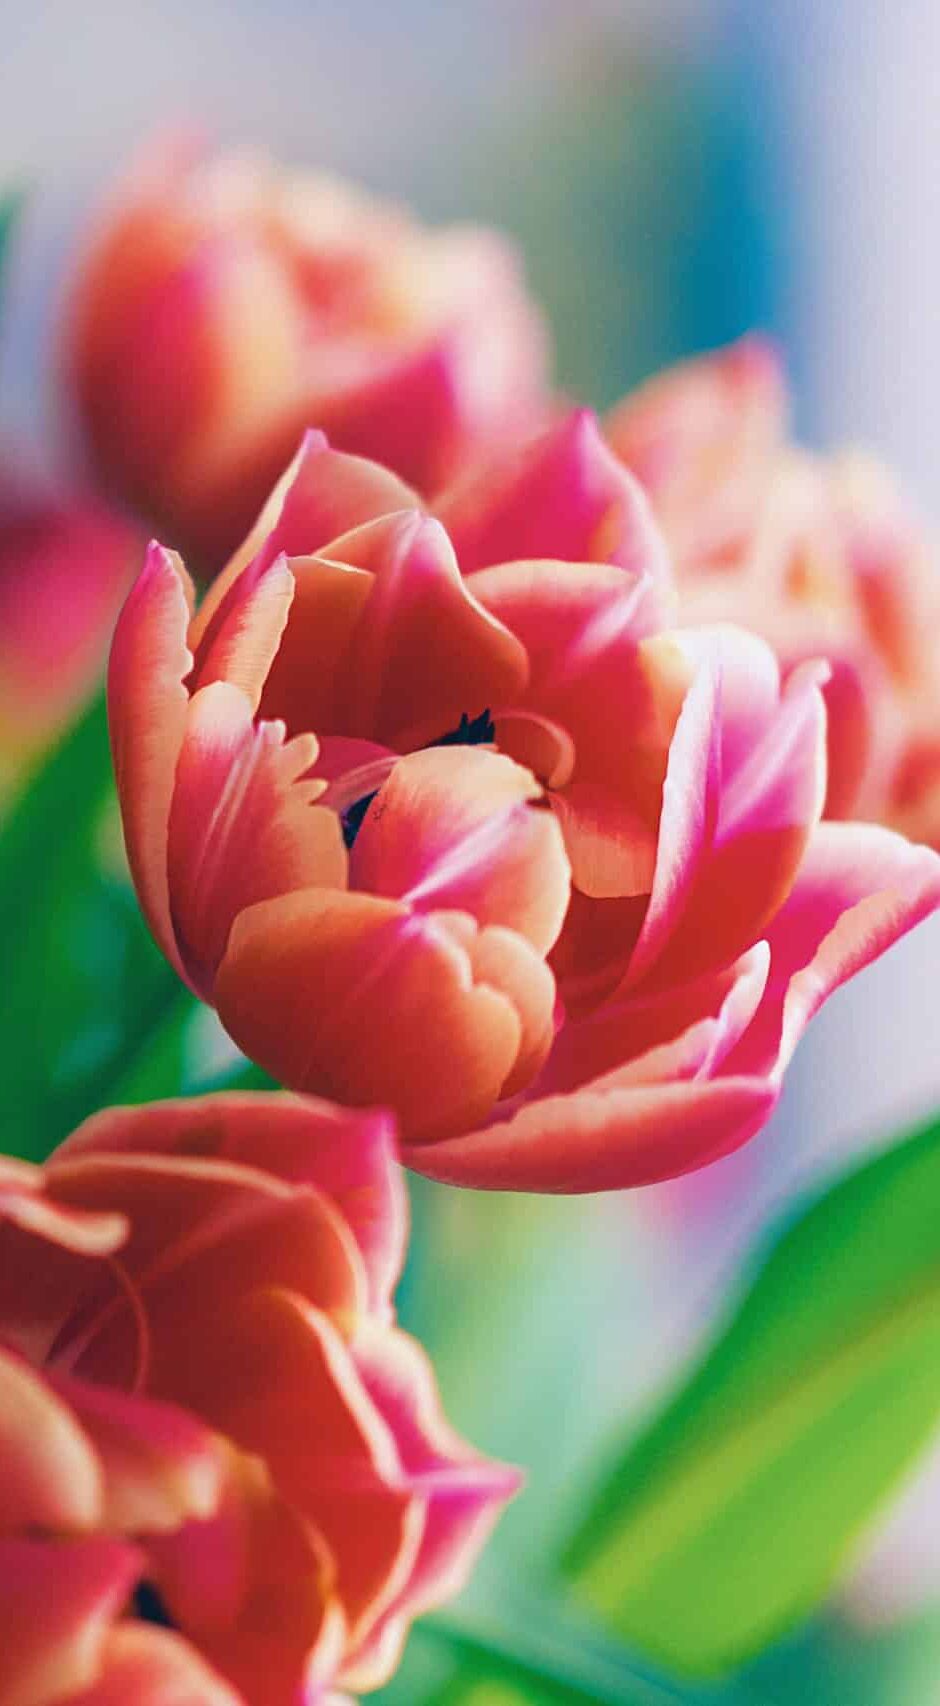
Double Tulips
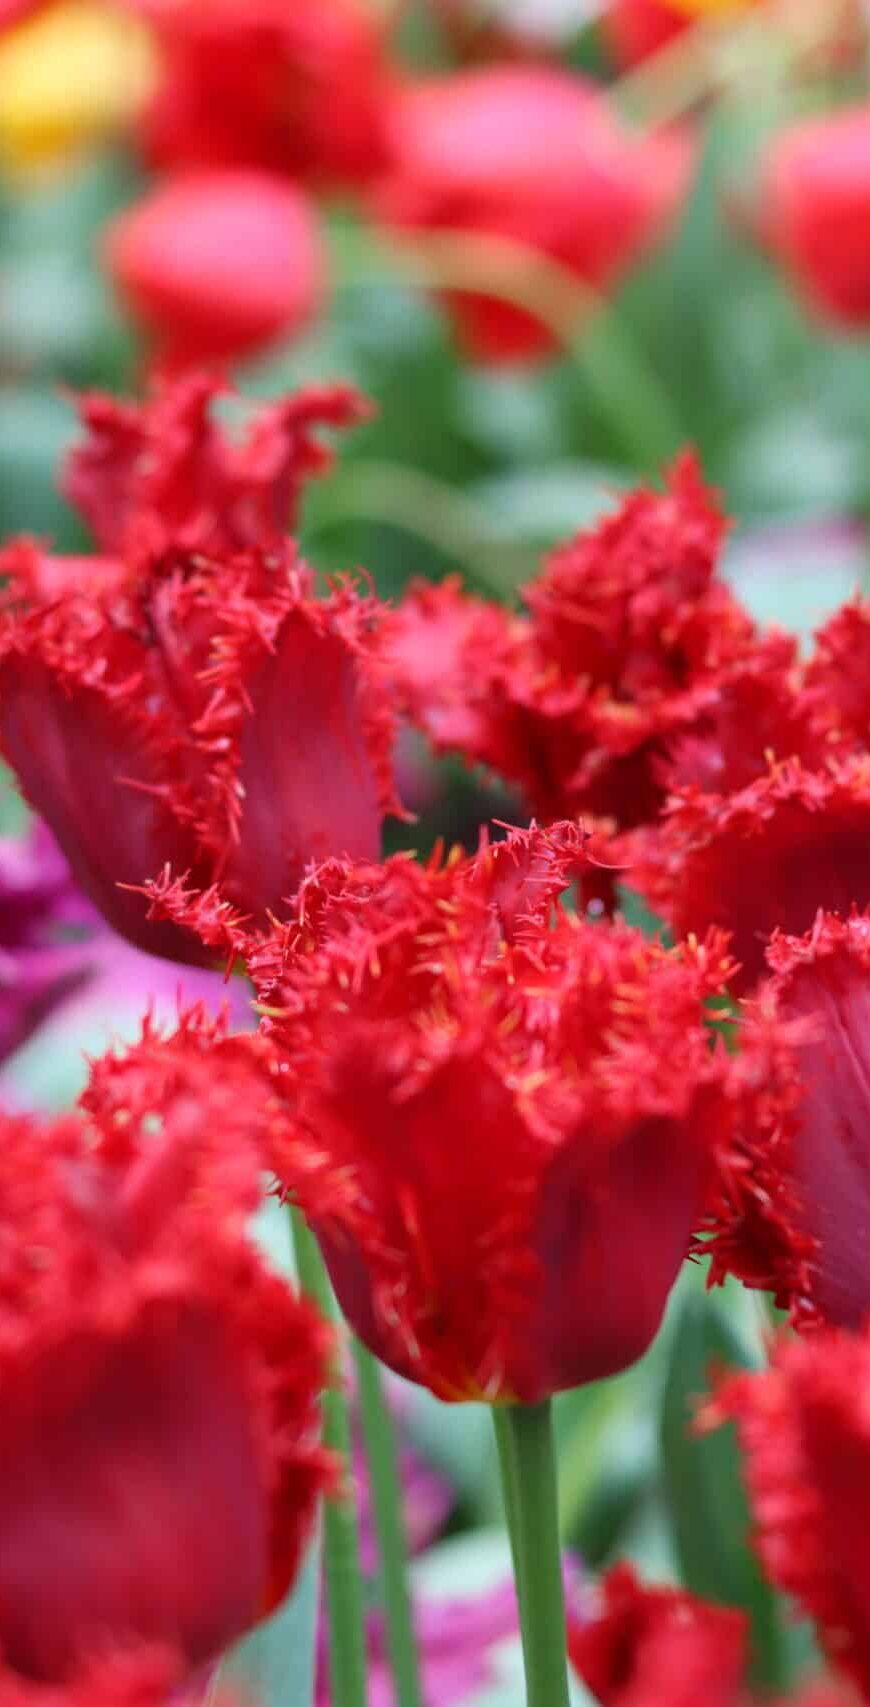
Fringed Tulips
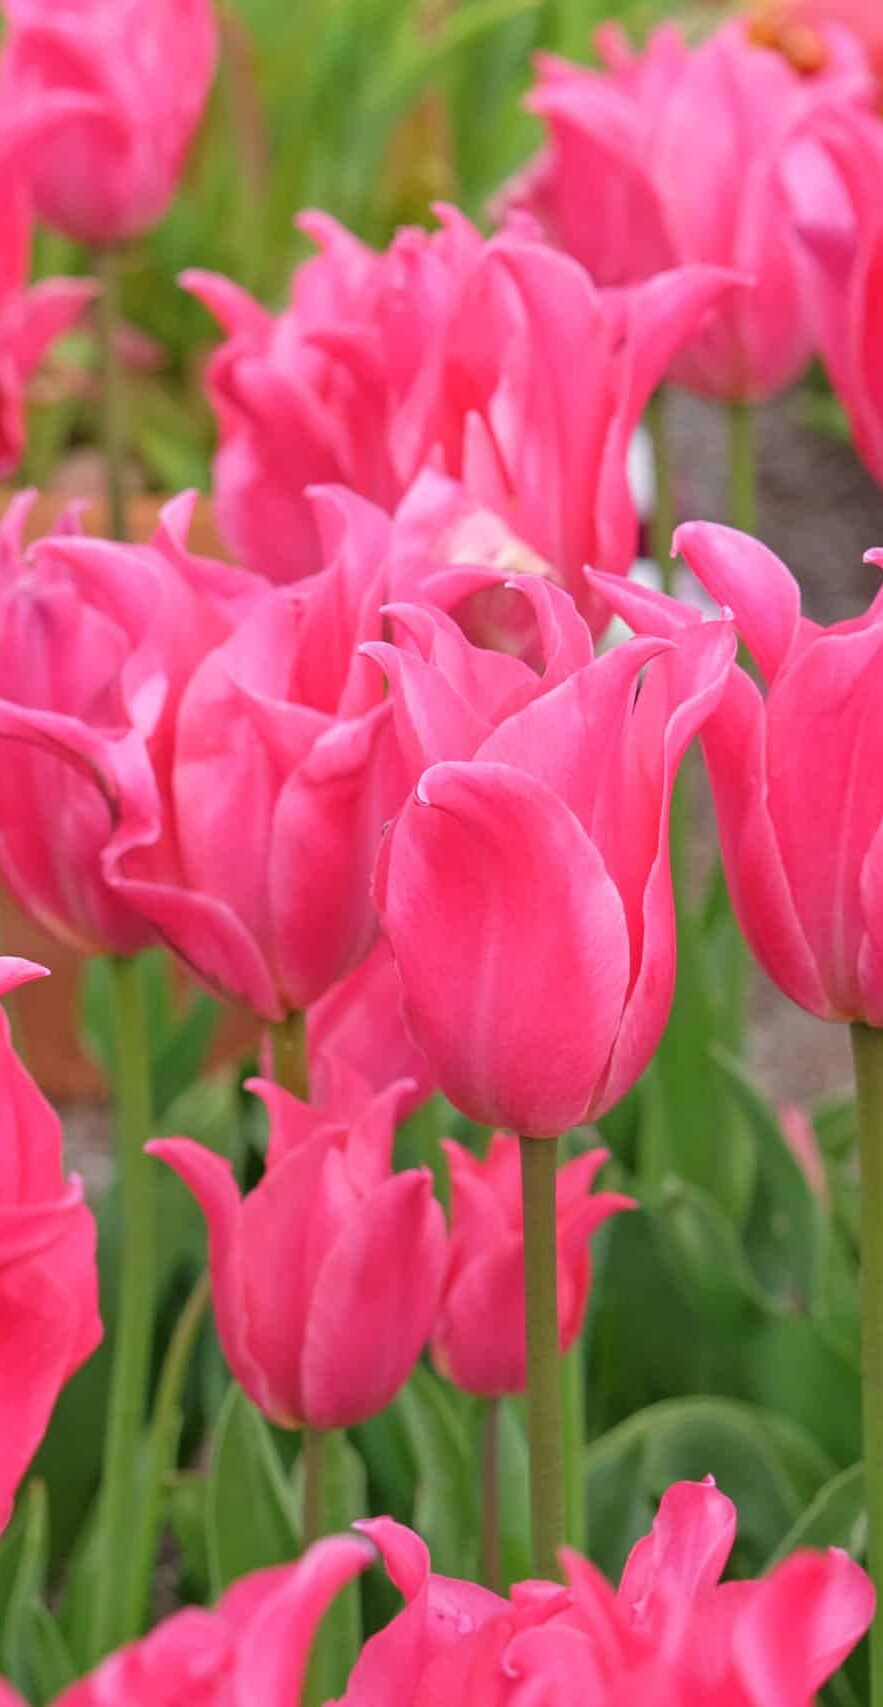
Lily Tulips
Parrot Tulips
Single Early Tulips
Triumph Tulips
Planting Tulips
-
Light
Tulips love the sun. Aim for at least 6 hours of full sunlight each day to help blooms open fully and last longer.
-
Soil
Well-draining soil is key. Tulips dislike soggy roots, so choose loamy or sandy soil that stays moist but never waterlogged.
-
Water
After planting, water thoroughly once to settle the bulbs. Through fall and winter, let rainfall do the work. In spring, water once a week if the weather is dry to support blooming.
-
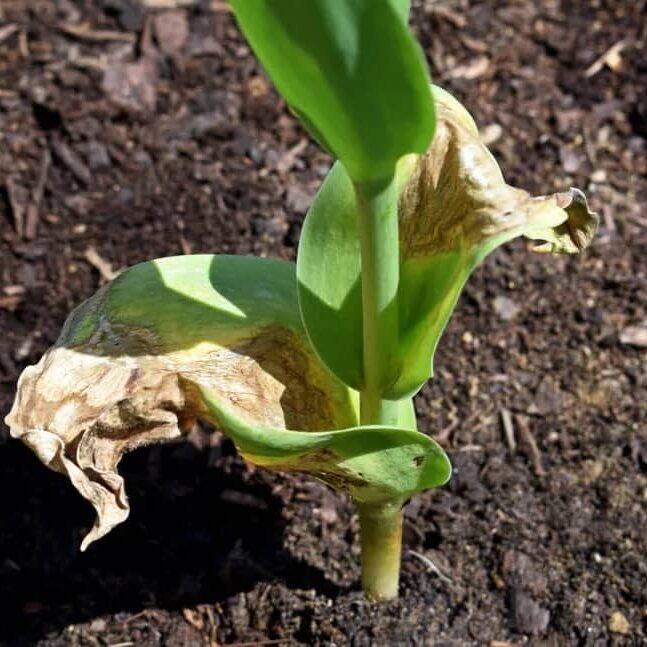
Temperature & Humidity
Tulips thrive in cool climates. Ideal growing temperatures range between 10°C and 18°C during spring. They prefer low to moderate humidity, which keeps bulbs healthy and prevents rot.
-
Fertilizer
For strong blooms, apply a balanced bulb fertilizer (like 10-10-10) at planting time and again as shoots appear in spring. Avoid over-fertilizing—it can cause weak stems or fewer flowers.
How to Care for your Tulips
-
Soil Preparation and Requirements
In-ground: Tulips thrive in loose, well-draining soil. Before planting, loosen the soil about 10–12 inches deep and mix in compost or well-rotted manure to enrich it. Avoid areas where water pools, as bulbs can rot in overly wet conditions.
Raised beds: These are ideal for tulips if your soil tends to stay heavy or clay-like. Raised beds help improve drainage and keep bulbs dry through winter. They also warm up faster in spring, encouraging earlier blooms and healthier root growth.
Pro Tip: If you’re planting in a wetter area, add a small layer of sand or gravel at the base of each planting hole to enhance drainage and protect bulbs from rot.
-
Planting Techniques
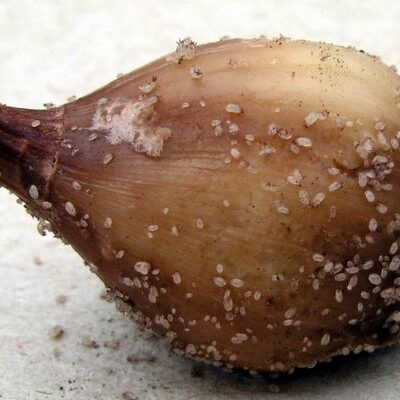
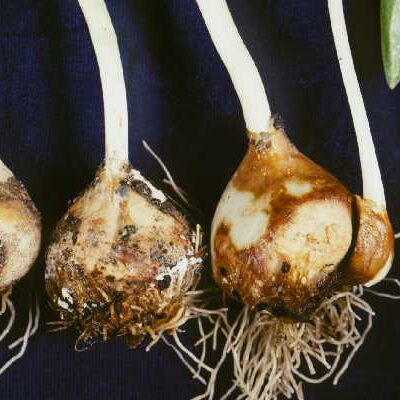
- Pick the right bulbs: select healthy, firm bulbs.
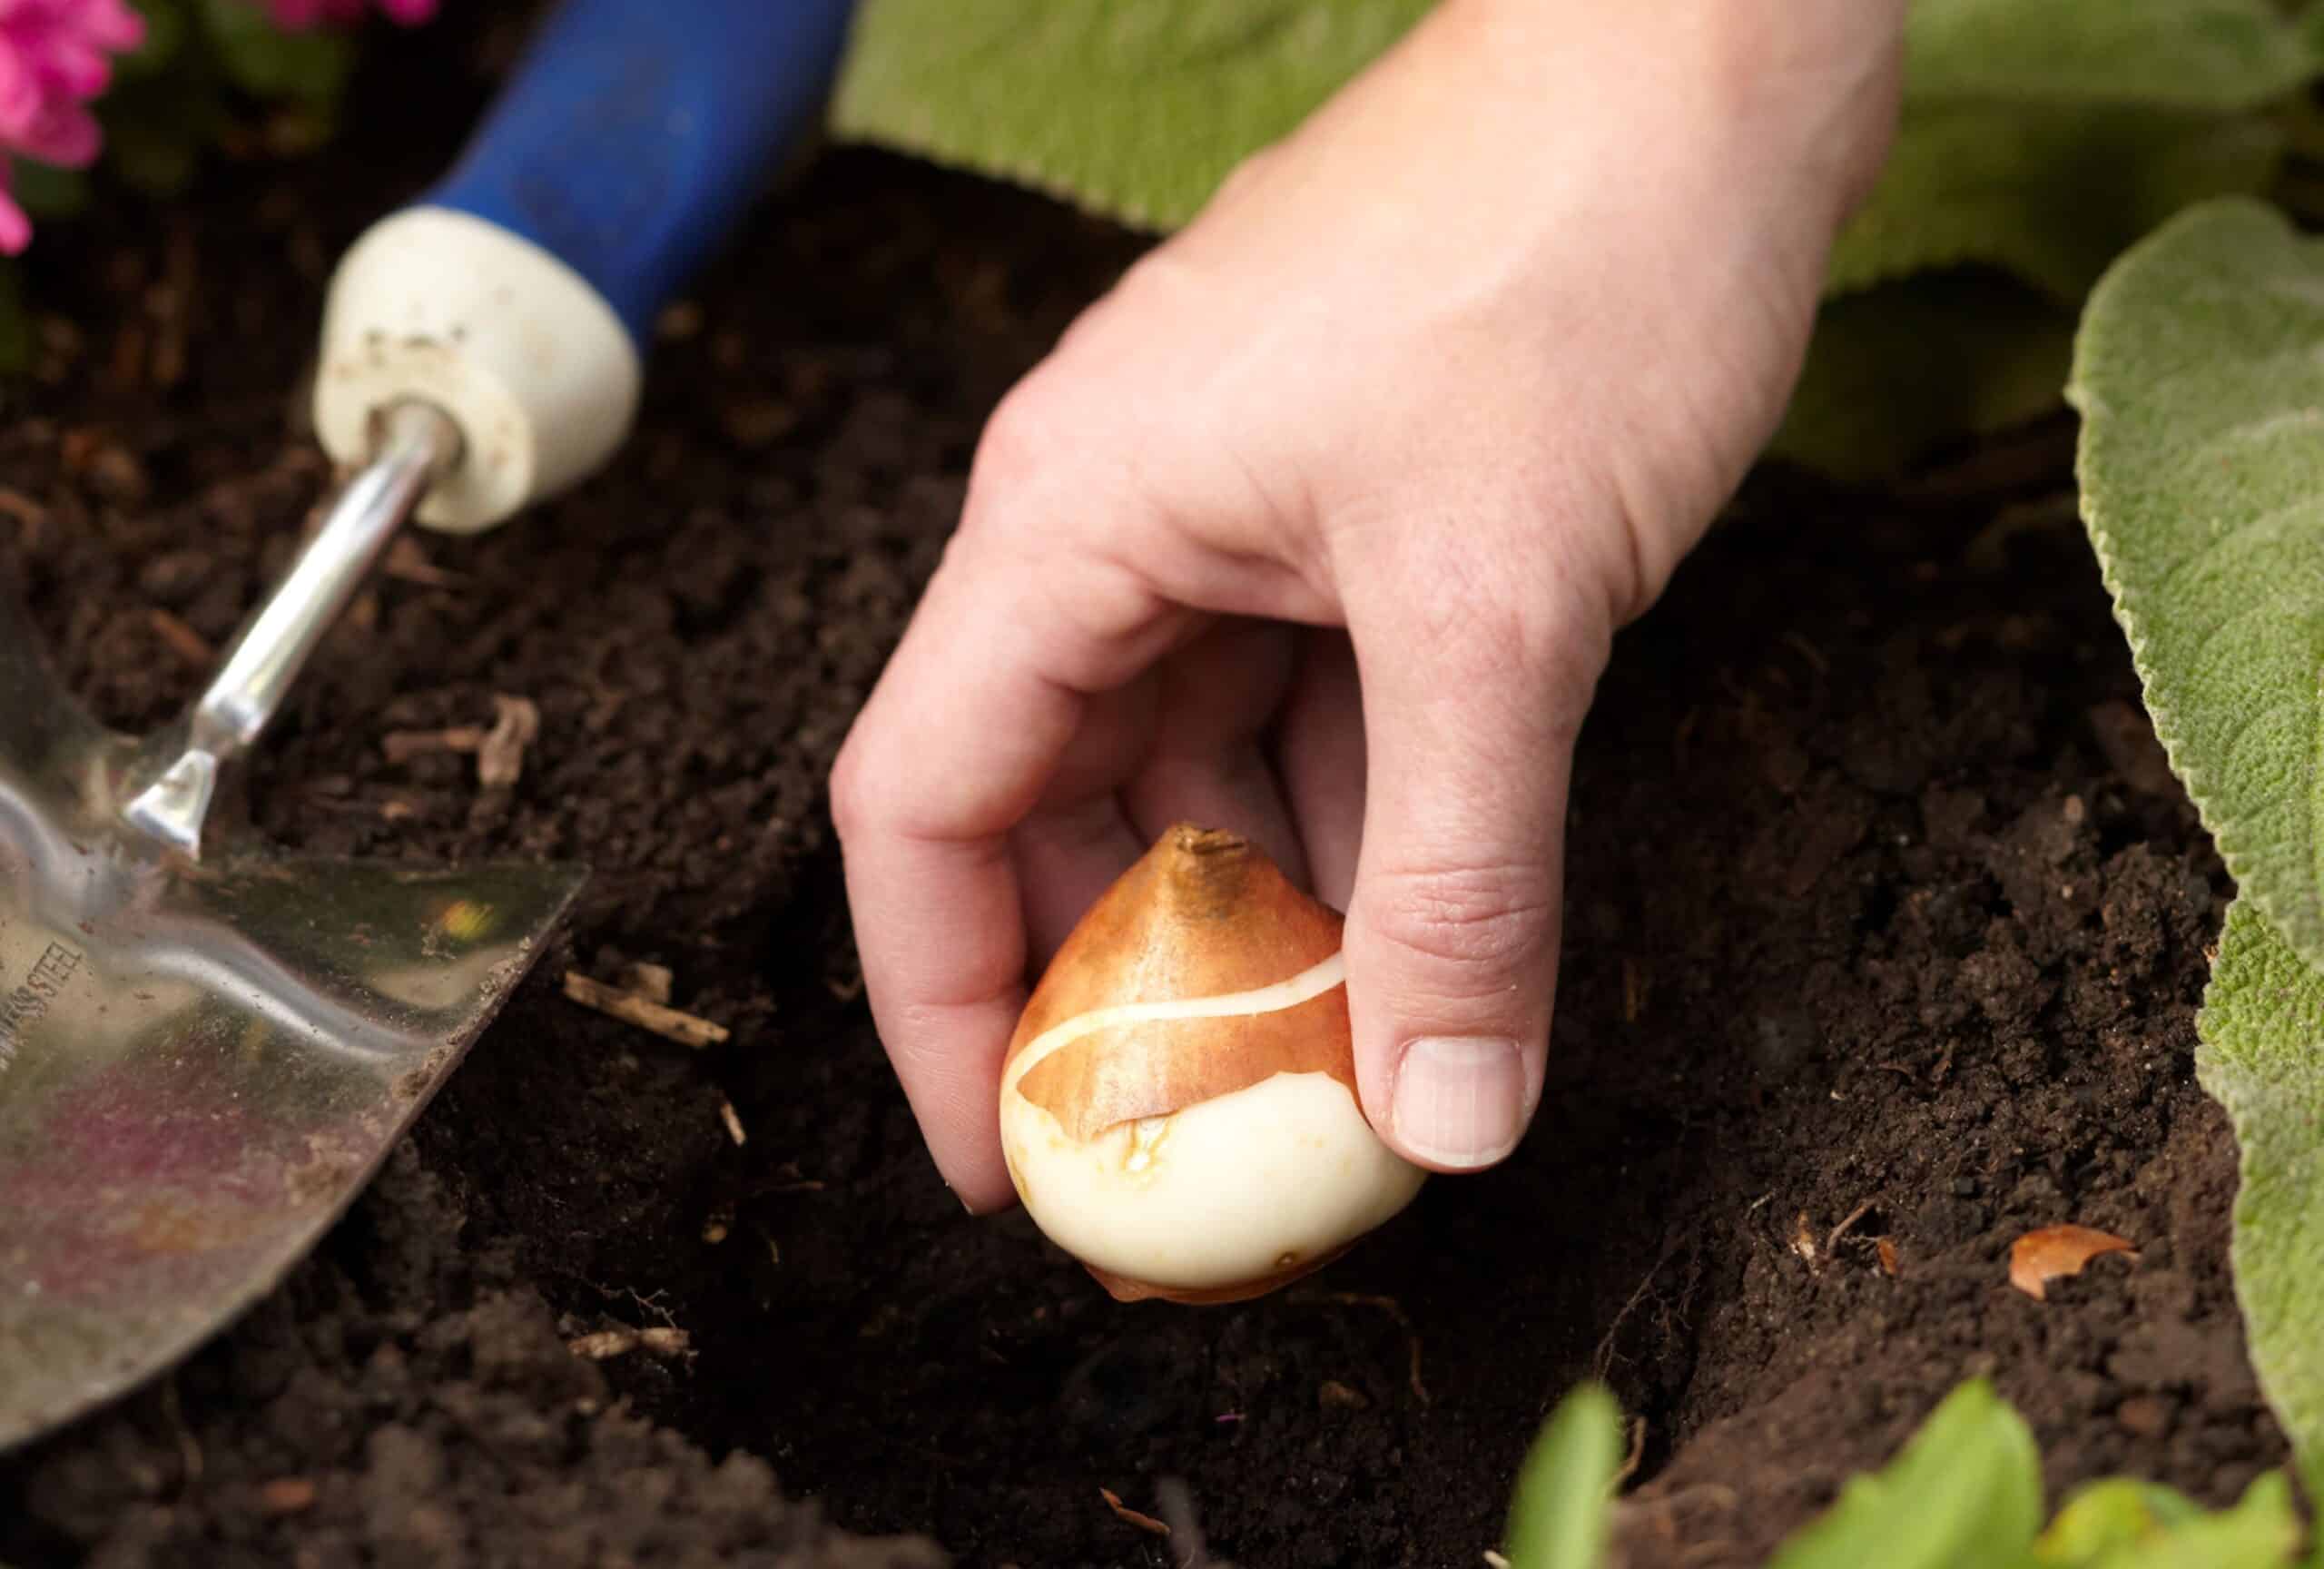
- Plant at the Right Depth: Plant the bulbs in holes about three times the depth of the bulb. Cover lightly with soil gently pat down. Water immediately after planting.
- Placement Is Key: Make sure to place the bulbs with the pointed end up.
- Spacing Needs: leave about 4 – 8 inches between bulbs
-
When to Plant
Timing matters when planting tulip bulbs. They need a period of cold dormancy to bloom beautifully in spring. Here’s the best timing by region across Canada:
• Southern Canada (e.g., Ontario, BC, parts of Quebec): Late September to mid-October.
• Northern Canada & Frost-Prone Regions (e.g., Manitoba, Alberta): Early to mid-September.Pro Tip: Plant tulip bulbs about six weeks before the ground freezes. This allows roots to establish before winter sets in, ensuring vibrant blooms come spring.
Companion Planting
-
Good Companions
Hostas & Ferns: can offer contrasting colours/textures and provide foliage that will hide dying leaves.
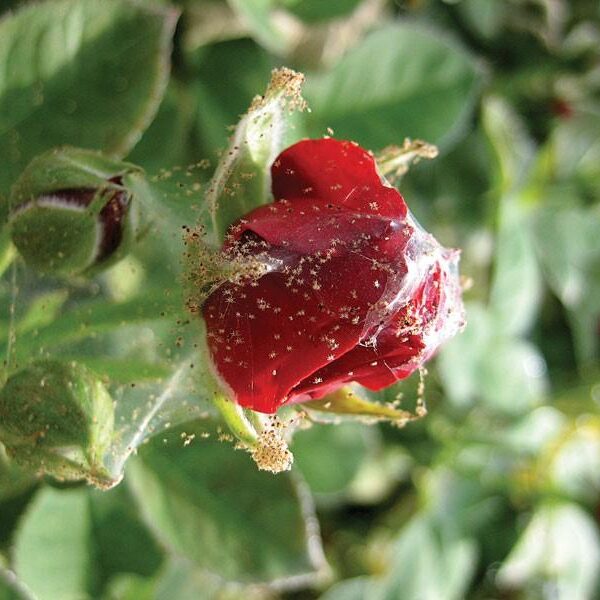
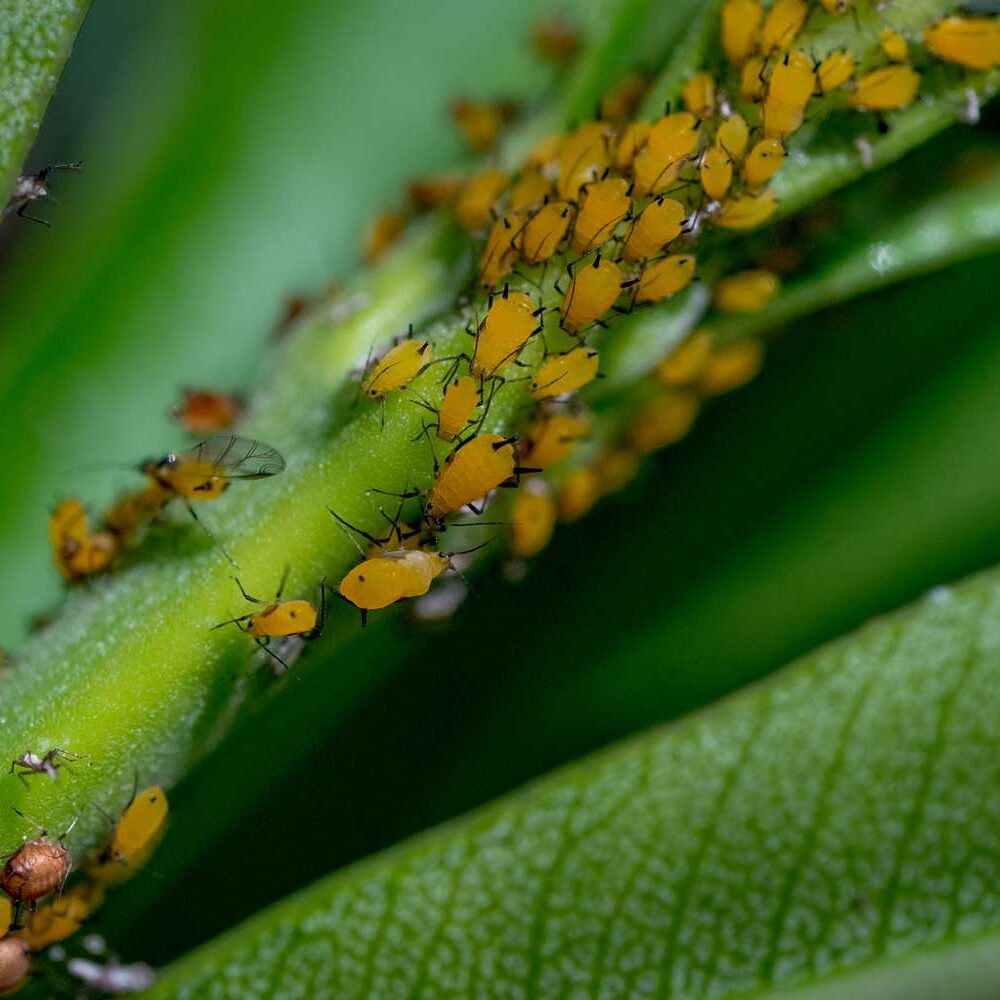
Garlic & Chives: help to deter pests.
Daffodils & Creeping Phlox: Spring-blooming plants that compliment tulip bloom time and help build structure to the area.
Poppies: help to keep the area colourful as tulips start to fade.
-
Avoid
- Walnut and magnolia trees release chemicals that can prohibit growth.
- Lilies and other aggressive bulbs that will compete for nutrients.
-
How to Plant
When is the best time to plant Tulips?
Plan to plant your tulip bulbs in the fall, before the ground freezes. Then, find a sunny spot and prepare the area with well-draining soil. Space your bulbs several inches apart. Dig a small hole, about three times as deep as the size of the bulb. When you place the bulbs, make sure the pointy end face up. Then cover the bulb with soil and water thoroughly.
-
Essential Tools for Tulip Planting
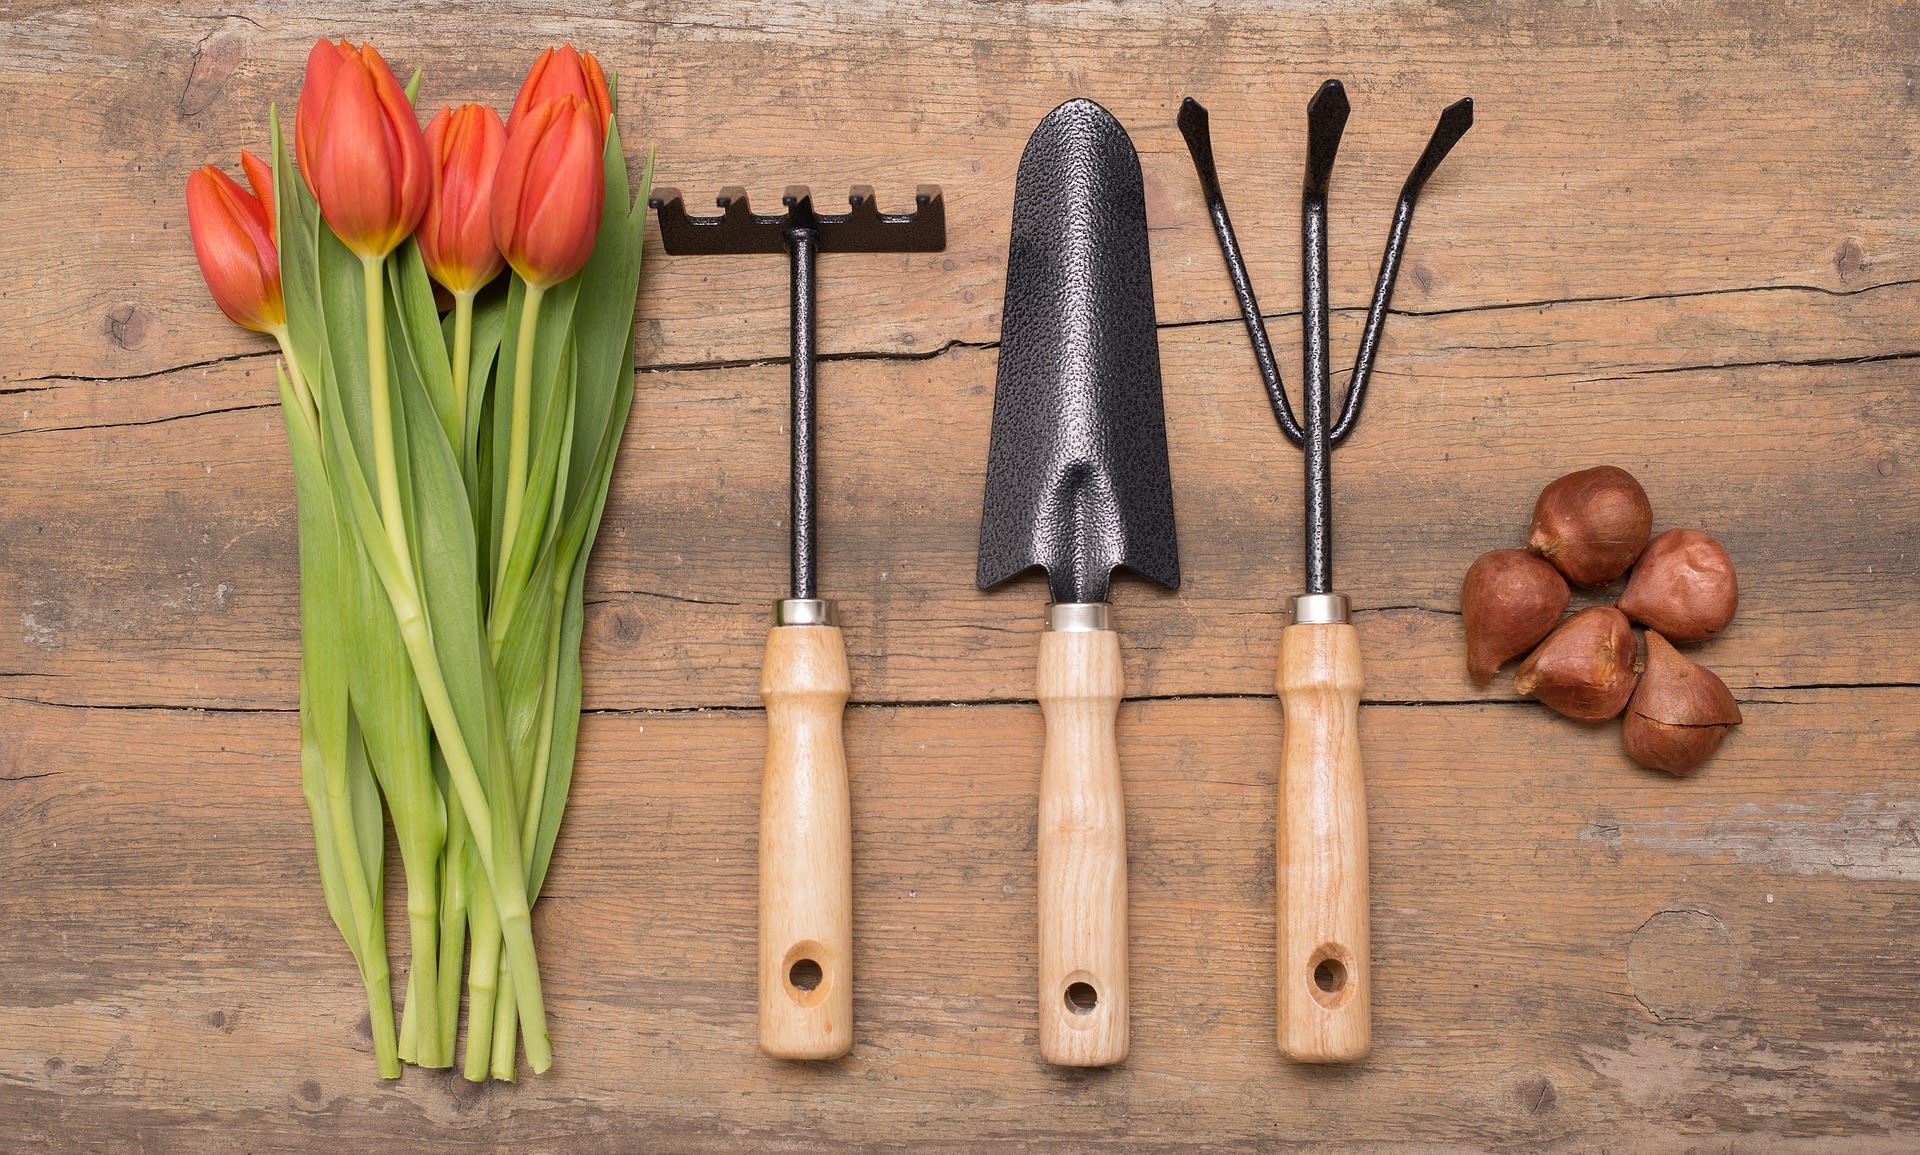
Essential Tools for Tulip Planting
Hand Trowel:A small hand tool that can dig small holes for the tulip bulbs.
Garden Gloves:Protects your hands from dirt and potential cuts while working with soil.
Bulb Planter:A small tool with a serrated edge and a depth marker. It will cut a small plug of soil then remove it and can release the soil back in the hold. It can help to speed up the process and can be helpful for larger projects.
Knee PadsTo protect your knees and provide cushioning while kneeling in the garden.
-
Step-by-Step Guide to Plant Tulips
Step-by-Step Guide to Plant Tulips
1. Gather Your Tools:Collect essential tools such as a trowel, garden gloves, and a knee pad.
2. Select Your BulbsPrep your bulbs and make sure you’re choosing firm, healthy bulbs.
3. Start DiggingDig a hole about 6” deep and place the bulb with the pointy end facing up.
4. Keep The SpacingSpace each bulb about 5 inches apart.
5. Provide CoverCover the bulbs and gently press down to remove any air pockets. Water the newly planted bulbs to help them settle.
6. Finish UpUse a light layer of mulch to retain moisture and protect your tulip bulbs.
Essential Supplies for Growing Tulips
– Contains vital nutrients that help give them a boost for vibrant blooms.
